If you’re interested in growing your own pumpkins next year, collecting and storing seeds from your pumpkins this fall is a rewarding venture. This guide provides a straightforward approach to harvesting pumpkin seeds so you can enjoy the fruits of your labor come next season.
Why Harvest Pumpkin Seeds?
Harvesting pumpkin seeds is an excellent way to ensure you have a continuous supply of these delightful fruits. Here are some reasons to consider:
Cost-Effective: Buying pumpkin seeds each season can add up. By harvesting your own seeds, you minimize costs.
Variety: Home-harvested seeds allow you to plant your favorite pumpkin varieties.
Sustainability: Saving seeds contributes to sustainability, reducing your reliance on store-bought seeds.
When to Harvest Pumpkin Seeds
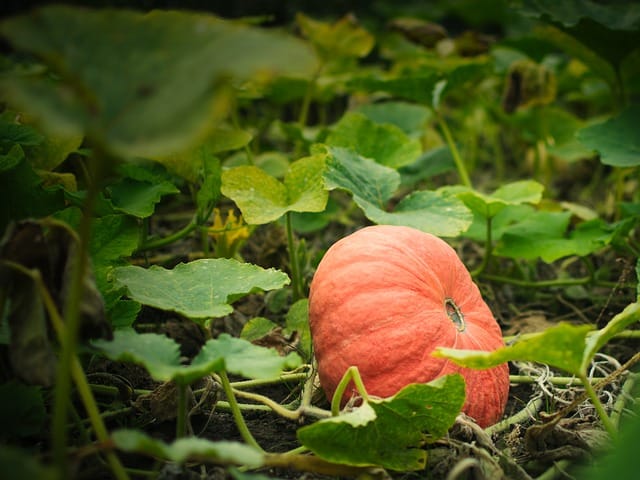
The best time to harvest pumpkin seeds is after you’ve enjoyed your pumpkins, ideally in late autumn when the skin is firm and the pumpkin has fully ripened. For optimal seed quality and viability, choose pumpkins that are:
Fully colored: A bright orange hue indicates ripeness.
Firm: The skin should feel hard and resistant to pressure.
Mature: Pumpkins left on the vine until after the first frost develop better seeds.
How to Harvest Pumpkin Seeds
Step 1: Gather Your Supplies
You’ll need the following items:
Ripe pumpkins
A sharp knife
A spoon or scoop
A colander
Water
A clean towel or paper towels
A labeled envelope or a glass jar for storage
Step 2: Scoop Out the Seeds
Cut the Pumpkin: Using the knife, slice the pumpkin in half. A classic top-cut or vertical slice will work, depending on your preference.
Remove the Seeds: With the spoon or scoop, gently scrape out the seeds from the pumpkin’s flesh. It’s okay to include some of the pulp; you can clean them later.
Step 3: Clean the Seeds
Rinse Thoroughly: Place the seeds in a colander and rinse them under cool running water. This helps separate the seeds from the stringy pulp.
Remove Pulp Residue: While rinsing, use your hands to rub the seeds gently, ensuring that all pulp is washed away. This step is crucial as leftover pulp can encourage mold during storage.
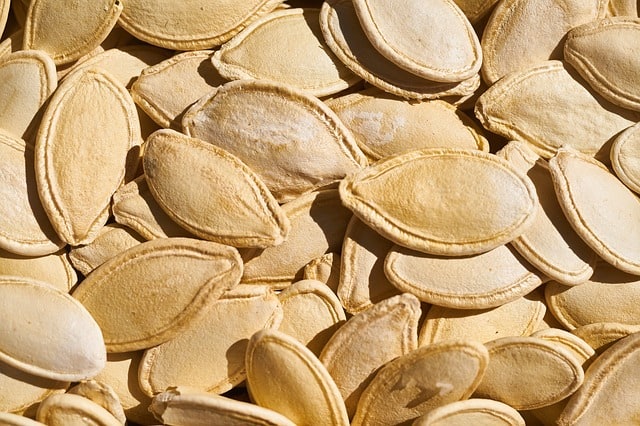
Step 4: Dry the Seeds
Spread Out the Seeds: Once cleaned, lay the seeds out on a clean towel or paper towels. Avoid overlapping them to prevent clumping.
Let Them Dry: Allow the seeds to air dry in a warm, dry place for 1-2 days. Ensure they are completely dry before storage to prevent mold growth.
Step 5: Store the Seeds
Use Proper Containers: Place the dried seeds in envelopes or glass jars. Label each container with the type of pumpkin and the date for future reference.
Choose a Safe Storage Location: Store your seeds in a cool, dark, and dry environment, like a pantry or a drawer. Avoid areas with humidity, such as basements or attics.
Tips for Successful Pumpkin Seed Storage
Check Viability: Before planting next spring, it’s a good idea to check the viability of your seeds. You can do this with a simple germination test by placing a few seeds on a damp paper towel and keeping them warm. If a majority sprout within a week, they’re good to go!
Rotate Varieties: If you’re interested in planting different varieties, consider keeping some seeds from several pumpkins to maintain diversity in your garden.
Conclusion
Harvesting pumpkin seeds is a fulfilling and straightforward process that allows you to contribute to the cycle of nature while adding to your garden’s beauty and productivity. The excitement of planting these seeds next season and watching them flourish is rewarding.
Remember to harvest from healthy pumpkins, clean and dry your seeds, and store them properly, and you’ll be well on your way to growing your own pumpkins. Enjoy the process and the beautiful pumpkins that will grace your garden next fall!