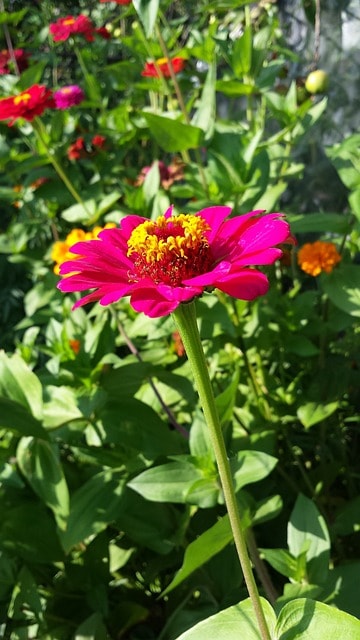
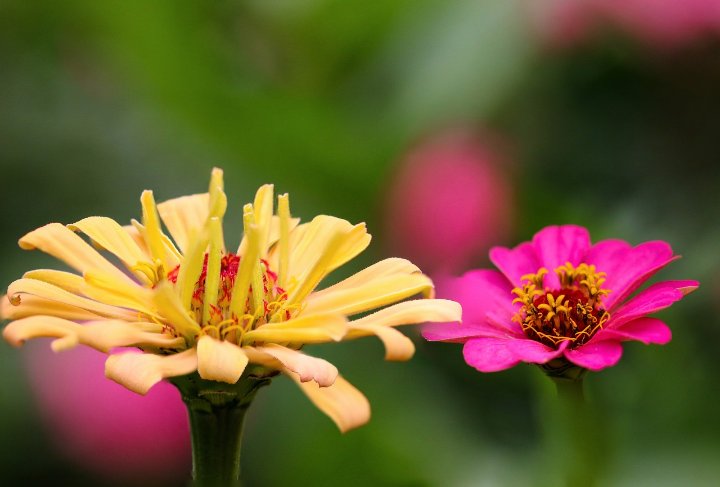
In this blog post, we’ll go through the steps and tips for successfully harvesting zinnia seeds, so you can keep your garden flourishing year after year.
Why Harvest Zinnia Seeds?

Before getting into the how-to, let’s consider the benefits of harvesting seeds:
Cost-Effective Gardening: Purchasing seeds can add up, especially if you want a variety of zinnia types. By harvesting your own seeds, you save money for other gardening supplies.
Preservation of Plant Varieties: If you have a favorite zinnia variety, saving seeds ensures that you can grow the same flowers again, retaining their unique beauty.
Sustainable Practice: Collecting seeds is an eco-friendly way to garden. It reduces reliance on commercial seed sources and encourages a natural cycle in your garden.
Educational Experience: For families or those new to gardening, harvesting seeds is a simple process that teaches responsibility and the beauty of nature.
When to Harvest Zinnia Seeds
Timing is essential when it comes to harvesting zinnia seeds. The best time to collect seeds is at the end of the flowering season, usually late summer to early fall. Look for the flowers that are starting to dry up and turn brown. Here are some cues to consider:
Dry and Brown Petals: The blooms should be largely faded with petals curling back or shriveling away.
Seed Heads: The seed heads should feel dry to the touch and typically turn a darker color.
How to Harvest Zinnia Seeds
Follow these straightforward steps to successfully harvest your zinnia seeds:
1. Gather Your Supplies
Before you start the harvesting process, make sure you have the following items:
Pruning shears or scissors
A paper bag or container for collecting seeds
A pen and paper for labeling
A sunny, dry spot for drying seeds
2. Cut the Seed Heads
Using your pruners or scissors, carefully cut the seed heads from the zinnia plants. Aim to leave a small stem attached to each head, which makes them easier to handle.
3. Dry the Seed Heads
Place the cut seed heads in a paper bag or on a tray in a dry, sunny area for about one to two weeks. This allows the seed heads to dry out completely, which is crucial for easy seed extraction.
4. Extract the Seeds
Once the seed heads are thoroughly dry, place them in a bowl and rub them gently with your fingers. This action will break apart the seed head and release the seeds. The seeds are small, round, and typically dark brown.
5. Clean the Seeds
Remove any chaff or debris from the seeds. Gently blowing on the seeds can help separate them from any remaining plant material.
6. Store the Seeds
Label a small envelope or container with the date and type of zinnia. Store your zinnia seeds in a cool, dry place away from direct sunlight. A dark cupboard or a refrigerator is often a good choice, as it helps maintain their viability for future planting.
Tips for Success
Choose Heirloom Varieties: If you want to save seeds for a particular look or characteristic, consider growing heirloom zinnia varieties, which will produce plants that are true to type.
Note Cross-Pollination: If you’re growing different zinnia varieties close together, note that cross-pollination can occur. If you desire pure seeds, keep varieties separated.
Check Viability: Before planting your saved seeds, you can test a small batch for germination by placing them on a damp paper towel for a week. If the majority sprout, your seeds are good to go!
Conclusion
Harvesting zinnia seeds is a simple, gratifying process that enhances your gardening experience. Not only does it save money, but it also allows you to enjoy your beautiful flowers year after year. With the right timing and technique, you can ensure a bountiful harvest of zinnia seeds that will brighten your garden for seasons to come.


