This guide will walk you through the process of harvesting worm castings and how to use them effectively in your garden.
Harvesting Worm Castings
After several months of feeding and care, it will be time to harvest the castings. Here’s how to do it effectively:
Signs Your Worm Castings are Ready
The castings will appear dark, crumbly, and smell earthy, indicating they are rich in nutrients and ready for use.
The original bedding and scraps will have mostly broken down.
Harvesting Methods
The Migration Method:
Move fresh bedding and food to one side of the bin. The worms will migrate to the new side for food, allowing you to collect castings from the side they’ve vacated.
The Light Method:
Spread the castings on a flat surface in a well-lit area. Worms naturally tend to burrow away from the light, allowing you to scoop off the top layer of castings over time.
Sifting Method:
Use a screen or sieve to separate the castings from the larger chunks of material. This works well if you’ve accumulated a large amount of castings.
Storage
Once harvested, store your worm castings in a breathable container like a cardboard box or paper bag. They can last for months if kept dry and free from pests.
How to Use Worm Castings
Worm castings can be used in various ways to benefit your garden:
Soil Amendment: Mix worm castings into your garden soil to enhance nutrient content and improve soil health.
Planting Mix: Blend castings into potting soil or seed starting mix for an extra nutrient boost.
Liquid Fertilizer: Create “worm tea” by soaking a cup of castings in a gallon of water for 24-48 hours. Use this nutrient-rich liquid to water your plants.
Top Dressing: Sprinkle castings on top of garden beds, around existing plants, or in containers to provide a slow-release nutrient source.
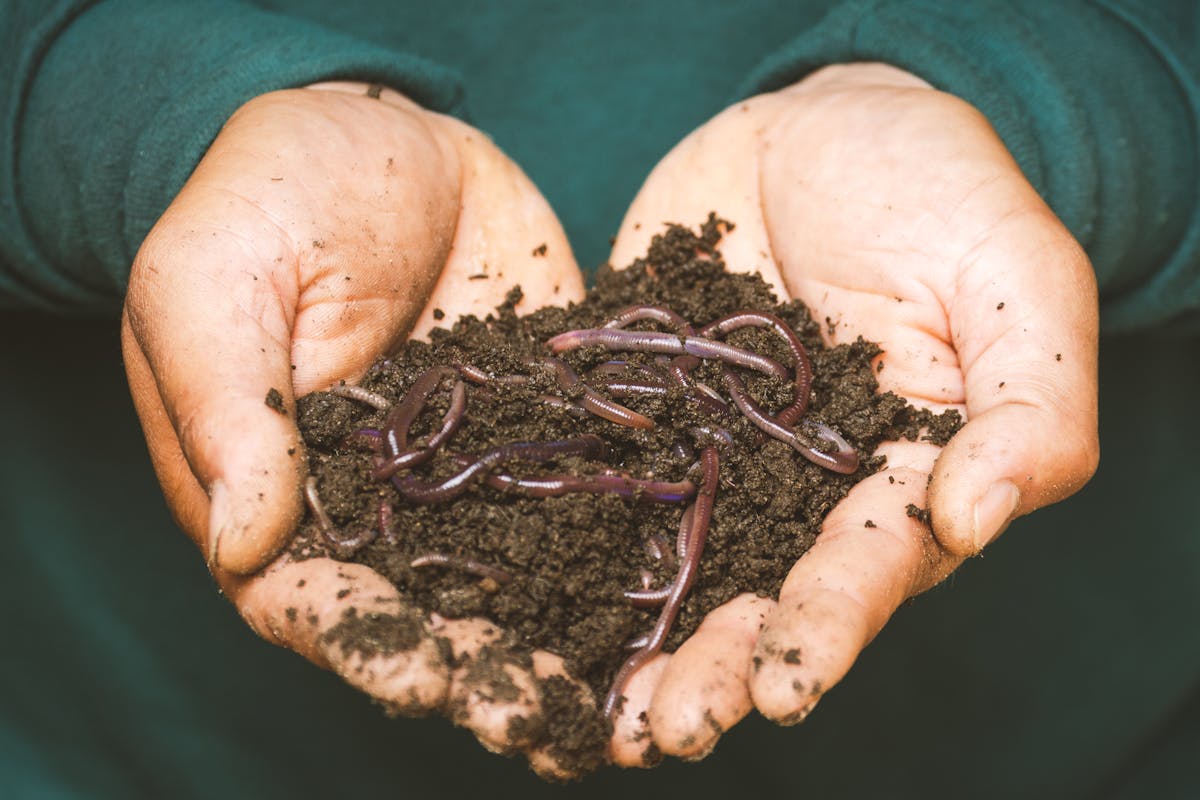
Understanding Worm Castings
Worm castings, also known as vermicast, are the nutrient-rich excrement produced by earthworms as they digest organic matter. Not only do they provide a fantastic source of nutrients for your plants, but they also improve soil structure and promote beneficial microbial activity.
Worm castings are packed with essential nutrients that plants crave. They contain nitrogen, phosphorus, potassium, calcium, magnesium, and a range of micronutrients. Beyond their nutrient density, they are also rich in beneficial bacteria and fungi, which help break down organic matter and make nutrients more available to plants.
Benefits of Using Worm Castings
Enhanced Nutrient Availability: Plants are able to absorb nutrients more efficiently from worm castings compared to traditional fertilizers.
Improved Soil Structure: The organic matter in worm castings enhances aeration and drainage in the soil, making it easier for roots to grow.
Disease Resistance: The microbial life in castings can suppress pathogens in the soil, leading to healthier plants.
pH Buffering: Worm castings can help stabilize soil pH, keeping it within an ideal range for most plants.
Setting Up Your Worm Bin
Before you can harvest worm castings, you’ll need to set up a worm bin. Here’s what you need to get started:
Materials Required
Container: A plastic or wooden bin with a lid, ideally 10-20 gallons in size. Drill holes for aeration and drainage.
Bedding: Shredded newspapers, cardboard, coconut coir, or peat moss to provide a comfortable environment for worms.
Worms: Red wigglers (Eisenia fetida) are the most commonly used for vermicomposting due to their efficiency in digesting organic materials.
Food scraps: Fruit and vegetable peels, coffee grounds, and crushed eggshells are excellent food sources. Avoid citrus, onions, and meat.
Steps to Set Up
Prepare the Bedding: Moisten your bedding materials and fill your bin halfway, allowing worms to burrow comfortably.
Introduce the Worms: Gently place your worms on top of the bedding. They will naturally burrow in.
Add Food: Bury a small amount of food scraps in the bedding periodically to avoid attracting pests.
Maintain the Environment: Keep the bin in a cool, dark location and maintain moisture levels similar to a wrung-out sponge.