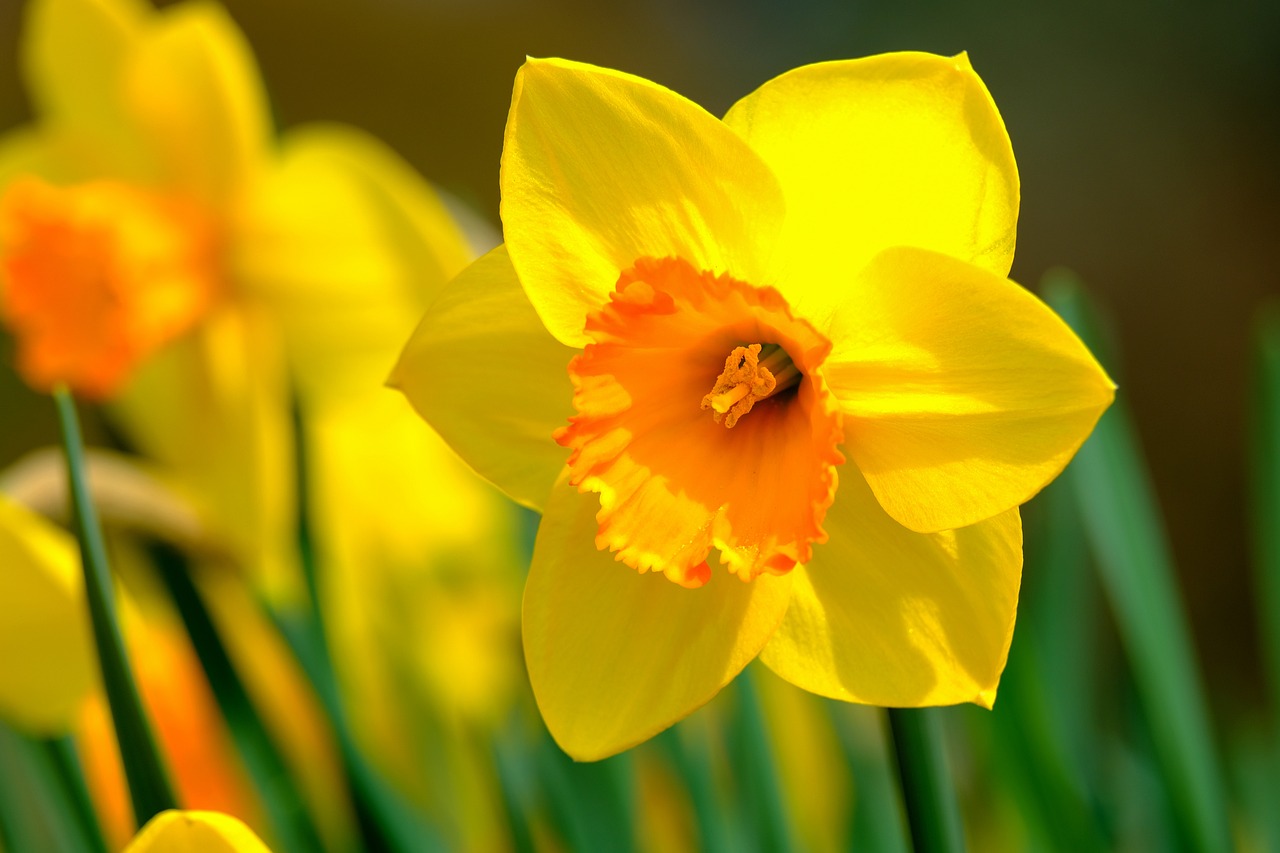
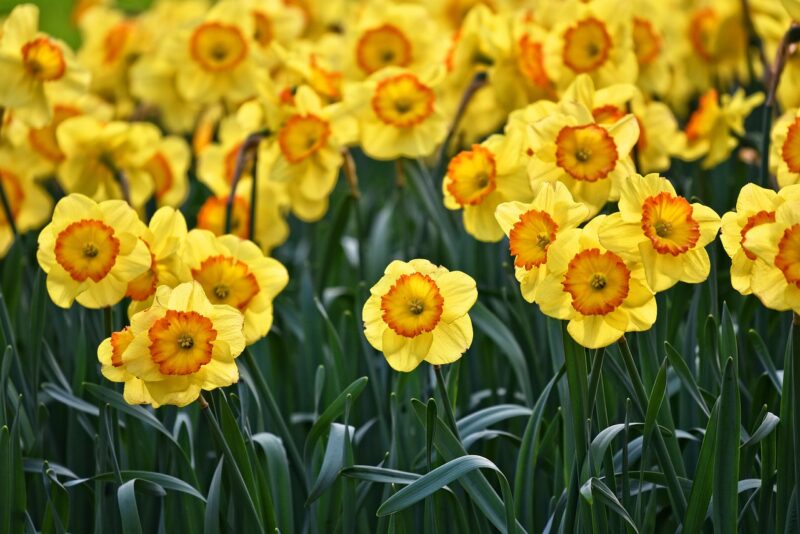
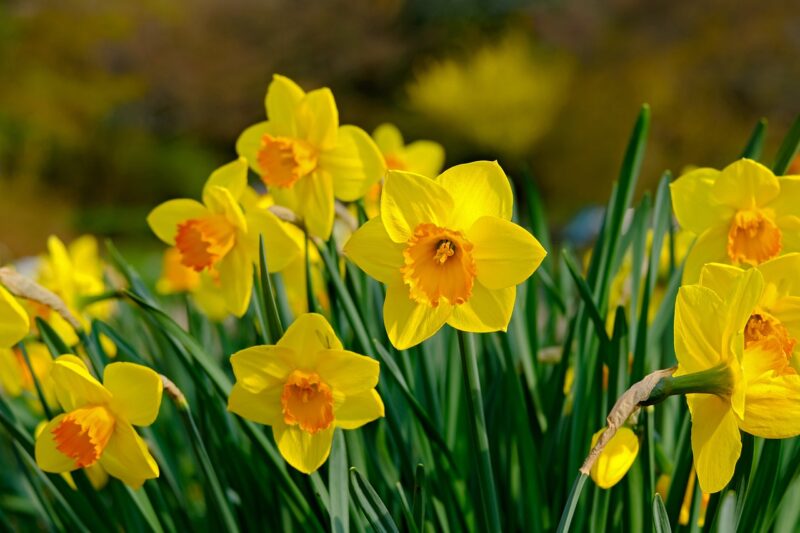
Daffodils, known for their cheerful blooms and vibrant colors, are a staple of many gardens. They herald the arrival of spring and offer beauty after winter’s grey. However, for avid gardeners, understanding how to properly care for daffodil bulbs, particularly when it comes to drying, is essential for ensuring that these perennials flourish year after year.
In this post, we will dig into the ins and outs of how to dry daffodil bulbs effectively, ensuring they remain healthy and ready to bloom in the next growing season.
Why Dry Your Daffodil Bulbs?
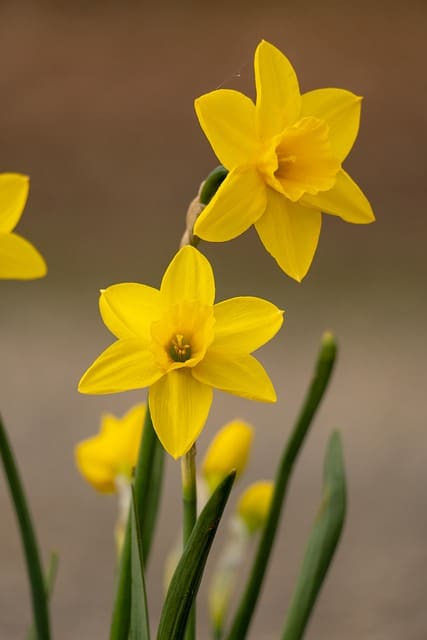
Before we dive into the specifics of drying daffodil bulbs, it is important to understand why this step is necessary. Daffodil bulbs need to be dried and stored properly to prevent rot and diseases during their dormant period. Here are some reasons why drying the bulbs can be beneficial:
Prevention of Fungal Diseases: Excess moisture can encourage the growth of fungi, which may cause rot. Dry bulbs reduce this risk significantly.
Longevity: Properly dried bulbs can be stored for longer periods, ensuring they remain viable for the next planting season.
Optimizing Growth Cycles: Daffodils have specific growth cycles, and dry bulbs allow gardeners to manage planting schedules more effectively.
Pest Control: By drying bulbs and storing them in a clean environment, it becomes less likely that pests will infest them.
Understanding these factors not only will help you appreciate the significance of drying but also will guide you in adopting best practices for bulb care.
When to Harvest Daffodil Bulbs
Timing is crucial when it comes to harvesting daffodil bulbs for drying. The ideal time to dig up daffodil bulbs is after the foliage has turned yellow and started to wither, usually late spring to early summer. Here’s a more detailed look into the timeline:
Post-Blooming Period: Allow the plants to bloom fully; this is essential for the bulb’s energy storage.
Foliage Condition: Wait until about six weeks after blooming for the foliage to turn yellow. During this time, the leaves continue to photosynthesize and provide energy to the bulb.
Weather Considerations: Avoid harvesting during wet weather, as moist soils can lead to difficulties in cleaning the bulbs and increase the risk of rot.
To check the foliage, observe its color; when it has faded and several leaves have died back, it indicates that the bulb has finished its energy-gathering period and is ready for storage.
The Process of Harvesting Daffodil Bulbs
Once you’ve identified that it’s time to harvest your daffodil bulbs, it’s time to prepare for the process. Follow these steps for a successful harvest:
Gather the Right Tools: You will need a spade or garden fork and gloves to protect your hands.
Loosen the Soil: Gently insert the spade or fork about 6-8 inches away from the base of the plant to avoid damaging the bulbs. Carefully loosen the soil around the bulb to lift it out without breaking it.
Carefully Remove the Bulbs: Grasp the bulb and gently pull it from the soil. If it resists, use your tool to further loosen the surrounding soil.
Inspect for Damage: Check for any damaged or diseased bulbs. Healthy bulbs should be firm to the touch and free of spots or mold.
Gather Bulbs: Once harvested, place bulbs in a basket or container that allows for airflow.
Cleaning Daffodil Bulbs After Harvesting
Cleaning is an essential step in the drying process. It helps remove soil and any debris that could harbor pests or pathogens. Here’s how to clean your daffodil bulbs:
Initial Shake: After removing the bulbs from the soil, shake off excess dirt. Do this over a compost pile or garden area to avoid clutter.
Rinse: Using a garden hose, gently rinse off remaining soil. Make sure to use a low pressure to avoid damaging the bulbs.
Remove Dead Leaves: If there is any remaining foliage attached to the bulb, trim the leaves down to about one inch above the bulb. Drying takes longer if excess foliage is left intact.
Inspect the Bulbs: As you clean, look for any signs of disease. Cut away any soft or rotten sections with a sterile knife.
Pat Dry: Use a towel or cloth to carefully pat the bulbs dry.
Drying Techniques for Daffodil Bulbs
Once cleaned, it’s time to dry your daffodil bulbs, an essential phase to ensure longevity and vitality. There are different methods for drying, and each has its advantages:
Air Drying
Air drying is the most traditional and straightforward process. Here’s how to do it:
Choose a Location: Look for a warm, dry, and well-ventilated area. A shed, garage, or basement can work well, provided there’s good airflow.
Use a Drying Rack: Spread the bulbs in a single layer on a drying rack, screen, or newspaper. Avoid stacking them to prevent moisture accumulation.
Rotate Occasionally: Check your bulbs every few days and rotate them to ensure even drying.
Drying Time: This method generally takes about 2-4 weeks, though this can depend on local humidity and temperatures.
Proper Storage Conditions for Daffodil Bulbs
Drying the bulbs is only part of the care process; proper storage is equally important to keep them healthy until the next planting season. Follow these guidelines for storing your daffodil bulbs:
Temperature: Store bulbs in a cool, dry location, ideally around 50°F (10°C).
Humidity Control: Low humidity levels are essential to avoid mold. Aim for a humidity level of under 50%.
Ventilated Containers: Use breathable containers like mesh bags, cardboard boxes, or paper bags to store your bulbs. These allow for ventilation and help maintain moisture levels.
Avoid Light Exposure: Light can encourage sprouting. Store bulbs in a dark place, such as a closet or a garden shed.
Check Regularly: Inspect the bulbs monthly for signs of spoilage. Remove any soft or moldy bulbs immediately to prevent the contamination of healthy ones.
Preparing for Replanting Daffodil Bulbs
Once it’s time for replanting, you will want to ensure that your daffodil bulbs are primed and healthy. Follow these preparation steps:
Visual Inspection: Before planting, inspect the bulbs once again. Healthy bulbs should be firm and free of spots.
Chilling Period (Optional): If you’ve stored the bulbs for longer periods, consider chilling them for a week before planting to simulate natural conditions, particularly in warmer climates.
Soil Preparation: Prepare your garden bed by loosening the soil and mixing in compost or well-rotted manure. Daffodils thrive in well-draining soil.
Planting Time: Ideal planting occurs in late summer to early fall. This gives bulbs the necessary time to establish roots before winter.
Planting Depth: Plant bulbs about 6-8 inches deep, pointy end up. This will provide the bulbs with enough soil for insulation and nutrient access.
Common Mistakes to Avoid When Drying Daffodil Bulbs
While drying and storing daffodil bulbs may seem straightforward, there are a few common pitfalls that gardeners should avoid:
Harvesting Too Early: Ensure that the foliage has fully matured and turned yellow before digging up the bulbs. Harvesting prematurely can rob the bulbs of necessary nutrients.
Improper Cleaning Techniques: Avoid using high water pressure or scrubbing too vigorously, as this can damage the bulbs. Gentle cleaning methods are best.
Failing to Dry Completely: Ensure bulbs are completely dried before storing them. Any residual moisture can lead to rot and disease during storage.
Storing in Non-Breathable Containers: Avoid plastic bags or containers that don’t allow airflow, as these can create a humid environment that encourages mold.
Overlooking Health Checks: Regularly inspect stored bulbs for signs of spoilage. Consistent care can prevent major issues down the line.
Conclusion
Drying and storing daffodil bulbs properly is a critical aspect of plant care that can significantly impact their future growth. By following the above guidelines, gardeners can ensure that their daffodils continue to bring joy and color to their gardens for years to come. Armed with knowledge about when to harvest, how to clean, appropriate drying techniques, and storage conditions, you are now prepared to give your daffodil bulbs the best chance for successful replanting. Enjoy the vibrant flowers that daffodils will provide each spring, knowing you’ve put in the necessary work to keep them thriving. Happy gardening!


