Have you ever wished you could preserve the beauty of your favorite flowers? Pressing flowers is a classic way to do just that, and it’s surprisingly easy! This technique has been used for centuries, allowing people to capture the delicate beauty of blooms and incorporate them into various crafts and decorations. In this blog post, we’ll walk you through the steps to press flowers inside books, a method that’s both simple and effective.
How to Press Flowers Inside Books
Why Press Flowers?
Pressed flowers are incredibly versatile and can be used to create a wide range of beautiful and unique projects. Here are just a few ideas:
Cardmaking: Imagine creating personalized greeting cards with delicate pressed flowers, adding a touch of natural elegance to your messages. You can incorporate them into birthday cards, thank you notes, or even invitations, making them truly special.
Ornaments: Pressed flowers can be transformed into charming ornaments for your home or as thoughtful gifts. Imagine a delicate flower pressed into a clear glass ornament, capturing the beauty of nature in a timeless piece.
Gift Wrapping: Add a touch of elegance to your gift wrapping by using pressed flowers. Instead of relying on ribbons or bows, you can create unique and personalized designs by arranging pressed flowers on your gift boxes.
Decoupage: Pressed flowers can be used to transform ordinary objects into beautiful works of art. Decoupage involves adhering pressed flowers to surfaces like boxes, trays, or even furniture, creating a unique and textured finish.
The Materials You’ll Need
Fresh flowers: The key to successful flower pressing is to start with fresh blooms. Choose flowers that are in their prime, with vibrant colors and beautiful petals. Avoid flowers that are too wilted or damaged, as they may not press well.
Waxed paper: Waxed paper is essential for protecting your books and ensuring your flowers press evenly. It’s also easy to find and readily available at most grocery stores.
Books: You’ll need a stack of heavy books for pressing the flowers. Choose books that you’re willing to use for this purpose, as they may get slightly stained from the flower juices.
Step-by-Step Instructions
Select Your Flowers: The first step is to choose your flowers carefully. Look for blooms with thin, flat petals that will press well. Roses, pansies, daisies, and violets are good choices.
Cut the Stems: Trim the stems of your flowers to the desired length. You can cut them short for cardmaking or longer if you plan to use them for other projects. Remember to cut the stems at an angle to help them absorb water more efficiently.
Prepare the Waxed Paper: Cut a piece of waxed paper that will fit inside your book when folded in half. This will create a protective layer between the flowers and the book pages.
Arrange the Flowers: Place your flowers on the waxed paper, ensuring they are not touching each other. Arrange them in a way that you find aesthetically pleasing. You can create patterns, designs, or simply place them randomly.
Close the Book: Carefully close the book around the waxed paper, making sure the flowers don’t move. Press the book closed firmly, but don’t force it.
Stack the Books: Add more heavy books on top of the one containing your flowers. The weight of the books will provide the necessary pressure for pressing the flowers.
Wait Three Weeks: Allow the flowers to press for three weeks. This will give them enough time to dry completely and become flat.
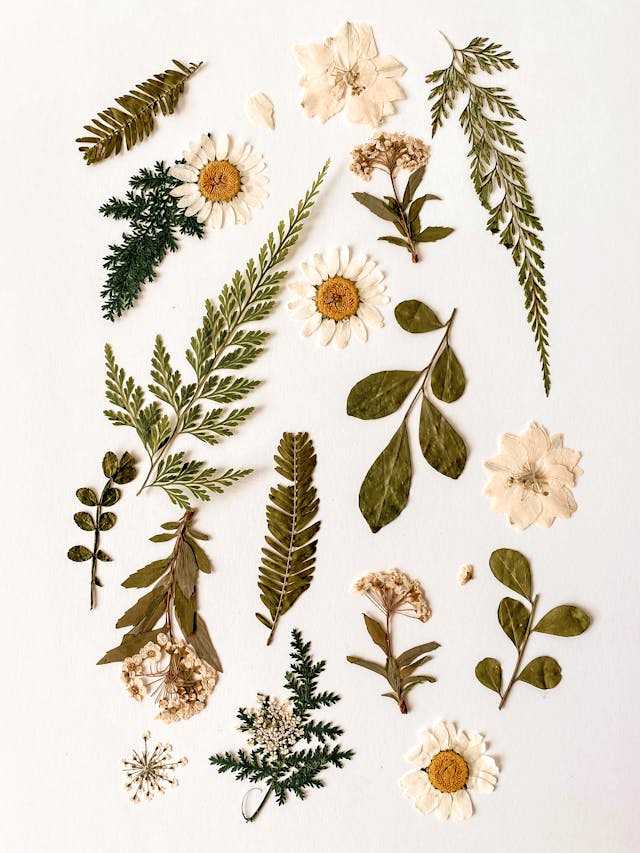
Reveal Your Pressed Flowers: After three weeks, carefully remove the flowers from the book. They should be dry, flat, and ready to use! You can gently peel off the waxed paper if it’s still stuck to the flowers.
Tips for Success
Choose the Right Flowers: Choose flowers with a thin, flat structure for best results.
Avoid Overcrowding: Give your flowers plenty of space to avoid them sticking together.
Use Heavy Books: Heavier books will provide more pressure for faster drying.
Store Properly: Keep your pressed flowers in a cool, dry place to prevent them from fading.
Enjoy Your Pressed Flowers:
Once your flowers are pressed, the possibilities are endless! Use them to create beautiful crafts, unique decorations, or simply enjoy their delicate beauty.
For more inspiration, check out this Pinterest board full of creative ideas for using dried flowers:
Have fun pressing your own flowers! It’s a wonderful way to preserve nature’s beauty and create something truly special.