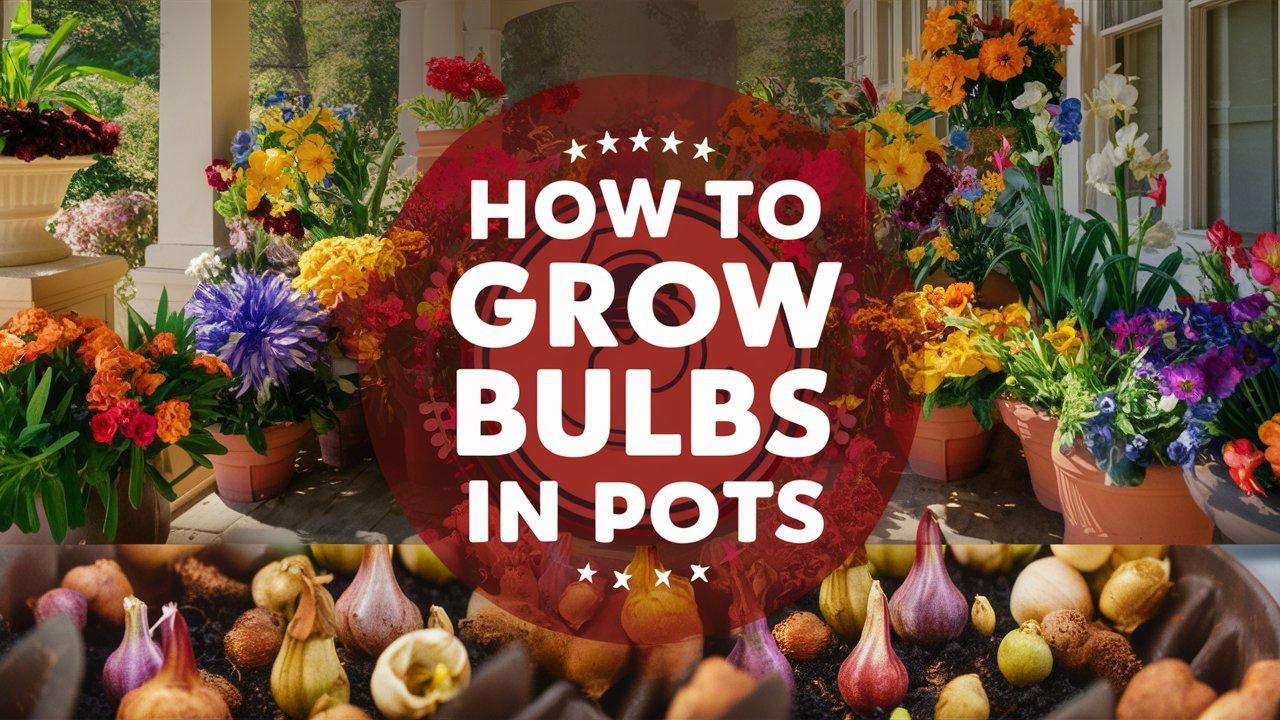
Growing bulbs in pots is a delightful way to add life and color to your home, patio, or garden. Whether you want to enjoy early spring blooms or vibrant fall colors, potting bulbs gives you the advantage of control over their environment.
With the right knowledge and techniques, you can achieve a garden full of splendor, even in small spaces. This post will cover everything from selecting the right bulbs to ensuring they thrive in their pots.
Understanding Bulb Basics
What Are Bulbs?

Bulbs are underground storage organs that hold nutrients for the plant’s growth. They store energy in a modified leaf structure and are designed to survive periods of dormancy. Popular bulb varieties include tulips, daffodils, hyacinths, and alliums, each offering unique blooms that can elevate any setting. Each bulb type has its distinct growth requirements and blooming seasons, so understanding these factors is critical for successful cultivation.
Why Grow Bulbs in Pots?
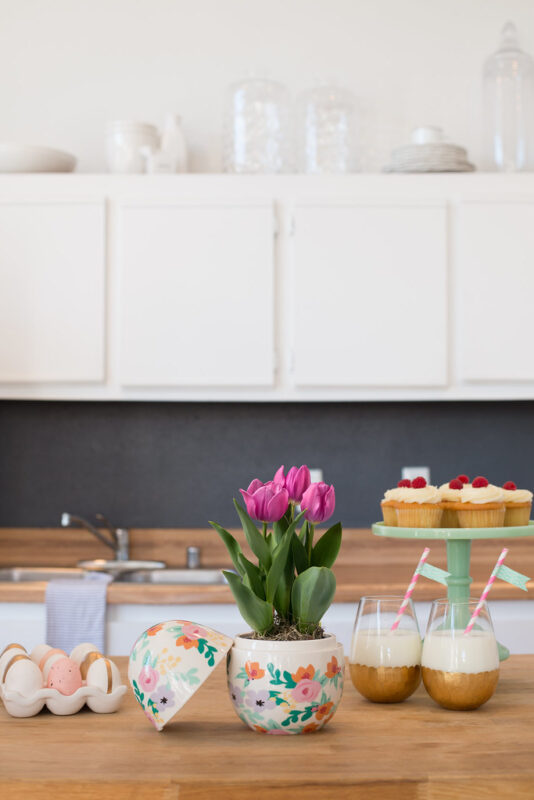
Growing bulbs in pots provides numerous advantages. First, it allows gardeners with limited space to enjoy various flowers without the need for a traditional garden bed. Pots are also highly versatile; they can be repositioned to highlight seasonal displays or moved indoors and outdoors based on weather conditions. Additionally, bulbs in pots are less likely to be affected by garden pests and diseases compared to those planted directly in the ground.
Selecting the Right Bulbs
The first step in your journey of growing bulbs in pots is selecting the right varieties. Here are some factors to consider:
Seasonal Choices
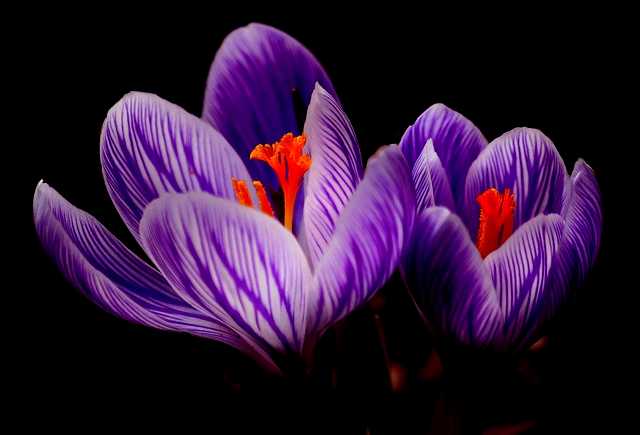
Spring Bloomers: Make sure to choose bulbs like tulips, daffodils, and crocuses if you want to see blooms in early spring. These need to be planted in the fall, allowing them to chill and prepare for bloom as winter fades.
Fall Bloomers: For bulbs that thrive in the fall, consider planting allium or autumn crocus, which can also grace your container garden with late-season brilliance.
Size and Health
When selecting bulbs, inspect them carefully. Choose bulbs that are firm and free from blemishes. They should be plump and smooth to the touch, indicative of good health. Avoid buying bulbs that are shriveled, soft, or moldy, as these are unlikely to thrive.
Compatibility
Some bulbs work well together in a pot, creating a visually appealing arrangement. Consider planting shorter bulbs like crocuses with taller varieties like tulips or daffodils, which can help add depth and dimension to your pot. Moreover, explore combinations that consider bloom times and colors to create a harmonious look.
Selecting the Ideal Pots

The choice of pot greatly influences the success of your bulbs. Here are essential factors to keep in mind when selecting pots for bulb planting:
Size Matters
Bulbs need space to grow. A pot should be at least 6-8 inches deep and wide enough to accommodate multiple bulbs without overcrowding. Each bulb should ideally have about 2-3 inches of space between them to flourish without competition.
Material Choice
Pots come in various materials such as terracotta, ceramic, and plastic. Terracotta pots are popular due to their porous nature, which aids in moisture regulation – crucial for bulb health. However, they can dry out quickly, needing more frequent watering. Plastic pots retain moisture well but may require careful monitoring to avoid overwatering, as they are less breathable.
Drainage is Essential
Ensure that your pots have drainage holes at the bottom. Good drainage prevents standing water, reducing the risk of bulb rot. If your pot lacks drainage or is particularly large, consider adding a layer of gravel at the bottom to enhance drainage.
Preparing the Potting Medium
The right potting mix is fundamental for bulb success. Here’s how to prepare an ideal medium:
Choosing the Right Mix
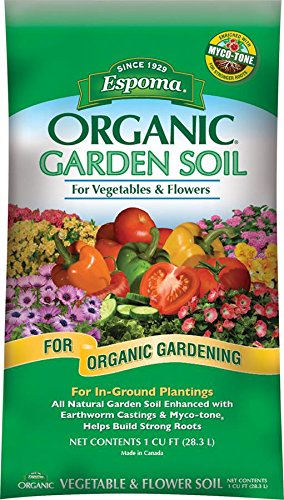
A well-draining potting mix is essential for bulb health. Use a commercial potting soil that promotes aeration and drainage. You can create your own mix by combining equal parts of potting soil, perlite, and peat moss. This blend will allow for optimal drainage while retaining some moisture.
pH Level
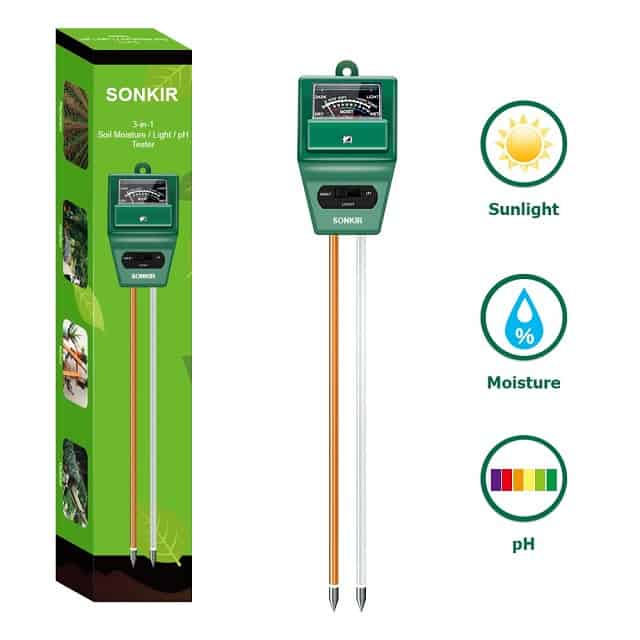
Bulbs generally prefer a slightly acidic to neutral pH level (6.0 – 7.0). Testing the pH of your potting medium can help ensure that it falls within this range, benefiting overall growth.
Adding Nutrients
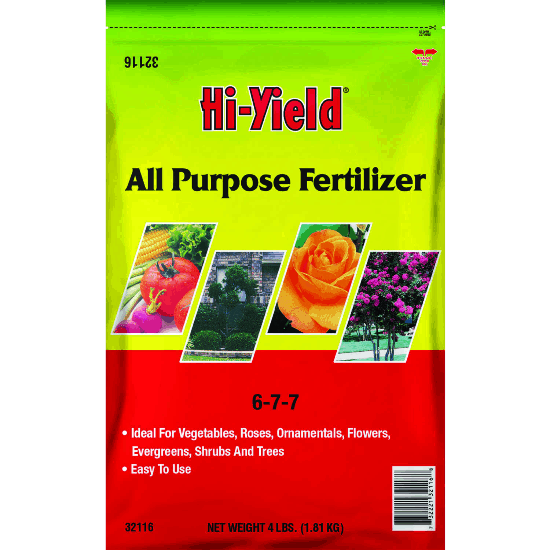
To further enrich your potting mix, consider mixing in slow-release fertilizers. Incorporating organic amendments like compost before planting can enhance nutrient content and promote healthy root growth.
Planting the Bulbs
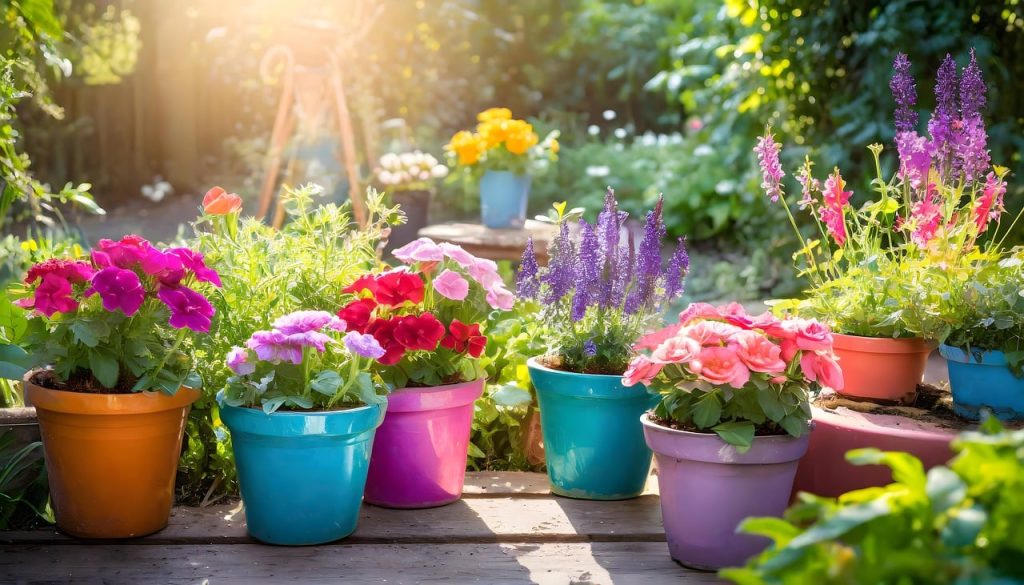
Now that you have your bulbs, pots, and potting mix ready, it’s time to plant:
Depth and Spacing
As a rule of thumb, plant bulbs at a depth of about three times their height. For example, a bulb that is 2 inches tall should be placed approximately 6 inches deep. Additionally, space bulbs adequately to prevent crowding, generally 2-3 inches apart in the pot.
Handling the Bulbs
When you handle bulbs, be gentle. Avoid squeezing or applying excessive pressure, as this can damage the delicate growing points. Aim for a clean and even planting depth to promote even growth.
Watering After Planting
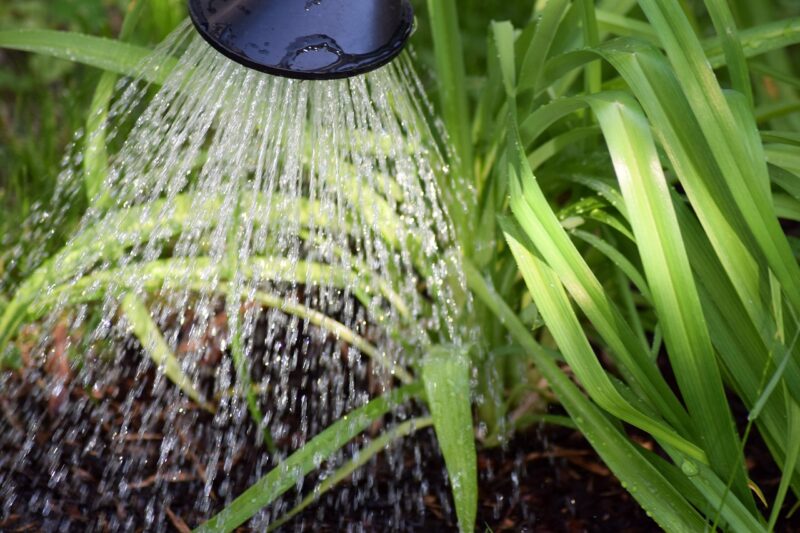
Once planted, thoroughly water the bulbs to help settle the potting medium around them. But be careful not to overwater; the initial watering should moisten the soil without saturating it. Allow the excess water to drain away completely.
Watering Techniques
Watering is a crucial aspect of bulb care. Here’s how to ensure your bulbs receive the right amount:
Initial Watering
After planting, give your bulbs a good drink of water to encourage them to establish their roots. This helps the soil to settle and removes any air pockets that may be present.
Ongoing Watering
Once the bulbs are established, maintain a consistent watering schedule. Check the soil moisture by sticking your finger about an inch into the soil; water only if it feels dry. In general, pots that are outside might require more frequent watering, especially in warmer temperatures or sunny conditions.
Seasonal Adjustments
Adjust your watering habits based on the season. During the active growth phase in spring, your bulbs may need more water as they begin to bloom. Conversely, when they go dormant in summer after blooming, reduce watering significantly.
Providing Adequate Light Conditions
Adequate light is critical for bulb health, influencing both growth and blooming:
Understanding Light Requirements
Most bulbs thrive in full to partial sunlight. For instance, tulips and daffodils prefer full sunlight, while some other varieties can tolerate partial shade. Be sure to research the specific needs of the bulbs you’ve chosen.
Indoor vs. Outdoor Bulbs
If you’re growing bulbs indoors, choose a bright south or west-facing window to maximize light exposure. Consider using grow lights if natural sunlight is insufficient, especially during the shorter days of winter. For outdoor pots, place them in a location that will receive consistent sunlight for a significant portion of the day.
Seasonal Considerations
As seasons change, be mindful of adjusting the location of your pots. Moving them to ensure they receive adequate sunlight throughout the year can benefit bulb growth.
Fertilization Practices
Fertilization plays a key role in ensuring healthy growth and vibrant blooms. Here’s how to fertilize your potted bulbs effectively:
Initial Fertilization
When preparing your potting mix, it can be beneficial to incorporate a slow-release fertilizer designed for flowering plants. This ensures that nutrients are available from the moment the bulbs begin growing.
Feeding During the Growing Season
Once your bulbs have started to bloom, feed them with a balanced liquid fertilizer every 4-6 weeks. Opt for fertilizers higher in phosphorus, as this nutrient encourages blooming. Alternatively, there are specialty bulb fertilizers available, tailored to meet the specific needs of bulbous plants.
Post-Bloom Care
After blooming, continue to nourish the bulbs through their leaf growth phase. These leaves are crucial for photosynthesis, helping to store energy for future blooming seasons. As the foliage starts to yellow and die back, reduce feeding gradually, allowing the bulbs to enter dormancy.
Managing Pests and Diseases
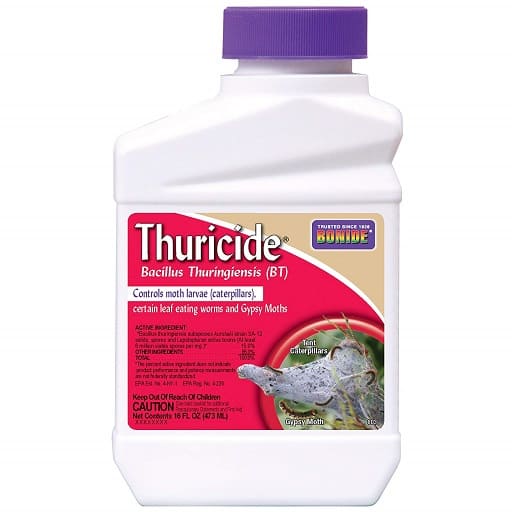
Potted bulbs are often less susceptible to pests and diseases than those grown in the ground, but vigilance remains essential:
Common Pests
Keep an eye out for aphids, snails, and slugs, as these can pose threats to your bulbs. You can deter slugs and snails by using copper tape around pots or applying organic snail bait. For aphids, insecticidal soap or neem oil can be effective and safe methods for controlling infestations.
Avoiding Bulb Rot
Bulb rot is often caused by overwatering and poor drainage. Ensure your pots have adequate drainage to keep bulb roots healthy. Fungicides may help if you notice signs of fungal infections, but prevention through proper watering is the best approach.
Annual Clean-Up
After your bulbs have finished flowering and the foliage has died back, clean up the pots to prevent any potential disease from lingering in the soil or on the dormant bulbs. Remove any wilted plant matter from the topsoil and keep the pots in a clean environment.
Care After Blooming
Post-bloom care is just as crucial as the pre-blooming phase. To ensure the longevity of your bulb garden:
Allow Foliage to Mature
Once the flowers have faded, resist the urge to cut back the foliage too soon. The leaves are vital for photosynthesis, which replenishes the energy store of the bulb. Let the foliage naturally yellow and die back, which typically takes several weeks after blooming ends.
Dormant Period Care
Once the leaves turn brown, you can cut them back at the soil line. If your regions’ climate allows, consider keeping the bulbs in their pots or planting them in the ground for naturalization. Alternatively, if you live in an area with harsh winters, you may need to store the bulbs.
Storing Bulbs for Winter
If you choose to store bulbs after their blooming cycle, follow these steps:
Digging Up Bulbs
For bulbs that cannot withstand frost, carefully dig them up once the foliage has perished. Remove excess soil and inspect the bulbs for any signs of damage or disease.
Proper Drying
Place the bulbs in a cool, dark location for several days to allow them to dry. This prevents mold formation and prepares them for long-term storage.
Storing Conditions
Store dried bulbs in a breathable container like a paper bag or mesh sack, keeping them in a cool, dark, and dry space. Avoid plastic because it can trap moisture and promote decay. While storing, periodically check for any signs of rot or disease.
Conclusion
Growing bulbs in pots not only brings joy and beauty to your surroundings but also engages you in nurturing and caring for a living product. By understanding the specifics of bulb selection, planting techniques, watering, fertilization, and post-bloom care, you can be guaranteed a stunning display of flowers year after year. Embrace the satisfaction of tending to your bloom-filled pots, and relish every season they offer!


