Kale is a great choice for people who want to grow a brassica but have had problems with their cultural requirements. While kale like most brassicas, prefers a cool climate, it can tolerate summer heat much better than most brassicas. This makes it an excellent choice for gardeners in warm climates.
Buy Kale Seeds Online
| Image | Name | Rating | Shop |
|---|---|---|---|
 | Kale Blue Scotch Curled 500 Seeds – Non GMO – | ||
 | Kale Garden Seeds – Vates Blue Scotch Curled – 1 Lb Gardening & Microgreens |
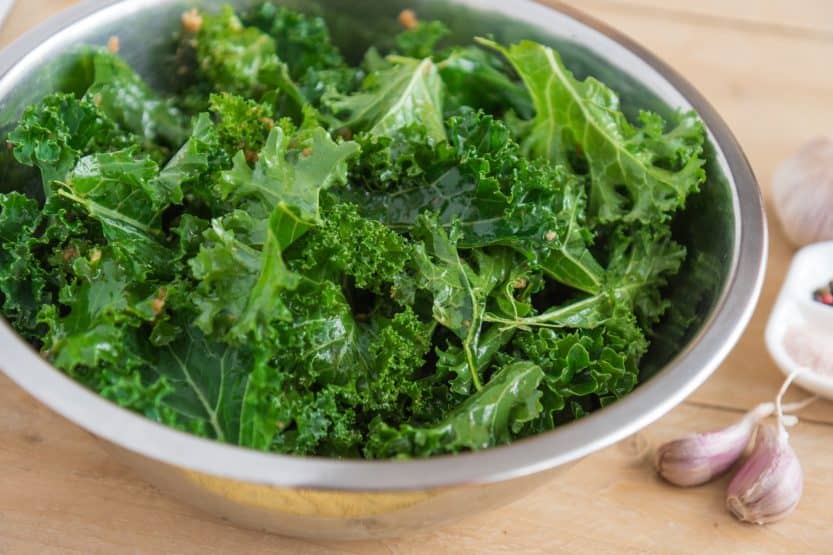
Kale Health Benefits
Kale is also considered a superfood, as it has extremely high amounts of vitamin K, as well as being an excellent source of vitamin A and vitamin C. While some studies indicate that its sulforaphane content has chemo-protective qualities.
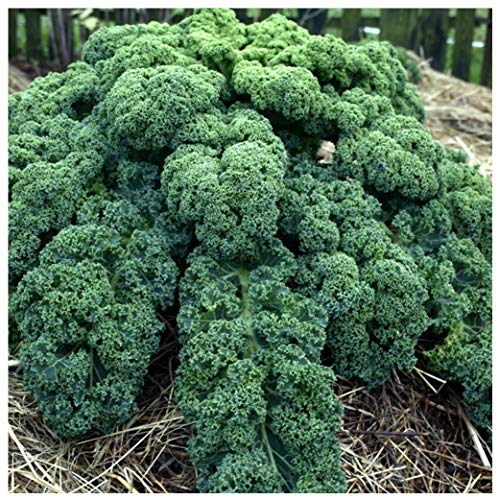
Kale Varieties to Grow
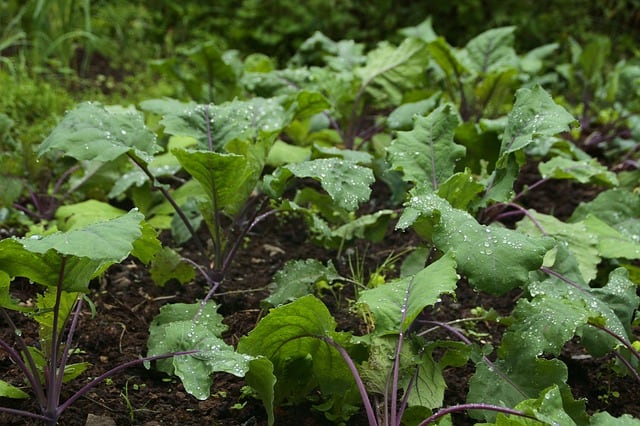
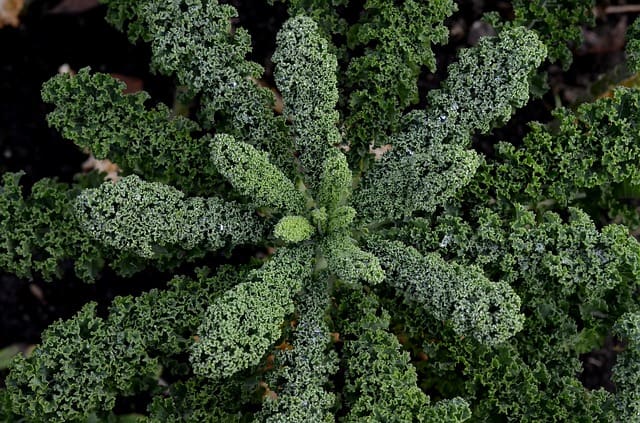
Kale comes in a number of unique varieties. There is Curly kale with its mild-tasting, wrinkled leaves. Lacinato (a.k.a. Dino Kale) has wrinkled leaves that are slender and can make a nice ornamental addition to any garden. Siberian and Russian kales are the most cold hardy amongst all the kale species and are the optimal choice for extremely cold areas.
When Can You Plant Kale?
Kale can be started twice a year: once in early spring; and, again, in mid-summer. The early spring crop can be started indoors for later transplant. The seeds can also be sown directly into the garden, once the soil temperature is above 40 degrees Fahrenheit (4.4 C).
Starting Kale Indoors
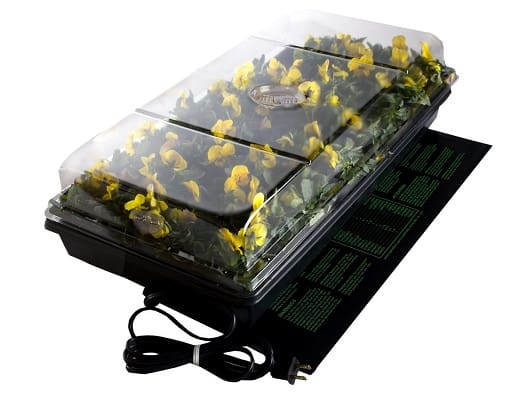
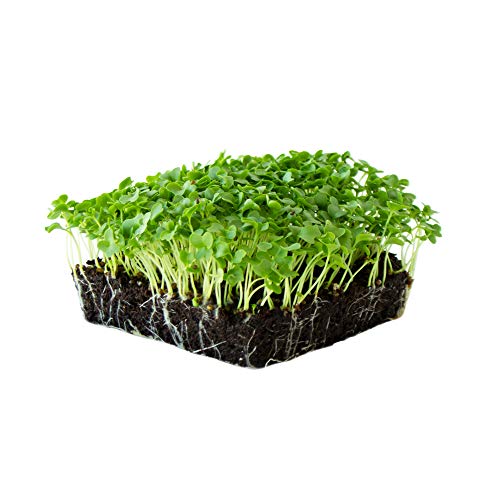
If you start the seed indoors in seed starting trays (Buy Online), then allow the plants to reach a height of 4 inches (10 cm), before placing them outside. If you want to get a second crop, you should plant it during the mid-summer.
Start the seeds in small pots, in a shaded area or in a greenhouse, in order to protect them from the heat of the summer. Then, once the weather cools down in the late summer, you can transplant them into their final growing location in the garden.
Planting Kale
What kind of soil does Kale Need?
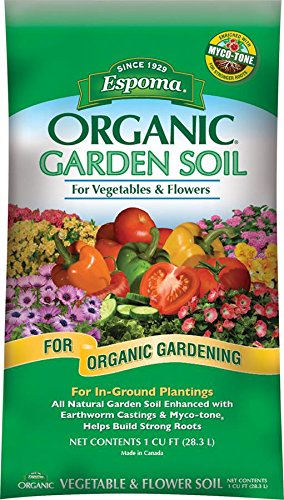
Kale prefers a rich fertile soil (Buy Online) with a pH of 6.0 to 7.0. If your soil is sandy, or if it has very poor fertility, you should add generous amounts of compost to the whole planting area. Kale that is grown in poor soils will be prone to disease. Poor soil will also reduce the plant’s yield and will lead to the leaves tasting bitter.
Brassica plants require a good source of calcium to grow; and if your soil is very acidic, lime the soil to provide this key nutrient. Once the area has been prepared, you can plant your seeds or seedlings.
Kale Plant Spacing
If you are planting seeds place them at a depth of 0.33 inches (.8 cm) with an initial spacing of 8 inches (20 cm). Transplants can be put in at a final spacing of 16.5 inches (42 cm). Water the seeds and or seedlings in after planting; and continue watering daily until the seeds emerge or the seedlings perk up.
Kale Weed Control
Be sure to keep an eye out for weeds, especially early in the season, and promptly remove them from around your plants. Care should be taken when weeding, as kale has a very shallow root system; therefore, it is best to cut weeds at the base when they are growing closer to the kale plants.
Thinning Kale Seedlings
If you placed the seeds directly into the garden, now is the time to thin the plants, so that they are spaced 16.5 inches (42 cm) apart. Add a layer of mulch around your kale plants, once they have reached a height of 4 inches (10 cm). Mulch will not only control weeds, but it will help maintain the very moist soil conditions your kale plants will need throughout the year.
Kale Care and Maintenance
Kale Water Requirements
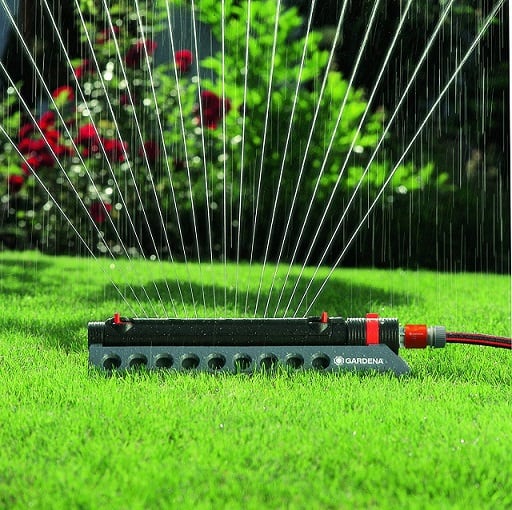
Even though kale is easier to care for than most brassicas there still can be some challenges. First and foremost: always keep your kale plants well hydrated. In the summer, this may lead to daily watering, if you did not mulch the plants.
Be careful when watering not to over water, as this can lead to mold and rot; therefore, light, frequent watering is preferred over deep soakings.
Kale Pests and Diseases
Kale has a host of pest and disease problems. Early in the season, keep an eye out for aphids. If they become a problem, promptly remove the infested foliage or rub the aphids off the plant. If you see white butterflies hovering around your plants, immediately begin checking them for eggs or larvae, then promptly remove them from the plant.
Kale Insect Control

If the insect problem is greater than hand inspection and eradication can control, then you might want to consider using an organic pesticide, such as Bacillus Thuringenisus (Buy Online), to keep the insects at bay. Except for these common brassica pests, kale holds up well under most circumstances, compared to most brassicas.
When to Harvest Kale Leaves
Kale can be harvested anywhere from 80 to 90 days after it was sown in the garden. You can successively harvest the kale into the late fall. Once the plant begins to die back, you should remove the plant from the garden, in order to limit any pests and disease from overwintering amongst the decaying vegetation.
How to Harvest Kale so it Keeps Growing
Make sure you do not let the leaves become too mature, as they will acquire a tough texture and a bitter taste. Begin harvesting the outer leaves first, while taking care not to remove too much foliage from any given plant on any single harvest. You can keep picking kale as long as the leaves look green healthy and fresh.
Storing Kale for Winter
Kale will keep for a few days in the refrigerator but it is usually best fresh. If you want to freeze it, you should lightly blanch the leaves, and then allow them to dry, before placing them in freezer bags for long-term storage.