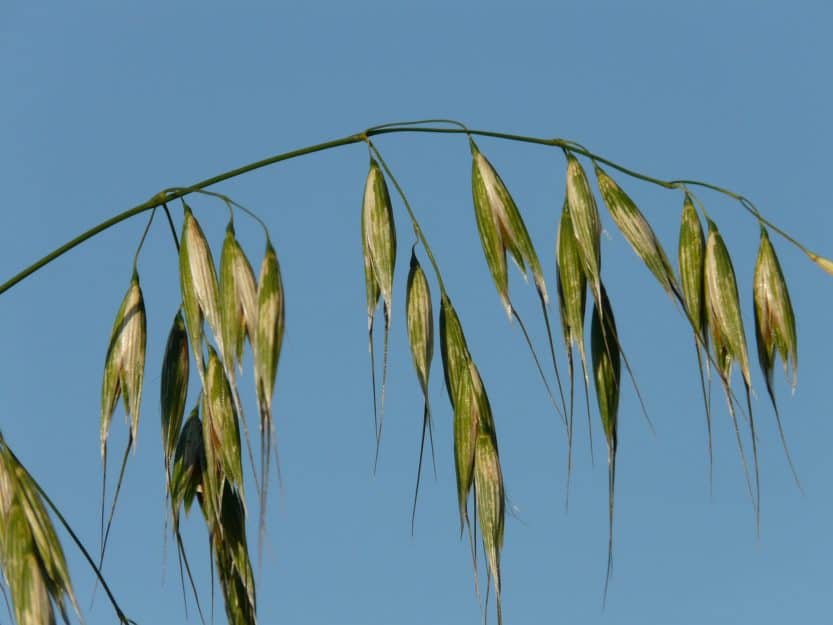
Oats while not generally considered a home garden crop, but they have a number of uses in crop rotation or can be used as animal feed. Oats can also be grown for use as fodder for a number of animals, ranging from rabbits to goats and chickens, too.
Oats Benefits
Growing oats for human consumption is also a great idea since oats are an excellent source of manganese, molybdenum, phosphorus, and copper. Oats also contain beta-glucan, which has been reported in studies to lower cholesterol for people who are suffering from high cholesterol.
Hulless Oats
If you choose to grow oats for personal consumption, keep in mind that hulled varieties of oats require special milling machines to strip the hull from the seed, while hull-less varieties can be processed by hand. Oats can also be planted in the late summer or early fall, as a cover crop to prevent weeds; and finally, the oats will be winter killed, adding carbon to the soil.
Oats Growing Season
It is best to start oat seeds as early in the season as possible, as oats prefer to germinate in cool weather. Oat seeds do not transplant well and are easy to sow directly in the garden; and, therefore, starting the seeds indoors is not advised.
Can oats Handle Frost?
Oat seedlings can handle a light frost, so do not be afraid to get the seeds planted before your last frost. As long as the ground is workable and no hard freezes are expected, you can plant the seeds. If you are going to plant a fall cover crop, wait until the temperature drops in late summer. In colder climates, this crop probably will not produce seed but will make an excellent cover crop to protect the soil throughout the winter.
Planting Oats
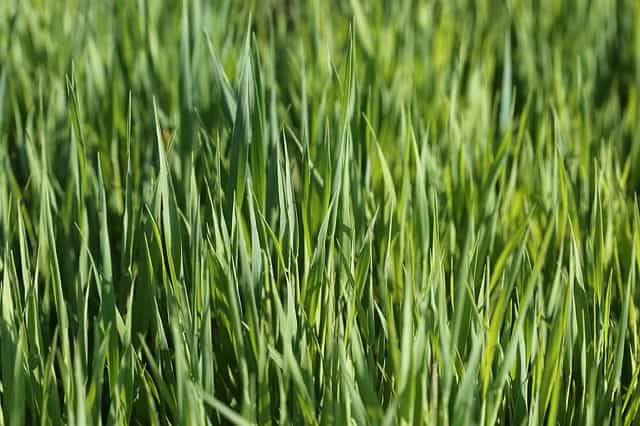
When selecting a location for oats in your garden, find a spot with soil that retains moisture and has sun exposure throughout the day. Oat plants need a consistent level of soil moisture, in order to grow; and if your soil is sandy or prone to drying out, then add a liberal amount of compost to the planting area.
Oats Soil Requirements
Even though oat plants need a good amount of soil moisture, make sure the soil (Buy Online) has good drainage, as oats do poorly in waterlogged conditions. If you have not grown a nitrogen-fixing crop or have not previously fertilized the area, then add a high-nitrogen fertilizer about a week before planting the seeds. The soil should be tilled to a fine tilth, make sure the top layer of soil is not allowed to crust over.
Broadcasting Oats
Once everything is ready, you can broadcast the seeds on top of the soil, and aim to have 2 to 3 seeds evenly spread per 1 inch (2.54 cm) of soil. You can gently rake the seeds into the soil or leave them on the surface to germinate. If you rake them, be sure not to rake them in too deeply and only rake them in no deeper than 1 inch (2.54 cm).
Will Oats Grow on Top of the Ground?
If you leave the seeds on the surface to germinate, it is best to do so before a rain, so that the raindrops can drive them gently into the soil. Be careful not to leave the seeds exposed on the soil surface for a prolonged period of time, or birds will consume them.
Water the seeds daily, if it’s possible, for the next week; but during the early spring, only water if the weather stays above freezing. If it does not stay above freezing, then let the seeds germinate naturally.
Oat Care & Harvest
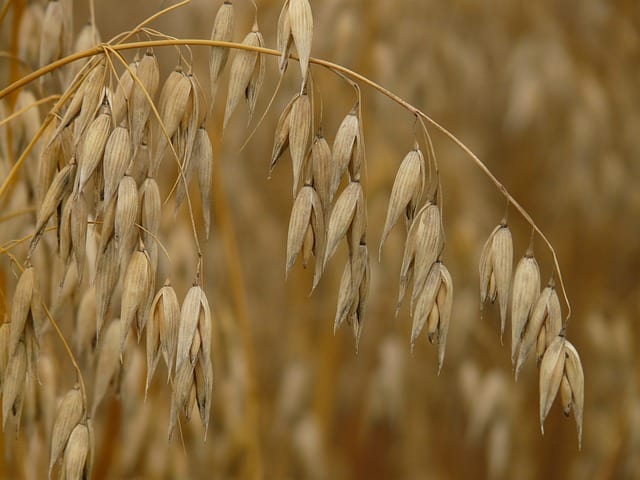
Oats are relatively easy to care for throughout the season. In the spring, make sure to remove any weeds that might be growing in your patch of oats. Weeds tend to be less of a problem once the oat plants start to mature. In most cases, the oat plants should smother out the weeds, if they are planted close enough.
Oat Diseases
Be sure to keep an eye out for a red rust, growing on the foliage, in spring and the early summer. Red rust can destroy a crop, but usually, it’s only a problem in cool damp conditions. If rust is noticed, try not to water the tops of the plants directly and make sure they have sufficient air circulation.
Oat Pests
Besides the diseases mentioned above, the only other major pest will be birds and rodents once the grain starts to form. You can set traps or put up deterrents; however, in most cases, the yield losses are minimal.
Harvesting Oats
If you are growing oats on a small scale, then harvest time may take on a different meaning, depending on how you plan on using the plants. If you intend to feed the stalks to animals do not let the seeds fully mature. Instead, you should cut the plant at the base and then feed the freshly chopped stalks right to your animals.
This also applies when you are making hay, so do not let the seeds mature, as this will make the stalks more nutritious and limit and volunteer oat plants cropping up in your garden.
If you are growing oats to full maturity, wait until the plants begin to turn brown and die back. You can check to see if the seeds are ready by squeezing a seed. While squeezing, check the husk for a milky fluid; and if no milky fluid comes out, then they are ready to be harvested.
Processing Oats at Home?
Once you harvest the seeds, you will have to remove the husk from the seeds; and you can do this by threshing the seeds free from the stems and husks. After threshing, you will have to winnow the oat seed from the chaff; and once all the chaff has been removed, you should have clean oats ready for consumption. Oat seed when kept in a cool dry place and will last in storage for up to 3 months.


