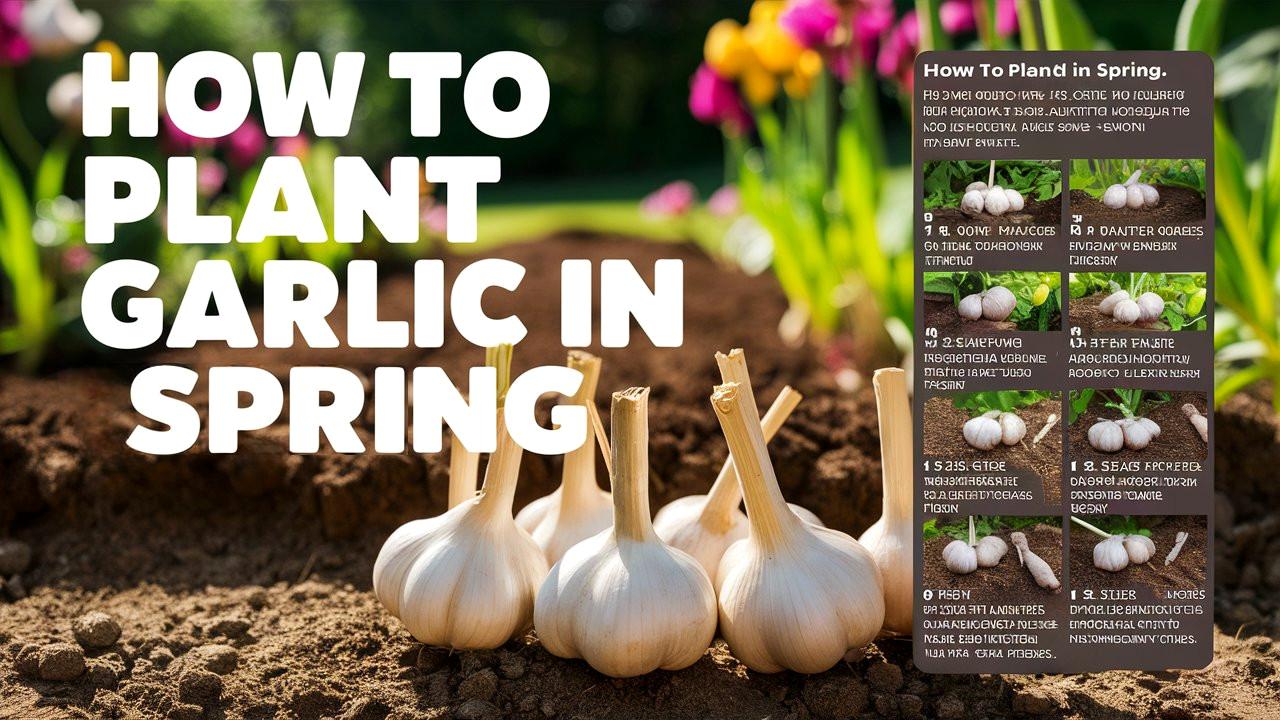
Garlic is a versatile and beloved addition to many gardens. Not only does it add robust flavor to countless dishes, but it’s also prized for its numerous health benefits and ease of cultivation.
While most gardeners plant garlic in the fall, spring planting is also possible and can lead to successful yields, particularly in regions with mild winters. In this comprehensive guide, we’ll cover all aspects of spring garlic planting, from choosing the right varieties to harvesting your crop.
Understanding Garlic Varieties
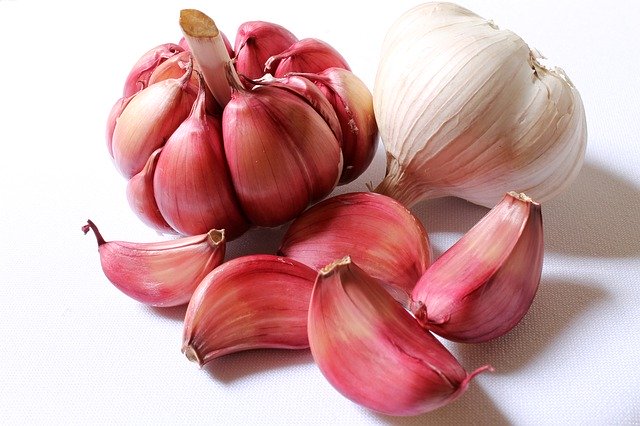
Before planting garlic in the spring, it’s crucial to understand the different types available. Each variety has its own unique characteristics and preferable growing conditions.
Hardneck vs. Softneck
Garlic is primarily categorized into two types: hardneck and softneck.
Hardneck Garlic: Generally has a stronger flavor and is known for producing scapes, which are the flowering stalks that can be harvested for culinary use. Hardneck varieties tend to do better in colder climates and include popular types like ‘Rocambole’ and ‘Porcelain’.
Softneck Garlic: Often found in grocery stores, softneck garlic has a milder flavor and a longer shelf life. These varieties are preferred in warmer climates and are great for braiding. Common softneck varieties include ‘Artichoke’ and ‘Silverskin’.
Choosing the right variety depending on your local climate will significantly affect your garlic’s growth and flavor profile.
Specialty Garlic Types
In addition to hardneck and softneck varieties, there are also specialty types such as elephant garlic, which is not true garlic but rather a variant of leek. Elephant garlic has large cloves and a milder taste, making it perfect for those who prefer a subtler garlic flavor.
Preparing for Spring Planting
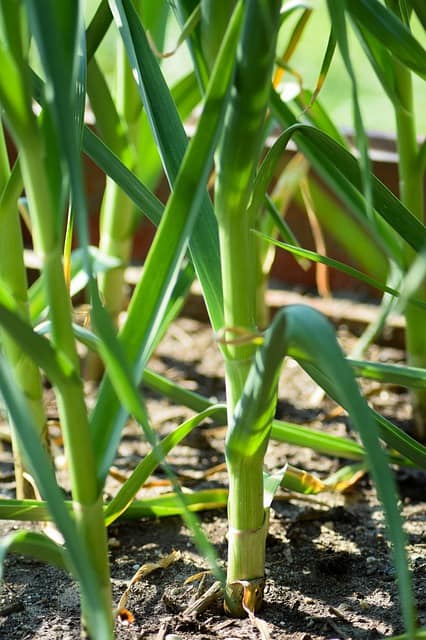
Once you’ve chosen your garlic variety, preparation is key to ensuring a healthy crop.
Site Selection
Select a location in your garden that receives at least 6 to 8 hours of sunlight daily. Garlic thrives in sunny conditions, and sufficient light helps in the formation of bulbs.
Soil Requirements
Garlic prefers well-draining soil rich in organic matter. Conduct a soil test to determine pH levels, aiming for a pH of 6.0 to 7.0. Amend the soil with compost or well-rotted manure to improve nutrient content and drainage.
Soil Preparation
One to two weeks before planting, prepare your garden bed by tilling the soil to a depth of at least 12 inches. Remove any weeds, rocks, or debris, which can harbor pests and diseases.
Buying Garlic Bulbs
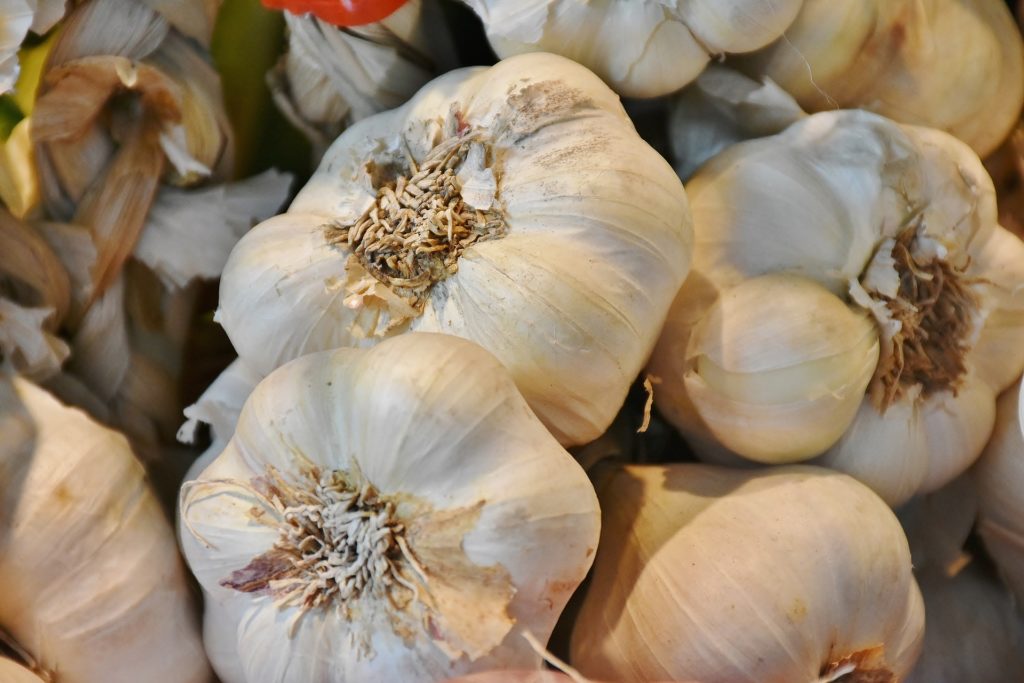
When it comes to planting garlic, quality counts. Always source your garlic bulbs from reputable suppliers to avoid disease and ensure you’re planting viable stock.
Choosing Healthy Bulbs
Select large, firm bulbs with no signs of mold or decay. Each bulb is made up of individual cloves, and larger bulbs generally produce larger cloves. Aim for bulbs that have been specifically grown for seed rather than those bought from a supermarket, as store-bought garlic may not be suited for cultivation and can carry diseases.
Timing Your Purchase
Purchase your garlic bulbs a couple of weeks before you plan to plant. This gives you time to inspect the bulbs for health and prepare them for planting.
Planting Garlic in Spring
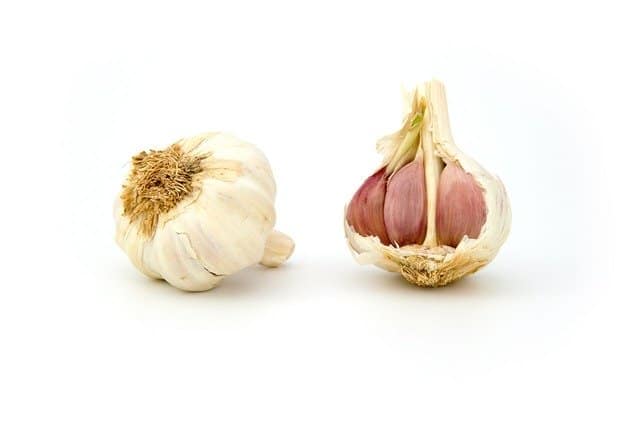
Now that you have your garlic bulbs and prepared the soil, it’s time to plant.
Clove Preparation
Peel apart the cloves from the bulb a day or two before planting. Be careful not to damage the individual cloves, as each one will grow into a new bulb. By letting the cloves rest, you allow them to dry slightly and initiate the pre-sprouting process, which encourages robust growth.
Planting Technique
Plant garlic cloves in rows, spacing them approximately 6 to 8 inches apart in well-prepared soil. Make sure the pointed end of the clove is facing upwards. Cover the cloves with about 2 inches of soil to prevent exposure to frost and to retain moisture.
Watering After Planting
After planting, gently water the area to settle the soil around the cloves. Ensure that the water penetrates down to the roots without causing waterlogging, as garlic prefers consistently moist but well-drained conditions.
Caring for Garlic
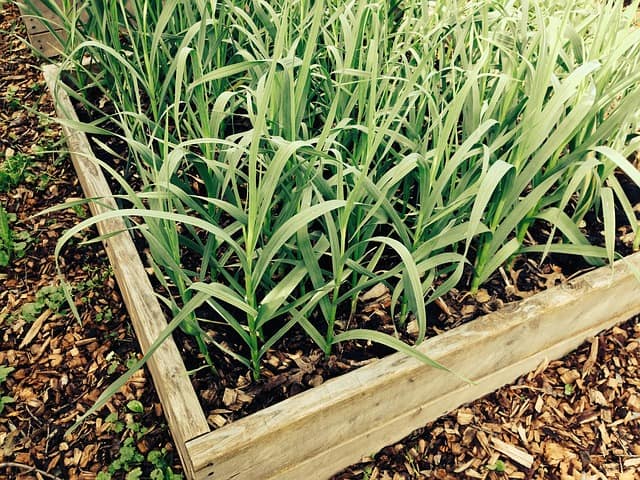
Once planted, your garlic will need care throughout its growing season.
Watering Routine
Water your garlic regularly, aiming for about an inch of water each week, depending on rainfall and weather conditions. During dry spells, ensure that the soil remains moist, especially during the bulbing phase which typically occurs in late spring.
Fertilization
About a month after planting, consider fertilizing your garlic with a nitrogen-rich fertilizer. Follow the package guidelines for application rates. Fertilization supports optimal growth and bulb development, ensuring larger, healthier garlic heads.
Weed Control
Weeds can compete with garlic for nutrients and water. Use mulch, straw, or grass clippings around your garlic plants to suppress weeds and maintain soil moisture. If you choose to hand weed, do this carefully to avoid disturbing the shallow garlic roots.
Pest and Disease Management
Regularly inspect your garlic plants for signs of pests or diseases. Common pests include garlic bloat nematodes, which can damage bulbs, and aphids, which can be managed with insecticidal soap.
Keep an eye out for disease symptoms like yellowing leaves or unusual spots, indicating potential fungal infections. Appropriate watering practices and crop rotation are your best defenses against these issues.
Harvesting Your Garlic
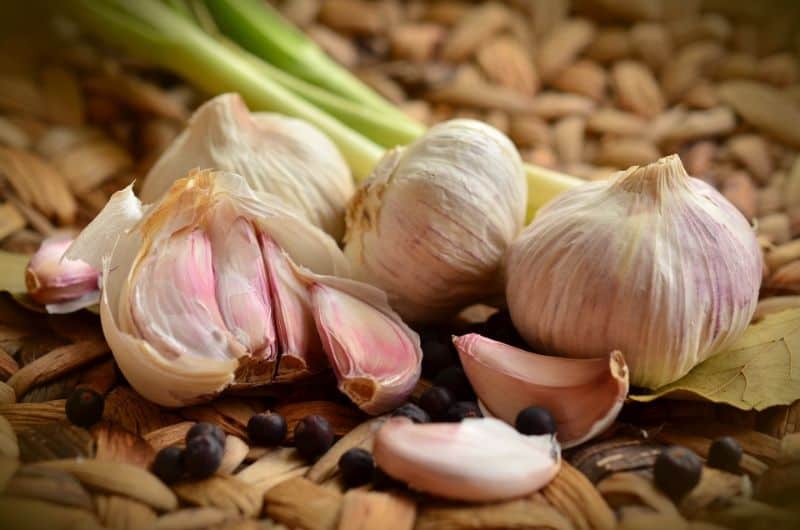
As the growing season concludes, it will be time to harvest your garlic, typically in mid to late summer.
Signs of Maturity
Watch for the lower leaves of your garlic plants to begin yellowing and browning. When about one-third to half of the leaves have turned brown, it’s a good indication that the bulbs are ready to harvest.
Harvesting Technique
Use a garden fork or shovel to carefully lift the garlic out of the ground, taking care not to bruise the bulbs. Loosening the soil around the roots before pulling them up helps prevent damage.
Curing Garlic
Once harvested, garlic should be cured to enhance flavor and storage life. Shake off excess soil and tie individual bulbs together or place them in a single layer on a screen or drying rack. Curing requires a warm, dry place with good airflow, ideally away from direct sunlight.
Allow the garlic to cure for about 2 to 4 weeks until the outer skins are papery, and the roots are dry.
Storing Garlic
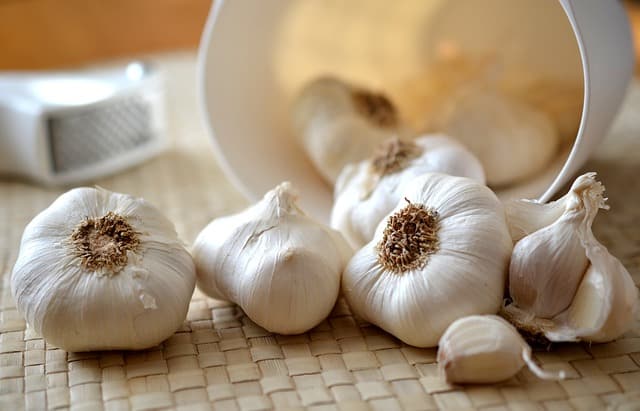
Once cured, proper storage of garlic bulbs is essential to maintain their quality.
Optimal Conditions
Store garlic in a cool, dark, well-ventilated place. Garlic can be stored in a mesh bag, basket, or any container that allows airflow. Avoid sealing them in airtight containers; this can promote mold growth.
Shelf Life
Depending on the variety and storage conditions, well-cured garlic can last for months. Hardneck garlic generally has a shorter shelf life than softneck varieties.
Troubleshooting Common Issues
Despite careful planning, growing garlic can sometimes come with challenges.
Yellow Leaves
If your garlic plants exhibit yellow leaves early in the season, it could indicate nitrogen deficiency or overwatering. Adjusting your fertilization schedule or watering practices should help resolve these issues.
Rotting Bulbs
Bulb rot can occur when garlic is planted too deeply or exposed to overly wet conditions. Ensuring proper drainage and avoiding excessive watering can prevent this problem.
Small Bulbs
Small garlic bulbs often result from insufficient nutrients or overcrowding. Make sure the cloves are spaced properly and consider side-dressing with fertilizer as necessary.
Conclusion
Planting garlic in the spring can be a rewarding experience, allowing you to enjoy homegrown garlic with its myriad benefits. By understanding garlic varieties, preparing your garden, and providing the right care, you can cultivate a thriving garlic crop.
Remember to engage with your plants, observe their needs, and adjust your gardening practices accordingly. Enjoy the fruits of your labor by incorporating your homegrown garlic into your favorite dishes, and perhaps next time, consider planting garlic in the fall to yield an even larger harvest.


