This guide will take you through the steps, methods, and nuances of olive preservation, while weaving in stories and insights gathered from passionate cooks and olive enthusiasts around the world.
Understanding Olives: A Culinary Treasure

To truly appreciate the process of preserving olives, it helps to understand their history and significance. Olives, believed to have originated in the Mediterranean region over 6,000 years ago, have played a pivotal role in various cultures, symbolizing peace, wisdom, and prosperity. Ancient civilizations revered olives not just for their nutritional value but also for the oil they produced, a staple in ancient diets and rituals.
Today, olives are enjoyed globally, from casual snacking to gourmet dishes. With varieties ranging from the bitter and robust Kalamata to the mild and buttery Castelvetrano, the taste profiles are as diverse as the regions they come from. The journey from fresh olive to preserved delicacies offers a unique opportunity to engage with this ancient fruit.
Selecting the Right Olives
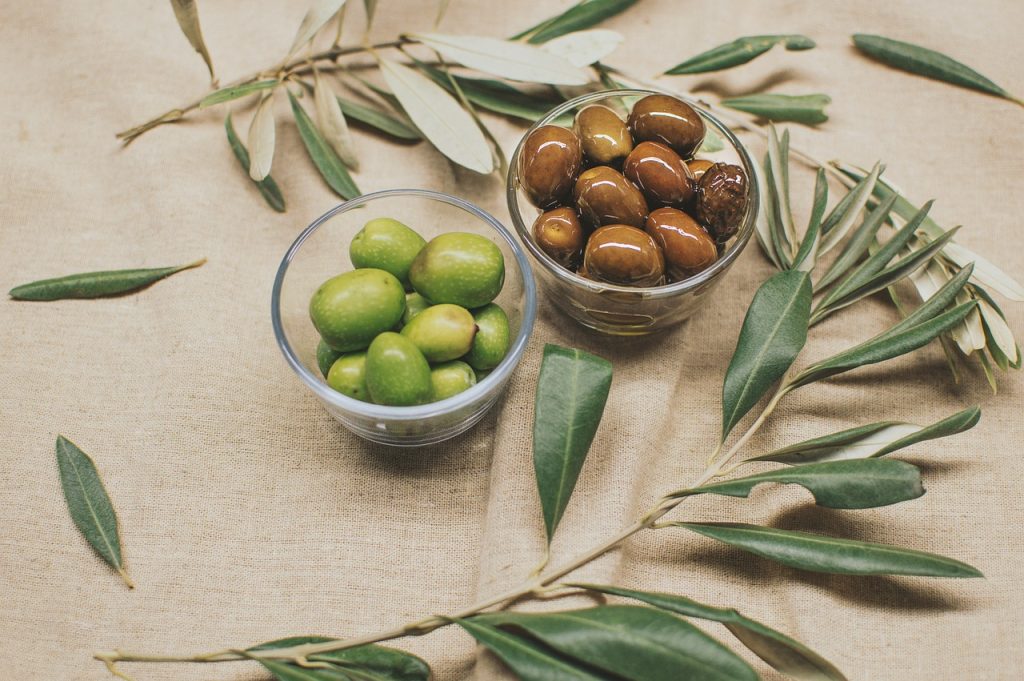
Embarking on the journey of preserving olives begins with selecting the right ones. Fresh, high-quality olives are essential for a successful preservation process. Depending on your locale, you may have access to various types, each with its distinctive features. When choosing olives, look for these characteristics:
Firmness: The olives should feel plump and firm but not overly hard. Soft spots may indicate rotting or spoilage.
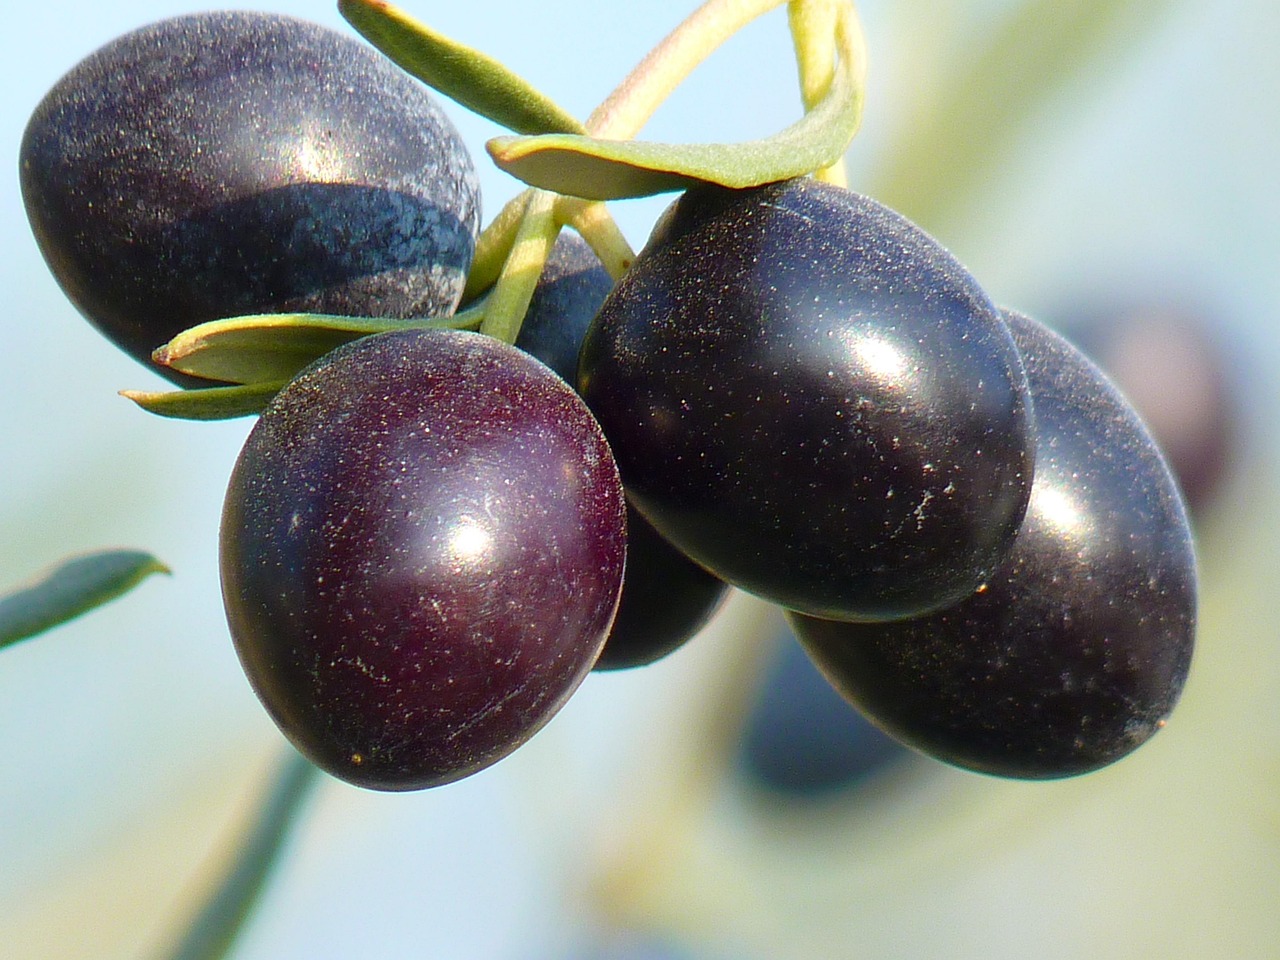
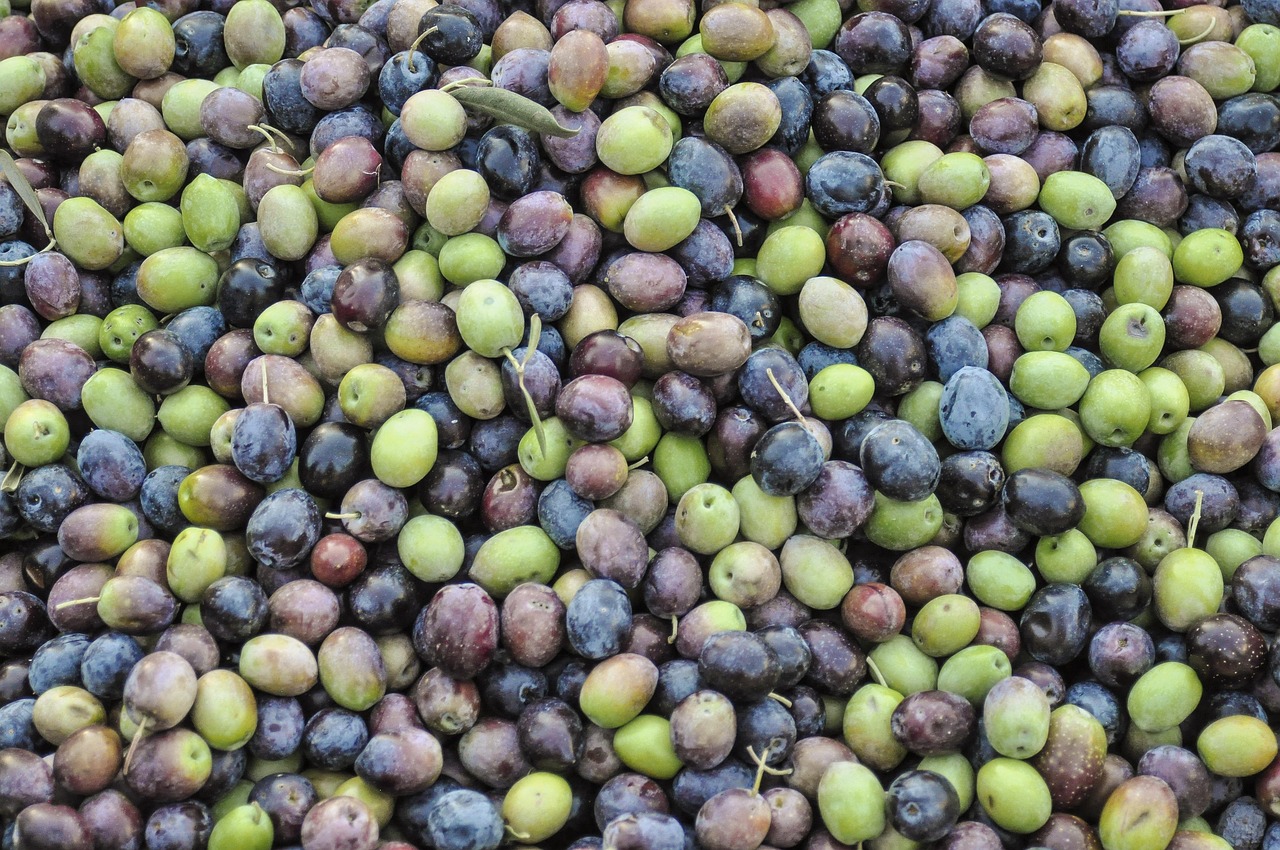
Color: While olives vary in color, from green to deep purple, avoid any that have dark spots or blemishes.
Smell: They should have a fresh aroma, reminiscent of their natural environment. A sour or fermented smell may indicate spoilage.
Suppose you have a local farmer’s market or olive growers nearby. In that case, engaging directly with them can offer insights about the best varieties for preservation and tips on freshness that you won’t find in a grocery store.
Preparing Olives for Preservation
Before diving into preservation techniques, preparing olives is crucial as it sets the foundation for maintaining their flavor and texture. Fresh olives contain oleuropein, a bitter compound that makes them less palatable when raw. Here’s how you can prepare them for preservation:
Brining: Soaking olives to remove bitterness is a common practice. This involves immersing them in water and changing the water daily for up to two weeks.
Curing: There are several methods to cure olives, including dry curing with salt or lye curing. Dry curing highlights the olive’s natural flavors, while lye curing provides a faster option.
For many, the process of curing olives is linked to memories of family gatherings or summers spent in Mediterranean regions. Skimming off the bitterness feels almost like an art form—patiently watching the olives transform into something magical.
Traditional Brining Method

Brining is among the oldest and most popular methods for preserving olives, allowing them to absorb the salty goodness while developing that characteristic tanginess. Here’s a deep dive into this age-old technique:
Create Your Brine: Prepare a saltwater solution. A common ratio is 1 cup of salt for each gallon of water. You can experiment with additional flavors by incorporating herbs, garlic, or spices.
Submerge the Olives: Place your prepared olives in a clean jar and pour the brine over them, ensuring they are fully submerged. This is where the olives start to take on the brine’s flavors.
Fermenting Process: Seal the jar loosely, allowing gases to escape. Store in a cool, dark place. The fermentation process usually takes several weeks, and it’s essential to taste them periodically. This step allows you to personalize the brine to your liking, a gratifying experience.
Final Storage: Once they reach your desired flavor, seal the jars tightly and store them in the refrigerator or a cool cellar. They can last for several months, giving you a taste of summer year-round.
Oil-Packing Method
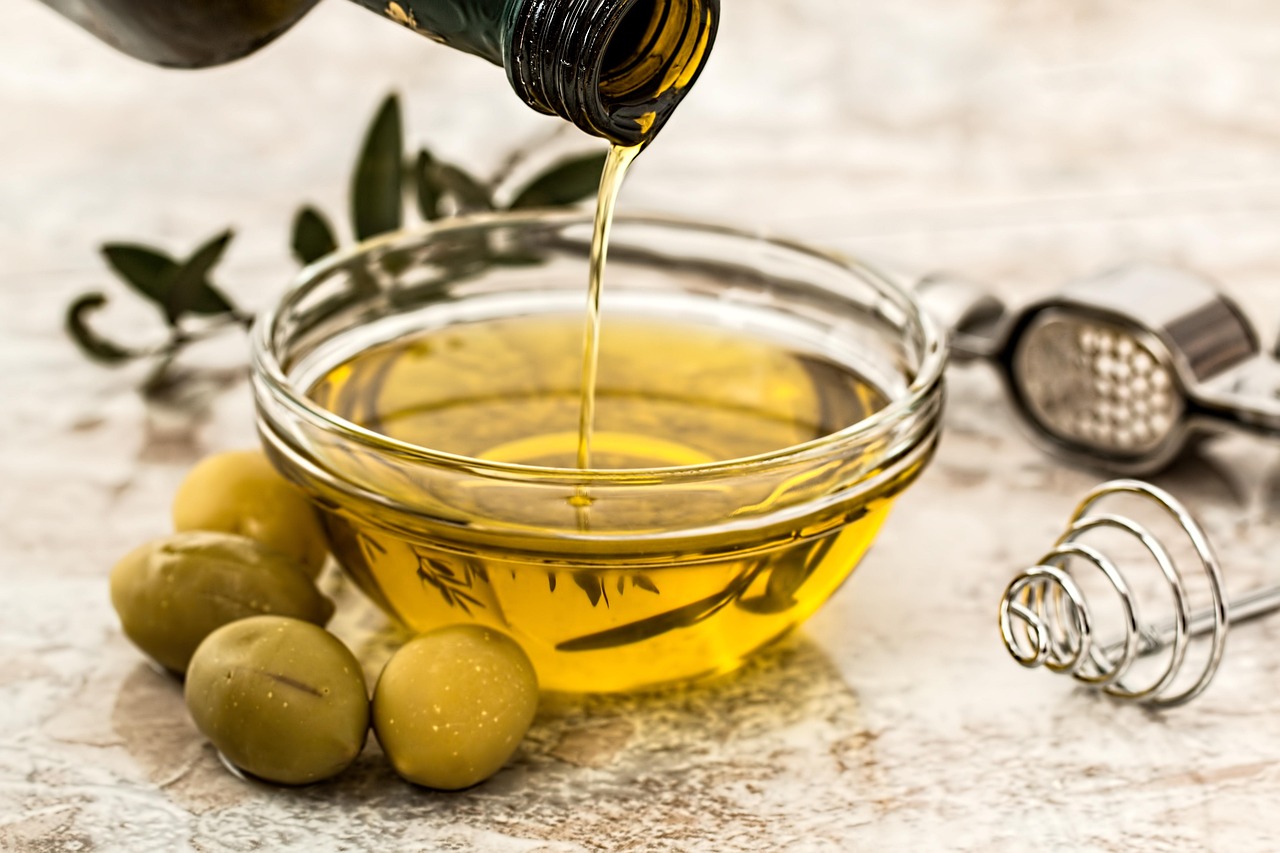
For a different preservation experience, oil-packing olives is an elegant technique that not only extends shelf-life but also adds a luscious flavor. The silky texture of olives packed in oil brings out a richness that can elevate any dish. Here’s how to perfect this method:
Prepare Your Olives: As with brining, you’ll want to start with prepared olives, ideally cured or brined to remove bitterness.
Choose Your Oil: Extra virgin olive oil is the preferred choice due to its rich flavor and health benefits. But don’t shy away from experimenting with flavored oils—infusing your oil with garlic, rosemary, or chili adds another layer of depth.
Packing the Jar: Layer your olives in a clean jar, alternating them with garlic cloves, herbs, or spices if desired. This not only ensures even flavor distribution but also creates an inviting visual.
Cover with Oil: Pour the olive oil over the top, ensuring all the olives are submerged. This prevents mold from forming and maximizes preservation.
Storage Considerations: Seal the jars and store them in the refrigerator. The flavors will meld beautifully over time, creating a delightful addition to your culinary repertoire.
Dry Curing: The Art of Salt
Dry curing is one of the simplest, most natural ways to preserve olives. This method appeals to purists, allowing the rich flavors and natural juices to shine. Here’s an exploration of the dry curing process:
Salt Selection: Coarse sea salt works best for dry curing. You’ll need an ample amount as it will draw out moisture from the olives, intensifying their flavor.
Layering Olives and Salt: In a clean, dry container, alternate layers of olives and salt. Ensure that the olives are well-coated with salt.
Weight Them Down: Place a weight on top of the olives to help extract moisture. This step is critical to the drying process, allowing them to cure evenly.
Waiting Period: Allow the olives to cure for several weeks. The transformation can be mesmerizing, as they lose moisture and concentrate flavors.
Final Rinse: Once the curing process is complete, rinse the olives to remove excess salt before serving. Their intense flavor makes them perfect for snacking or incorporating into dishes.
Lye Curing: A Quick Transformation

For those who choose efficiency, lye curing is a method that speeds up the preparation process significantly. It’s crucial to handle lye with care, but the results can be pleasingly quick:
Lye Solution Preparation: A mixture of lye (sodium hydroxide) and water alters the bitterness of olives without long wait times. Following safety guidelines is paramount, ensuring you wear gloves and protective eyewear.
Immerse the Olives: Submerge the olives in the lye solution, typically for a couple of hours. This method works particularly well for larger batches.
Rinse Thoroughly: After lye curing, rinse the olives multiple times with cold water to ensure all lye is removed. This step prevents any lingering bitterness and prepares them for brining.
Brining: Follow the same steps as in the brining method to finish the process. Once adaptable, lye-cured olives are a delightful addition to many recipes and can be enjoyed in a shorter timeframe than other curing methods.
Fermenting Olives: A Flavor Revolution
Fermented olives add a unique twist, transforming the flavor profile through the power of probiotics. This method aligns with modern culinary trends emphasizing fermentation. Here’s how to get started:
Salt Brine Preparation: Create a brine using a 3-6% salt solution. This concentration is crucial for promoting good bacteria while deterring harmful pathogens.
Packing and Monitor: Like with traditional brining, pack your olives into jars, cover them with the brine, and leave them to ferment at room temperature for several weeks. It’s essential to monitor once a week for any signs of mold and taste along the way.
Longer Flavor Development: Longer fermentation periods deepen the flavors and complexities. The initial sourness gives way to a rich umami infusion that’s nothing short of delightful.
Final Storage: Once ready, seal the jars and store them in the refrigerator. The resulting olives offer not just a taste experience but also a variety of health benefits due to the probiotics developed during fermentation.
Incorporating Preserved Olives in Everyday Cooking
With your preserved olives ready, the culinary world becomes your oyster—olives can enhance a multitude of dishes, transforming simple meals into flavor-packed experiences. Here are some delightful ways to incorporate preserved olives into your cooking:
Tapenade: A classic Mediterranean spread made by blending olives, capers, garlic, and olive oil into a paste, tapenade works beautifully on toasted bread or as a condiment for grilled meats.
Salads and Pasta: Chopped olives can add depth to Greek salads, pasta dishes, or grain bowls. Their briny flavor pairs splendidly with fresh vegetables and hearty grains.
Stuffed Dishes: Stuff olives with tangy cheeses or sun-dried tomatoes for an impressive appetizer.
Carpaccio and Charcuterie: Preserved olives make fantastic accompaniments on charcuterie boards, providing a salty contrast to cured meats and rich cheeses.
As you weave these preserved olives into your meals, you’ll find that they bring a sense of nostalgia and connection to cultures far and wide. Every bite is a reminder of the journey from grove to table.
Sustainable Practices in Olive Preservation
In an age where sustainability is paramount, preserving olives can be approached with eco-friendliness. Supporting local growers, using organic produce, and minimizing waste are essential elements of sustainable practices in olive preservation. Here are some considerations:
Supporting Local Farmers: Building relationships with local olive farms not only promotes sustainable agriculture but also fosters community ties. Purchasing directly enhances local economies and reduces carbon footprints associated with transportation.
Using Eco-Friendly Containers: Opt for glass jars over plastics when storing olives. Their recyclability and lack of harmful chemicals make them a more sustainable choice.
Combining Ingredients: When preserving olives, consider utilizing excess herbs, vegetables, or spices from your garden or kitchen scraps. This practice minimizes waste and maximizes flavors.
Integrating these practices into your olive preservation efforts connects you more deeply to both the food and the environment. It’s a thoughtful way to enjoy olives while honoring the earth and the communities surrounding their production.
The Joy of Sharing Preserved Olives
Finally, the experience of preserving olives goes beyond mere culinary pursuits; it becomes a wonderful opportunity to connect with others. Whether it’s sharing your homemade tapenade at a gathering or presenting jars of olives as thoughtful gifts, preserved olives offer a tangible way to share love and flavors.
Imagine hosting a gathering where each guest brings a dish highlighting preserved olives. The stories shared, recipes exchanged, and culinary creation spark conversations and laughter, enriching the experience for everyone involved. As you savor the flavors of preserved olives, you’ll find yourself enveloped in a warm atmosphere of companionship and appreciation for the craft.
Conclusion: Celebrate the Olive
Preserving olives isn’t merely a process; it’s a celebration of culture, creativity, and community. From selecting the right olives to experimenting with diverse preservation methods, each step connects you deeper to the ancient roots of this delightful fruit. By incorporating preserved olives into your kitchen and sharing them with others, you’ll find a world of flavors and stories waiting to be explored.