When summer rolls around, the garden flourishes with a bounty of vibrant vegetables, and yellow squash often takes center stage. It’s versatile, nutritious, and offers a delightful crunch that can elevate any dish.
However, amid the excitement of fresh gardening, many wonder how to extend the joy of yellow squash well beyond its growing season. Knowing how to preserve yellow squash opens up a world of culinary possibilities, and in this post, I’ll guide you through the various methods to ensure you keep that garden-fresh taste alive all year long.
Understanding Yellow Squash

Before we venture into preservation techniques, it’s essential to know what yellow squash is and why it’s so loved. Typically, yellow squash refers to varieties like the yellow summer squash and the crookneck squash. Both have a sweet, mild flavor and are low in calories, making them a favorite among health-conscious eaters. Additionally, they are packed with vitamins and minerals such as vitamin C, potassium, and magnesium.
The beauty of yellow squash lies in its versatility. It can be enjoyed raw in salads, sautéed as a side dish, or incorporated into casseroles. However, the seasonal nature of this vegetable leads many to seek preservation techniques to savor its taste throughout the year.
Choosing Fresh Yellow Squash
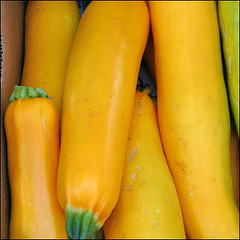
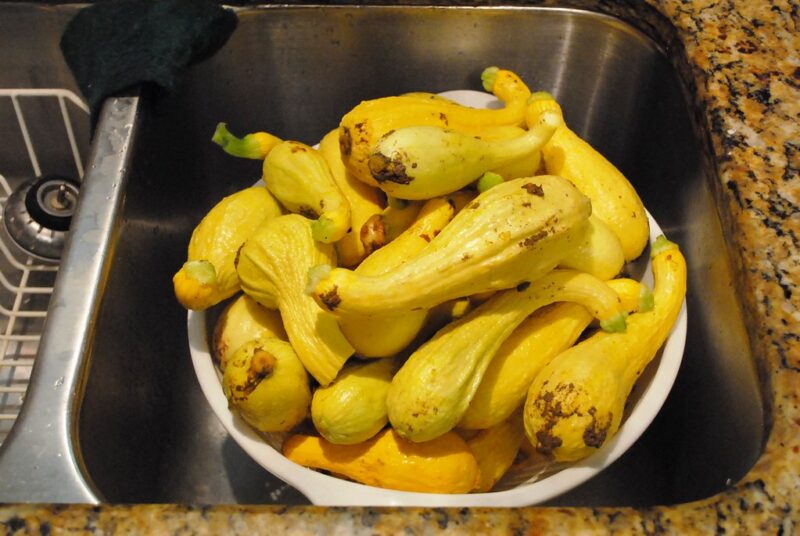
When it comes to preservation, the quality of your yellow squash is paramount. Selecting the freshest produce not only ensures better taste but also enhances the longevity of your preserved goods. Look for squash that is firm, unblemished, and vibrant in color. The skin should be smooth without any soft spots, as this indicates ripeness.
In my own gardening experience, I’ve discovered that picking squash in the morning after the dew has dried yields the best flavor. The sun hasn’t yet fully heated the vegetables, making them crisp and cool. This simple practice can make a noticeable difference in the taste of the squash and in the success of your preservation efforts.
Preparing Yellow Squash for Preservation
Many methods exist to preserve yellow squash, and the preparation steps may vary depending on the technique you choose. However, certain steps remain constant and beneficial across the board.
Start by washing your squash thoroughly to remove any dirt and pesticide residues. After rinsing, dry them off with a clean towel. Next, it’s time to slice or cube the squash into your desired size. Smaller pieces tend to preserve better and are more convenient when cooking, while larger slices may be ideal for grilling or roasting later on.
If you’re planning to use the squash soon after preserving it, don’t hesitate to remove the seeds, especially from older specimens. This can help prevent bitterness and improve overall flavor. However, if you’re freezing or canning, leaving the seeds in won’t significantly affect the final product.
Freezing Yellow Squash
Freezing is one of the simplest and most effective ways to preserve yellow squash’s flavor and texture. This method is perfect for when you have an abundance of squash and want to enjoy it during the winter months. Here’s a step-by-step guide to freezing yellow squash successfully.
Blanching: Start by blanching the squash. This process halts enzyme activity, preserving color, texture, and nutritional value. To do this, bring a pot of water to a rolling boil. Add the prepared squash slices for about two to three minutes. Once done, immediately plunge the squash into an ice water bath to stop the cooking process.
Draining: After letting the squash cool for a few minutes in the ice bath, drain them thoroughly. Excess moisture can lead to freezer burn, which may ruin the flavor.
Packaging: Next, pack the blanched squash in airtight freezer bags or containers. Remove as much air as possible to keep them fresh. Label each package with the date for proper rotation.
Freezing: Place the bags flat in the freezer. This allows them to freeze evenly and saves space.
You can keep frozen yellow squash for about 10-12 months. When you’re ready to use them, simply remove the desired amount from the freezer and add them directly to soups, stews, or casseroles without thawing.
Canning Yellow Squash

Canning is another excellent way to preserve yellow squash if you’re looking to keep its flavors safe for longer-term storage. The canning process kills bacteria and pathogens, allowing the squash to remain edible for years as long as the seals remain intact. Here’s how to can yellow squash effectively.
Prepare Your Jars: Sterilize your canning jars and lids by boiling them in water for about ten minutes. This process ensures that your jars are free of any contaminants that can spoil your food.
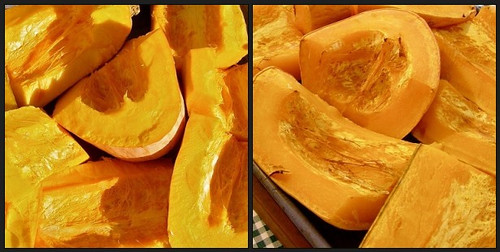
Prepare the Squash: Cut your yellow squash into half-inch pieces. If you prefer, you can also mix in other vegetables like zucchini or bell peppers for a colorful medley.
Pack the Jars: Begin packing the cut squash tightly into your sterilized jars, leaving about an inch of headspace at the top. This headspace is crucial for expanding content during the canning process.
Add Salt and Water: For flavor, you can add about a teaspoon of salt to each jar. Following that, pour boiling water over the squash, maintaining the headspace.
Seal and Process: Place the sterilized lids on the jars and screw on the metal rings. Process the jars in a pressure canner at 10-15 pounds of pressure for about 25-30 minutes to ensure all bacteria is destroyed.
Cooling and Storing: After processing, let the jars cool at room temperature. If properly sealed, you should hear a popping sound as the lids depress. Store the sealed jars in a cool, dark place.
Home-canned yellow squash can last for years when stored correctly, making it a rewarding way to enjoy your garden harvest.
Pickling Yellow Squash
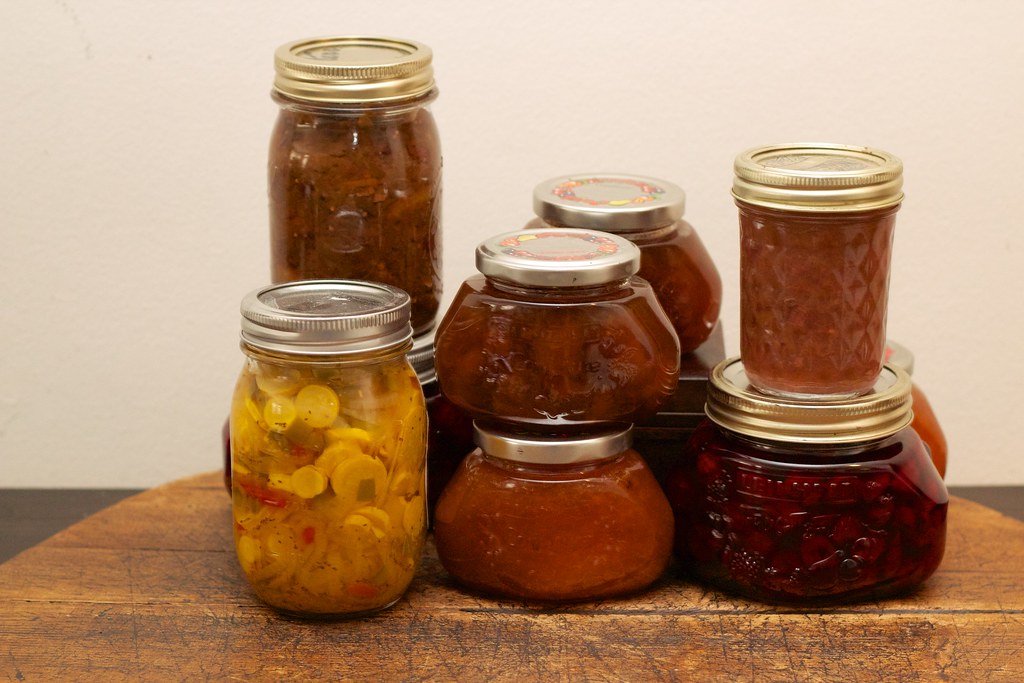
Pickling yellow squash introduces a tangy twist to your preservation practices, making it a delightful addition to salads, sandwiches, or as a unique snack. Here’s a straightforward method for pickling squash.
Ingredients Required: Besides yellow squash, you’ll need white vinegar, water, salt, sugar, dill seeds, and any other spices or herbs you prefer.
Cutting and Salting: Slice the squash into rounds or sticks. Sprinkle salt over the squash and let it sit for about an hour. This process helps draw out excess moisture.
Preparing the Brine: On the stovetop, combine equal parts vinegar and water with salt and sugar to taste. Bring this mixture to a gentle boil, ensuring that the salt and sugar dissolve completely.
Packing the Jars: After salting, rinse the squash to remove excess salt, then pack the squash tightly into sterilized jars. Add herbs and spices as desired.
Adding Brine: Pour the boiling brine over the packed squash, ensuring that all pieces are submerged. Leave a little headspace, as the liquid may expand slightly.
Sealing and Storing: Seal the jars with sterilized lids and rings. Process the jars in a boiling water bath for about 10-15 minutes to ensure preservation. Once cooled, let them sit for at least 24 hours to allow the flavors to meld before sampling.
Pickled yellow squash can typically last for several months, and the flavor only improves with time.
Dehydrating Yellow Squash
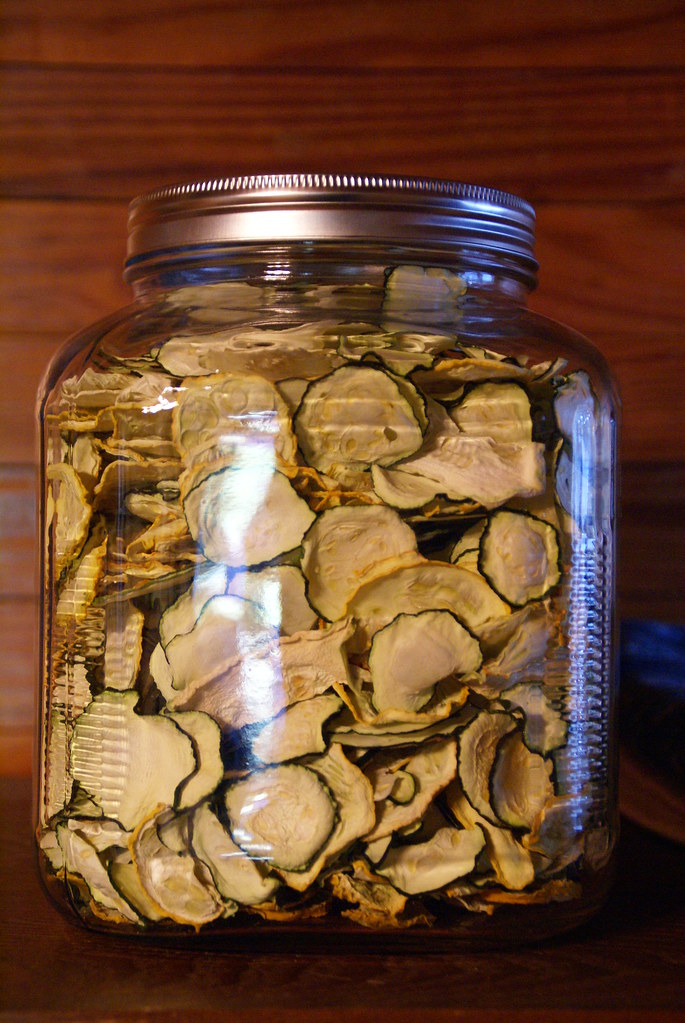
Dehydrating yellow squash is another effective method for preserving its nutritional content while creating a unique product that is easily stored and used. Dried squash can be rehydrated for soups, stews, or for snacking on its own.
Preparing the Squash: Begin by slicing the squash into thin, uniform pieces (about ¼ inch thick) to ensure even drying.
Blanching (Optional): While blanching is not necessary for dehydrating, it can help retain color and flavor. Blanch the sliced squash in boiling water for a minute or two, then plunge it into ice water.
Drying: You can use a dehydrator, oven, or air-drying method. For electric dehydrators, set the temperature to around 125°F (52°C) and arrange the squash slices in a single layer. Dry until they are crisp, which could take anywhere from 6 to 12 hours depending on thickness and moisture content.
Storage: Once dried, let the squash cool before storing in an airtight container. It’s best to preserve squash in a cool, dark place.
Dried yellow squash can last for a year or more if stored correctly. Rehydrating is simple—just soak in warm water for about 30 minutes before using in recipes.
Culinary Uses for Preserved Yellow Squash
After going through the various methods of preserving yellow squash, the final step is figuring out how to incorporate it into your meals. The preserved squash is just as versatile as fresh squash, offering countless possibilities in your kitchen.
Soups and Stews: Rehydrated or frozen squash works brilliantly when added to soups and stews. It adds an earthy flavor and texture, enriching the dish.
Casseroles: Whether using frozen or canned squash, it’s a perfect addition to casseroles. Mix it with cheese, breadcrumbs, or other vegetables for a comforting meal that warms both the heart and soul.
Grilled or Roasted: For those who have canned their squash, you can slice it and toss it on the grill or in the oven with olive oil and various spices for a quick and delightful side dish.
Salads and Sautés: Pickled squash can be a great addition to salads for a zesty bite. It adds flavor and vibrancy alongside greens and grains.
Snacking: Dried squash can be enjoyed as a nutritious snack on its own or added to trail mixes for a healthy crunch.
With these ideas, you can celebrate the preservation of yellow squash throughout the year, turning each meal into a celebration of summer.
Environmental and Economic Benefits
Preserving yellow squash not only allows you to enjoy your harvest year-round but also carries significant environmental and economic benefits. By canning, freezing, or drying, you reduce food waste, which is a pressing issue in today’s world.
When you grow and preserve your vegetables, you’re also reducing your carbon footprint. Transporting fresh produce from farms often requires significant energy, while home preservation means decreased reliance on store-bought items. You’re also saving money by making the most of your homegrown crops, avoiding overpriced seasonal vegetables in grocery stores.
Final Thoughts
Preserving yellow squash is a rewarding journey that celebrates the bounty of summer and equips you with delicious and nutritious foods for the months ahead. Whether you choose to freeze, can, pickle, or dehydrate your squash, each method brings something unique to the table, allowing you to savor the flavors of your hard work.