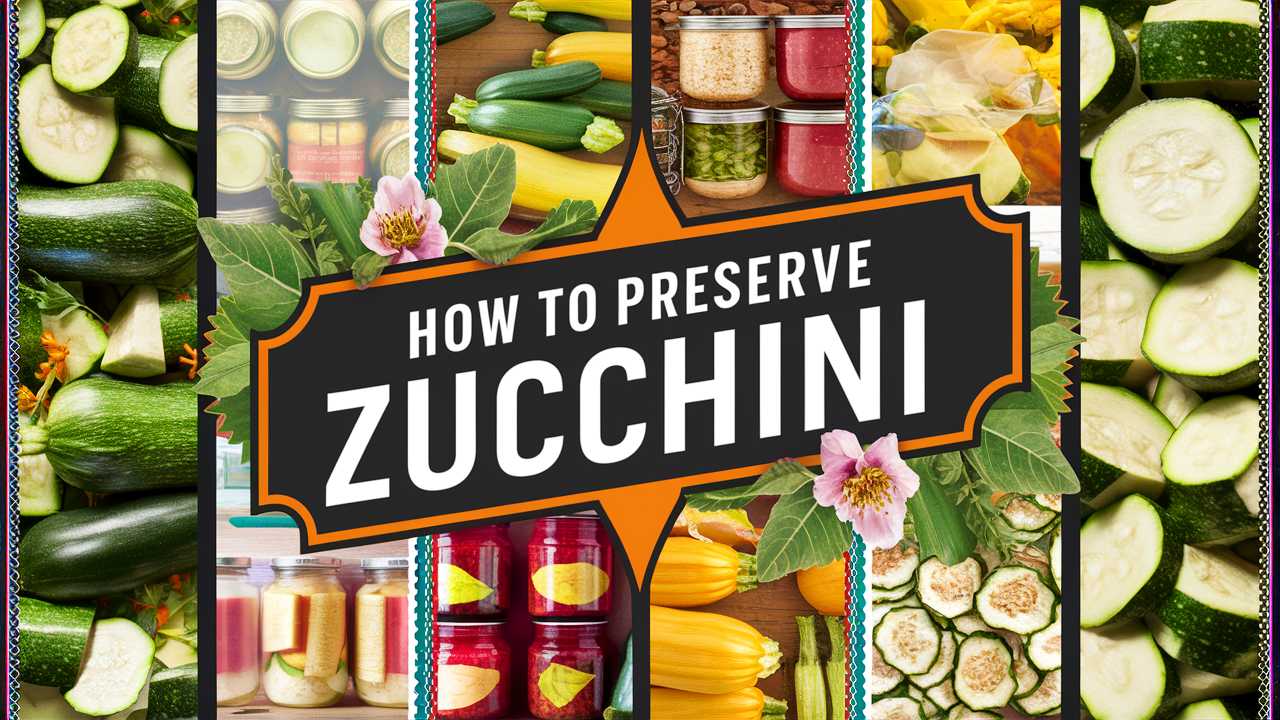
his guide explores various methods for preserving zucchini, complete with tips, recipes, and personal anecdotes that add a unique touch to the craft of preservation
Harvesting and Preparing Zucchini for Preservation
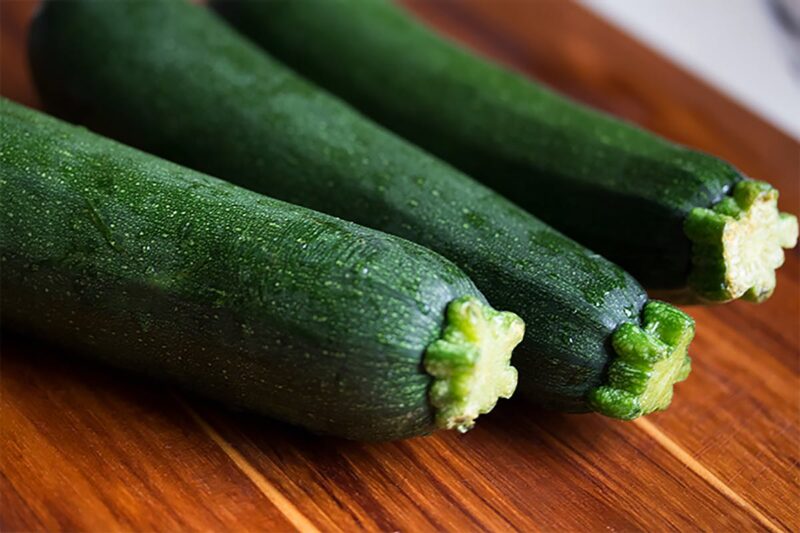
Before you can begin preserving zucchini, it’s crucial to ensure that it’s harvested and prepped correctly. If you’re growing your own, the best time to harvest zucchini is before they reach maturity. Look for zucchinis that are around 6 to 8 inches long. They should have a glossy skin and a firm texture. Larger zucchinis can be tough and seedy, making them less suitable for preserving.
Washing and Cutting Techniques
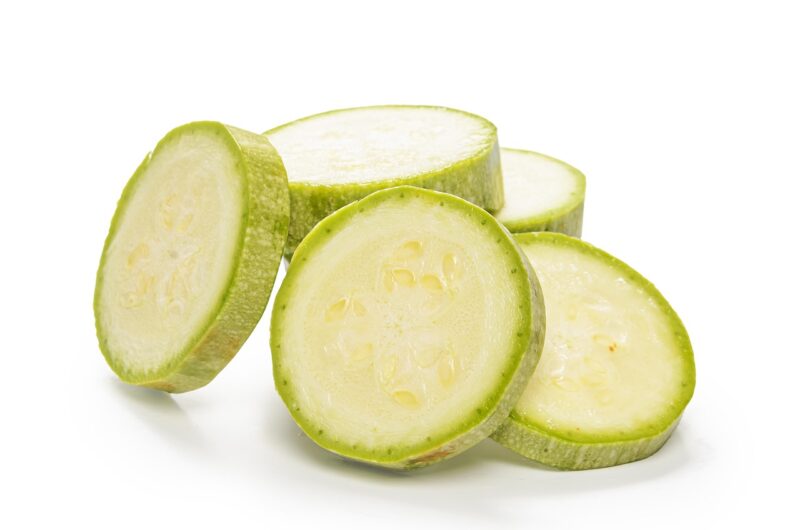
Once harvested, it’s necessary to wash your zucchinis thoroughly under cool running water to remove any dirt or pesticide residues. The next step is to decide how you’ll cut them. Zucchini can be sliced into rounds, diced into cubes, or grated depending on your planned method of preservation:
Slicing: For drying or freezing.
Dicing: Ideal for soups or stews.
Grating: Perfect for baking or for use in pancakes and fritters.
Anecdote
I recall a summer when I first attempted to harvest my zucchini crop. It was a true adventure, with my kids running through the garden, excitedly spotting the hidden zucchinis nestled among the leaves. We ended up with a basket that was overflowing! Seeing their enthusiasm motivated me to find creative ways to preserve the bounty.
Freezing Zucchini: A Quick and Easy Method
Freezing is one of the simplest and most effective ways to preserve zucchini while retaining its nutrients. Here’s how to do it properly:
Step-by-Step Freezing Instructions
Blanching: Start by blanching the zucchini, which involves boiling it briefly and then shocking it in ice water to stop the cooking process. Blanching for 2-3 minutes is usually sufficient.
Cooling and Draining: After blanching, place the zucchini in an ice bath for the same duration it was in boiling water. Once cooled, drain and dry the pieces with a clean towel or paper towel.
Portioning: Decide how you want to use the zucchini later. You can freeze it in whole pieces, slices, or grated forms. Portioning it helps with convenience later on.
Packaging: Seal the zucchini in freezer-safe bags, removing as much air as possible to prevent freezer burn. Label the bags with the date and type of cut for easy identification in the months to come.
Creative Uses for Frozen Zucchini
When the cold months roll around, frozen zucchini can add a burst of summer flavor to your meals. Consider using frozen zucchini in the following ways:
Stir-fries
Smoothies (for added nutrition)
Soups and stews
Insights
Freezing zucchini transformed my winter meals. I learned to toss frozen zucchini into my soups, instantly brightening them up. On a chilly evening, opening the freezer and finding those vibrant bags feels like bringing a piece of summer back to life.
Drying Zucchini: Emphasizing Flavor Concentration
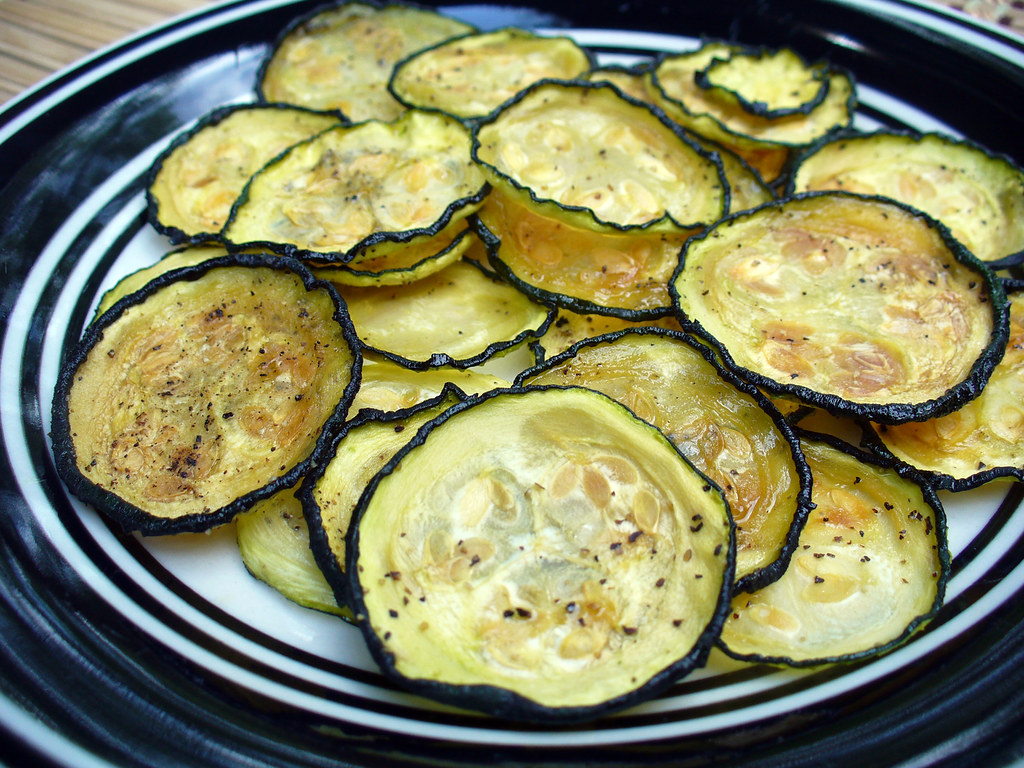
Drying zucchini is another great way to preserve its essence while enhancing its flavor. Dried zucchini can be rehydrated for soups, stews, or added to grain bowls.
How to Dry Zucchini
Slicing: Cut zucchini into thin slices, about 1/4 inch thick. The thinner the slices, the quicker they’ll dry.
Dehydrator or Oven: If you’re using a dehydrator, arrange the slices in a single layer and set it to 125°F (52°C). Drying can take anywhere from 6 to 12 hours depending on the thickness and moisture content.
For the oven method, arrange slices on a baking sheet and set the oven to the lowest setting (around 150°F or 65°C). Keep the oven door slightly ajar to allow moisture to escape, checking periodically for about 2–4 hours.
Storage: Once dried, allow the zucchini to cool completely before storing it in airtight containers. Glass jars work wonderfully for this purpose, keeping them cool and dark ensures they remain fresh.
Rehydrating Dried Zucchini
To use dried zucchini, simply soak it in water for about 20-30 minutes before adding to your dishes. This step allows the zucchini to regain some of its original plumpness.
Personal Reflection
One summer, I decided to dry zucchini and discovered a whole new world of flavors. The concentrated taste added to my pasta dishes made them unforgettable. Plus, I felt a sense of accomplishment each time I reached for those jars, knowing I had preserved a piece of summer.
Canning Zucchini: A Traditional Approach
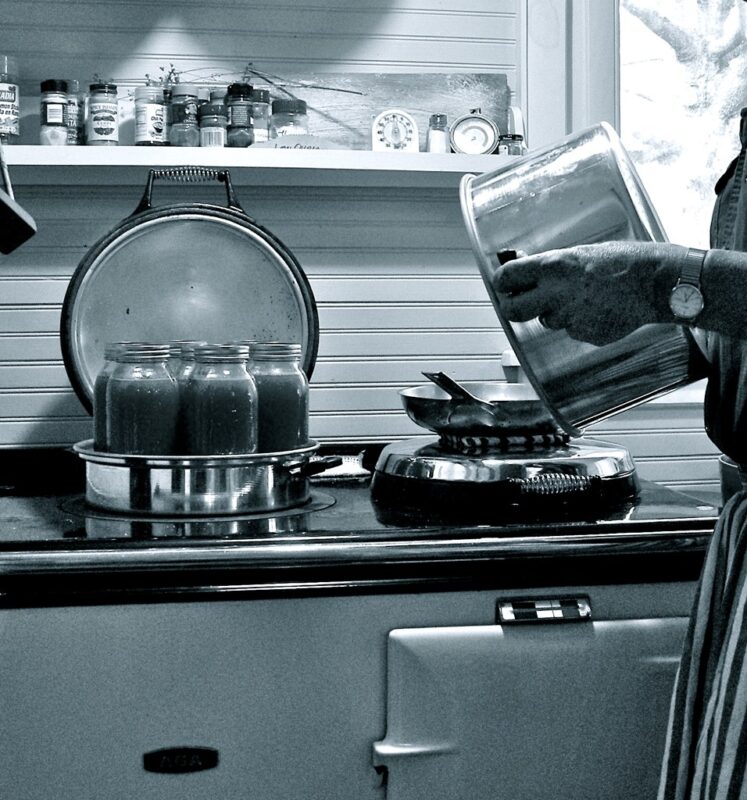
Canning zucchini is a timeless method of preservation, ensuring that this summer squash can be enjoyed year-round. While canning does require a bit more equipment and know-how, the end result is profoundly satisfying and delicious.
Essential Equipment for Canning
For safe and effective canning, you will need:
Canning jars (quart or pint size)
Two-piece canning lids
A canner (either water bath or pressure canner)
A funnel
A jar lifter
A kitchen towel
Step-by-Step Canning Process
Prepare Your Jars: Start by sterilizing your jars. Place them in boiling water for about 10 minutes to ensure they are bacteria-free.
Cook the Zucchini: You can choose to pack zucchini raw, or you may prefer to cook it briefly in vinegar or water. A simple pickling mix with vinegar, salt, and spices can enhance flavor.
Pack the Jars: Use the funnel to fill the jars with zucchini, leaving about half an inch of headspace. Pour the hot liquid over the zucchini, ensuring it covers the vegetable entirely.
Seal the Jars: Wipe the tops of the jars with a clean cloth to remove any residues that may prevent a good seal. Place the lids on the jars, and screw the bands on until they are fingertip-tight.
Water Bath Canning: Place the jars in a canner with boiling water, ensuring they are submerged. Process for about 30 minutes, adjusting for altitude if necessary.
Cooling and Storage: After processing, remove the jars and let them cool completely on a towel or cooling rack. Once cooled, check that the lids have sealed properly (they should not spring back when pressed). Store the sealed jars in a cool, dark place.
Recipes for Canned Zucchini
Canned zucchini can be savory or sweet. Here are a couple of ideas:
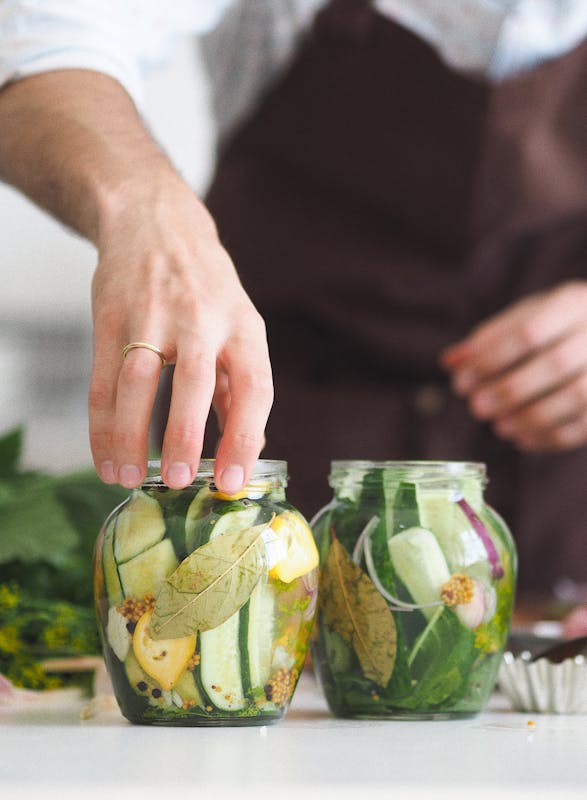
Pickled Zucchini: Slice zucchini and pack into jars with garlic, dill, and a vinegar solution for quick and zesty pickles.
Zucchini Relish: Chop zucchini, onion, and pepper, then cook with vinegar and spices to create a delicious relish perfect for topping hot dogs or sandwiches.
Insights
Canning was a family tradition in my home growing up. I find it a deeply rewarding process that connects me to my roots. The smell of spices simmering on the stove fills the air with memories, making each can of zucchini a delicious reminder of summer.
Fermentation: A New Twist on Preservation
Fermenting zucchini has gained popularity as a method of preservation, offering a tangy twist along with the health benefits of probiotics. Fermentation enhances nutritional content while creating bold flavors.
How to Ferment Zucchini
Prepare and Slice: Follow the same initial steps for washing and slicing zucchini as you would for other preservation methods.
Brining: Create a saltwater brine by mixing water and salt (about 1 tablespoon of salt per cup of water). Submerge the zucchini slices in the brine.
Fermentation Vessels: Use a fermentation jar or crock, ensuring the zucchini is fully submerged in the brine to prevent mold. Weigh the zucchini down with a fermentation weight or a small plate if necessary.
Fermenting Process: Place the jar in a cool, dark spot and let it ferment for about 1-2 weeks, depending on the temperature and desired tanginess. Taste periodically to check the flavor.
Storage: Once fermented to your liking, move it to the fridge to slow down the fermentation process. The cool temperature retains its flavors and crunchiness.
Enjoying Fermented Zucchini
Fermented zucchini can add a delightful twist to salads, sandwiches, and charcuterie boards, or can simply be enjoyed alone as a healthy snack.
Anecdote
One day, I decided to experiment with fermentation. After a few weeks of waiting and tasting, I was amazed by the depth of flavor the zucchini gained. This process opened my eyes to a whole new realm of culinary possibilities, and it quickly became a family favorite.
Lasting Tips and Security for Preserving Zucchini
While exploring the various methods for preserving zucchini, certain best practices can enhance your experience and ensure successful results throughout the year.
The Importance of Choosing Fresh Ingredients
Always start with the freshest zucchini. The best way to achieve quality preservation is to work with good produce. Freshness impacts the final flavor and texture, so prioritize back-to-basics practices of seasonal eating.
Proper Storage Techniques
Whether freezing, drying, canning, or fermenting, proper storage is essential for maintaining quality:
Label Everything: Use a permanent marker for clear labeling, including the date and method of preservation.
Cool and Dark Places: Store canned goods, dried products, and fermented zucchini in cool and dark spaces to prolong their shelf life.
Check Seals and Quality: Regularly check canned goods for seal integrity and signs of spoilage.
Embracing Seasonal Flavors
Each season brings its own bounty of flavors. When preserving zucchini, consider incorporating other seasonal vegetables or herbs to diversify your preserved goods. Zucchini pairs well with tomatoes, herbs like basil and dill, and even spicy peppers for kick.
The Conclusion: A Year-round Delight
Preserving zucchini not only helps you make the most of your garden harvest but also offers a gateway to enjoying this summer squash throughout the entire year. Each method—whether freezing, drying, canning, or fermenting—brings a unique flavor and texture to your culinary creations, allowing for creativity and experimentation.