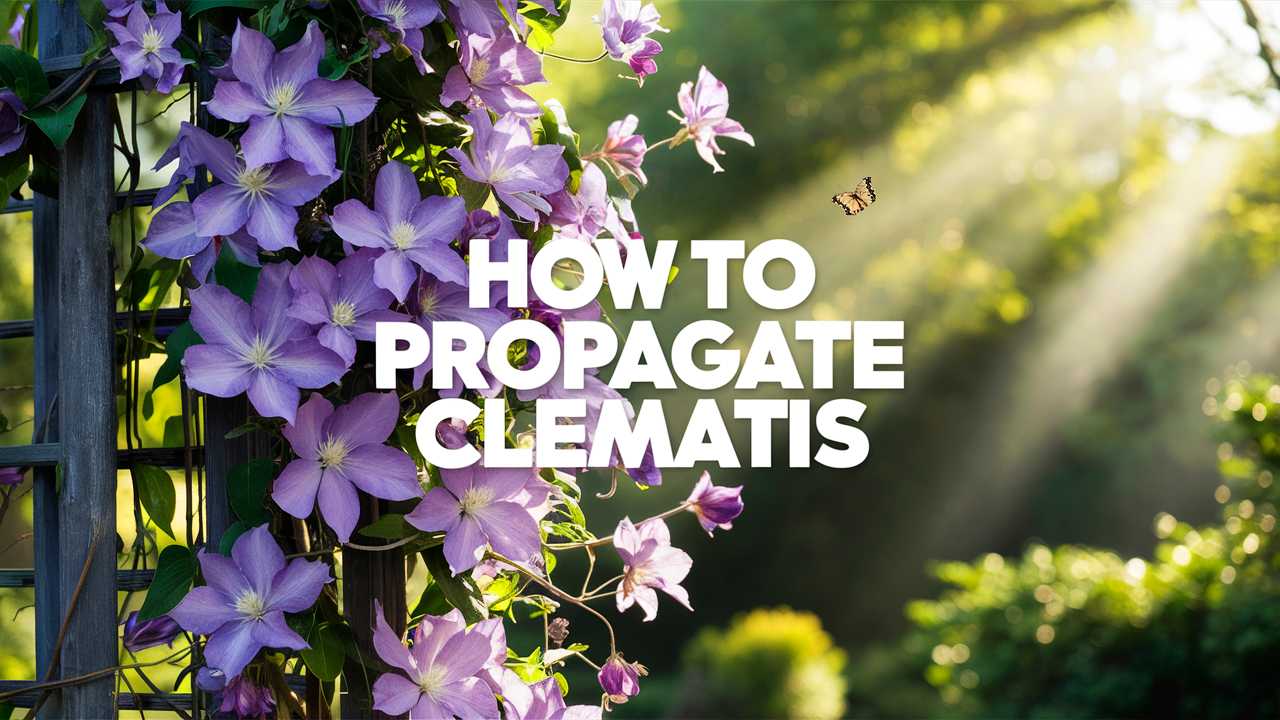
In this extensive guide, you will discover various methods of propagation, step-by-step instructions, essential tips, and insights that will empower you in your clematis journey.
Understanding Clematis: Why Propagate?
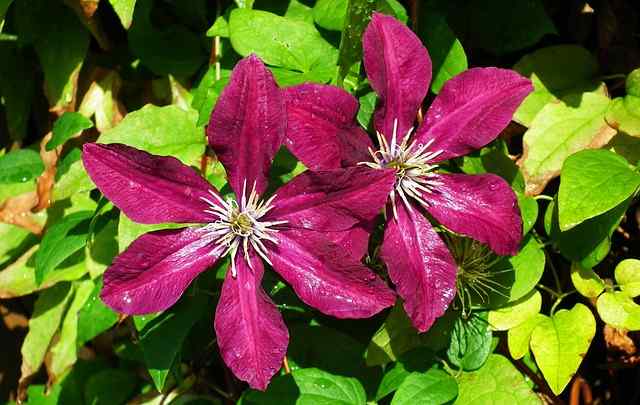
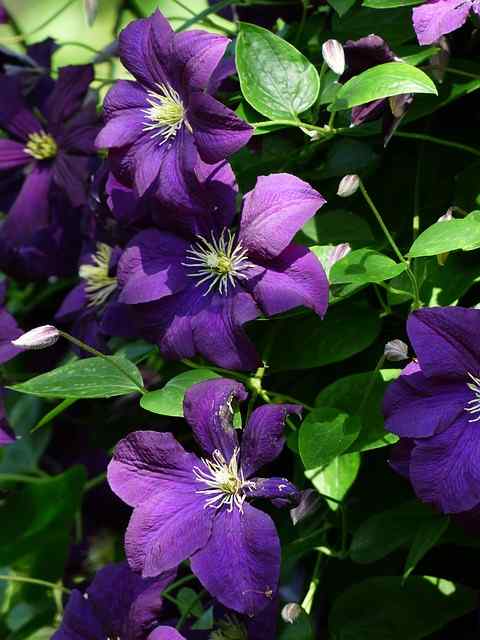
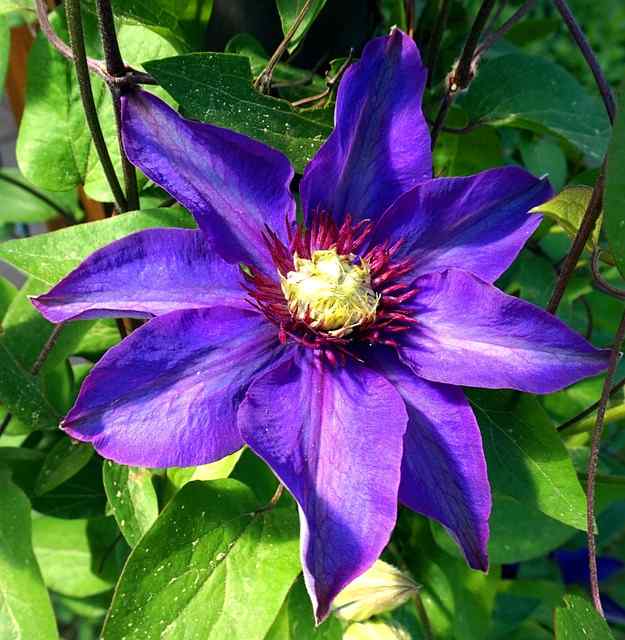
Before diving into propagation techniques, let’s take a moment to appreciate the unique characteristics of clematis. With over 300 species and numerous hybrids, these plants come in an array of sizes, shapes, and colors. Depending on the variety, clematis can bloom in spring, summer, or fall.
The allure of propagating clematis lies not just in the expansion of your garden but also in the opportunity to create more plants of a certain variety that you adore. Whether it’s a cherished heirloom or an unusually colored hybrid, propagation ensures you can cultivate your favorite clematis without relying solely on commercial nurseries.
Propagation Timing
Understanding the right time to propagate clematis is critical. Generally speaking, late spring through early summer is the ideal window. This timing aligns with the plant’s natural growth cycle, allowing for better rooting success and robust development in the months that follow.
Methods of Propagating Clematis

There are three primary methods for propagating clematis: seed propagation, cuttings, and layering. Each method has its own unique advantages and challenges, and your choice will largely depend on your preferences and goals.
1. Seed Propagation: A Long-Term Commitment
Seed propagation offers the opportunity to grow new varieties and hybrids, but it’s important to be aware that the process is slow and often requires patience.
Advantages:
Potential for unique hybrids and variations.
A cost-effective way to grow rare clematis species.
Disadvantages:
Seeds can take a long time to germinate.
Seedlings may not resemble the parent plant exactly.
Steps for Seed Propagation
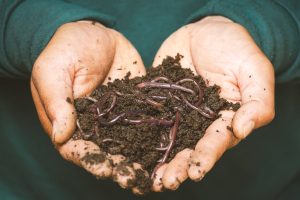
Collecting Seeds: Once your clematis flowers have wilted and the seed pods have formed, wait until they turn brown and dry out. Carefully harvest them, ensuring that you do this when dry to avoid rot.
Stratification: Many clematis seeds require cold stratification to germinate. Place your seeds in a damp, sterile medium, such as peat moss, and store them in the refrigerator for about six weeks.
Sowing: After stratification, sow your seeds in seed trays filled with a well-draining potting mix. Lightly cover the seeds with soil, as clematis seeds often require light to germinate.
Watering: Water the trays gently, ensuring that the soil remains consistently moist but not soggy.
Light Conditions: Place your trays in a warm, sunny location or under grow lights. Germination can take several weeks, so be patient!
Transplanting: Once your seedlings develop a few sets of true leaves and are sturdy enough to handle, transplant them into larger pots.
Acclimatization: Gradually acclimatize your seedlings to outdoor conditions for a few weeks before planting them permanently in your garden.
2. Cuttings: Quick and Easy Propagation
Taking cuttings is a more straightforward method of propagation and is often preferred by gardeners looking for a faster way to establish new plants.
Advantages:
Faster results compared to seed propagation.
You can get an exact clone of the parent plant.
Disadvantages:
Certain varieties may be less successful with this method.
Steps for Taking Cuttings
Choosing the Right Time: The best time to take cuttings is during the spring or early summer when the plant is actively growing.
Selecting Cuttings: Look for healthy stems that are about 4-6 inches long and that possess a few sets of leaves. Ensure they are taken from non-flowering sections of the vine.
Preparing Cuttings: Remove the lower leaves on each cutting about two-thirds of the way down, leaving a couple of leaves at the top. This step reduces moisture loss while allowing energy sources to remain.
Dipping in Hormone: Dip the cut end of the stem into rooting hormone. This step is optional, but it can promote faster root development.
Planting: Insert the cuttings into a pot filled with a well-draining potting mix. Space them about 2-4 inches apart.
Watering and Covering: Water the cuttings lightly and cover them with a plastic bag or a clear plastic dome to maintain humidity. Ensure the cover does not touch the leaves; this can encourage mold.
Monitoring: Place the pot in an area with bright, indirect sunlight. Check the soil regularly to ensure it doesn’t dry out, and after a few weeks, check for root development by gently tugging on the cuttings.
Transplanting: Once rooted, gradually acclimatize the young plants before transplanting them into larger containers or directly into the garden.
3. Layering: Nature’s Method
Layering is a propagation method that mimics nature and can be very successful with clematis.
Advantages:
Simple and effective.
Provides a natural way for the plant to propagate itself.
Disadvantages:
Requires time and patience as you can only propagate from existing plants.
Steps for Layering
Choose a Flexible Stem: Select a healthy stem that is low to the ground and can be easily bent.
Preparing the Soil: Ensure you have a small section of soil free of weeds where you can bury the stem.
Wounding the Stem: To promote rooting, make a small nick on the underside of the stem where it will touch the soil.
Bending and Securing: Bend the selected stem gently to the ground and bury the wounded section in the soil, leaving the tip exposed above the ground.
Watering: Water the buried part of the stem to encourage rooting.
Monitoring: Check for root development over the next few months. Once roots are visible, carefully sever the stem from the parent plant.
Transplanting: Once separated, pot the new plant and follow the acclimatization process.
Caring for Your Propagated Clematis
After propagating clematis, proper care is essential for ensuring your new plants thrive. Here are some key considerations to keep in mind.
Light Requirements
Clematis thrive in well-draining soil, but they also need the right light conditions. Most clematis varieties prefer full sun, ideally at least six hours of direct sunlight daily. However, some varieties do better in partial shade. Understanding the specific requirements for your clematis species is essential for vibrant growth and flowering.
Watering
While clematis loves moisture, it dislikes soggy roots. Ensure your newly propagated plants have well-draining soil and water them regularly. A good rule of thumb is to keep the soil consistently moist but never overly saturated. Early morning is the best time to water, allowing foliage to dry out during the day, which helps prevent disease.
Fertilization
Fertilizing your clematis can greatly enhance its growth and flowering capabilities. Use a balanced, slow-release fertilizer in early spring to give the plants the nutrients they need as they start to grow. Avoid over-fertilizing, as this can lead to lush foliage at the expense of blooms.
Pruning
Pruning is crucial for maintaining a healthy, productive clematis plant. Depending on the variety, you may need to adapt your approach to pruning. Many clematis benefit from a good pruning in early spring, removing dead or weak stems. Make sure to familiarize yourself with your specific clematis variety to implement the correct pruning strategy.
Troubleshooting Common Issues
While propagating clematis is generally straightforward, challenges can arise. Here are some common issues you may encounter along the way.
Pest Problems
A variety of pests can threaten your clematis plants, including aphids, slugs, and spider mites. Regularly inspect your plants for signs of infestation. If you spot pests, consider treating them with insecticidal soap or neem oil depending on the severity of the problem.
Fungal Diseases
Clematis can be susceptible to various fungal diseases, especially in humid conditions, including powdery mildew and root rot. To mitigate these issues, ensure proper air circulation and avoid watering the foliage directly. If you do notice any signs of disease, remove affected parts promptly and treat the plant with appropriate fungicides if necessary.
Nutrient Deficiencies
Yellowing leaves can be a sign of nutrient deficiency. A balanced fertilizer can generally remedy this. If your clematis is still struggling despite fertilization, consider taking a soil test to identify any deficiencies.
Final Thoughts: The Joy of Propagating Clematis
Clematis propagation can be an exciting journey filled with surprises. Each successful propagation can bring a sense of satisfaction and accomplishment, not to mention the opportunity to enjoy beautiful blooms and more robust growth in your garden. Remember to be patient throughout the process, as plants need time to establish.