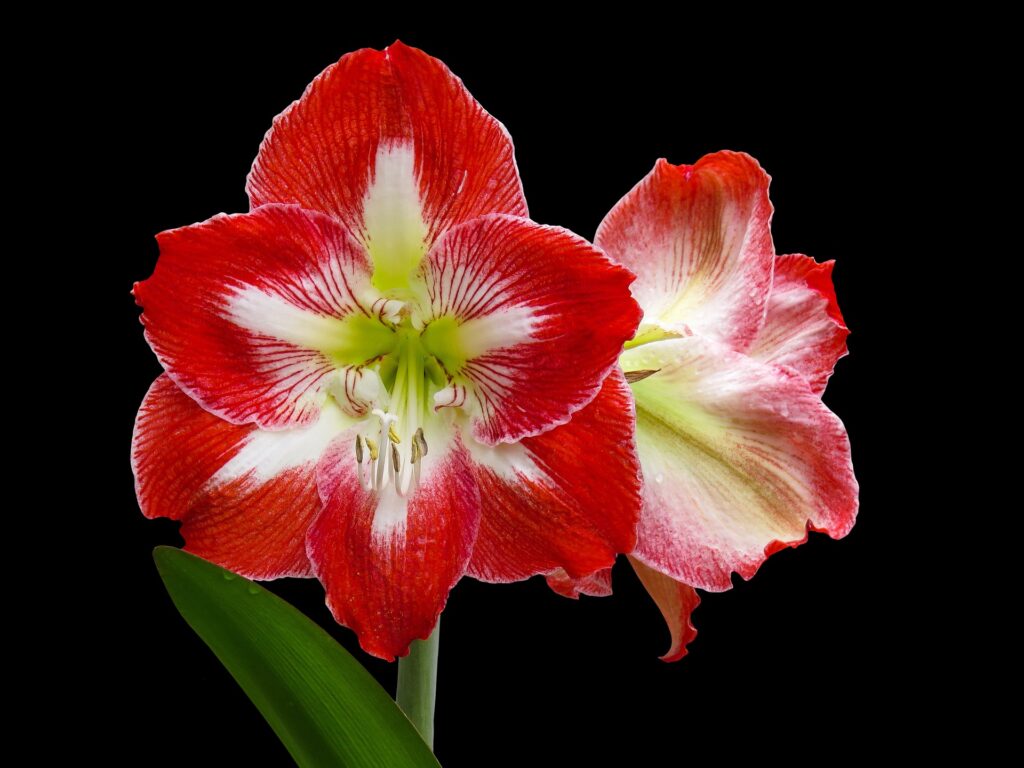
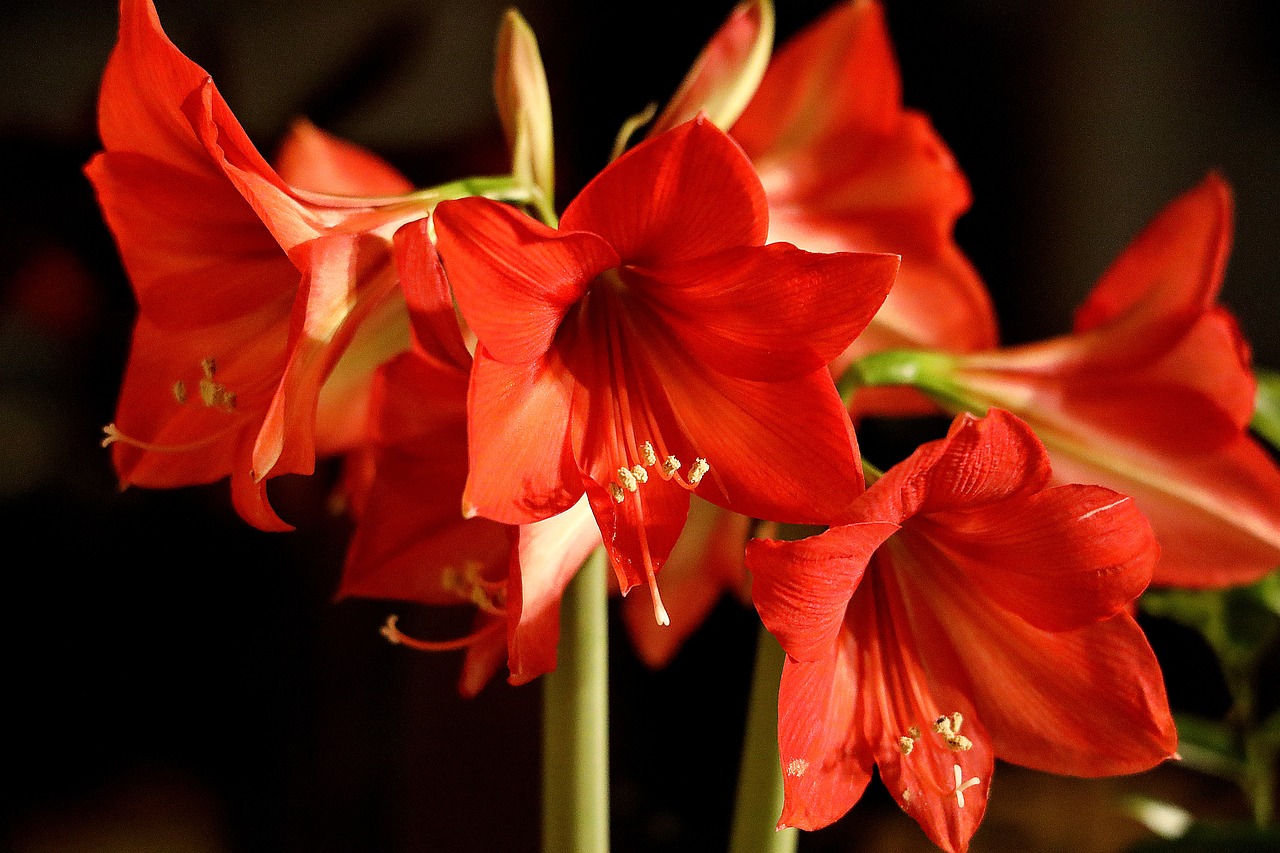
Amaryllis (Hippeastrum) is a popular flowering bulb known for its stunning large blooms and vibrant colors, making it a favorite choice among indoor gardeners. While many people enjoy the beauty of amaryllis during the holiday season, what many don’t realize is that it’s possible to rebloom these striking plants, providing even more enjoyment beyond their initial display.
In this comprehensive guide, we’ll explore the methods for successfully reblooming your amaryllis, ensuring you can enjoy its majestic flowers time and time again.
Understanding Amaryllis
The Biology of Amaryllis
Amaryllis bulbs are native to South America, particularly in regions with warm, semi-arid climates. These bulbs store energy and nutrients, enabling them to produce stunning blooms once a year. Amaryllis usually produces tall stalks with large blooms that can range in color from white, red, pink, orange, and various combinations of these hues.
Typical Blooming Cycle
When planted and cared for properly, an amaryllis bulb typically blooms about 6 to 8 weeks after being potted. The flowering season usually occurs in winter or early spring, depending on when the bulbs were planted. Once the blooming period is over, many household growers discard their bulbs, unaware that with the right care, they can bloom again.
Steps to Rebloom Amaryllis

Successfully reblooming your amaryllis involves a combination of proper care, understanding the dormancy period, and strategic planting techniques. Here’s a step-by-step guide to facilitate the reblooming process.
1. Care After Initial Blooming
Leave the Leaves
After your amaryllis has finished blooming, resist the temptation to cut the flower stalk. Instead, it is essential to allow the remaining foliage to grow. The leaves are vital for photosynthesis, which enables the bulb to store energy for the next blooming cycle. Leave the leaves intact until they yellow and begin to die back, which usually occurs several months after flowering.
Watering and Feeding
Watering: Continue to water your amaryllis plant until the leaves begin to die. Ensure that the soil remains slightly moist but never soggy; overwatering can lead to bulb rot.
Fertilizing: During the active growth phase, use a balanced, water-soluble fertilizer every 2-4 weeks. This will help the bulb build up energy reserves for the next bloom.
2. Inducing Dormancy
Once the leaves have yellowed and dried, it’s time to induce dormancy in your amaryllis. Dormancy is crucial for allowing the bulb to recover and prepare for the next blooming cycle.
Timing
To start the dormancy period, stop watering your amaryllis around late spring (usually May). Allow the plant to go through its natural cycle.
Storage
Remove the Bulb: Once the foliage has completely died back, carefully remove the bulb from the pot. Shake off excess soil but do not wash it.
Drying: Place the bulb in a cool, dry place for about two weeks. This allows excess moisture to evaporate and helps prevent mold during storage.
Trim: Trim off any dead roots and foliage, leaving a clean bulb.
3. Storing the Bulb
Ideal Storage Conditions
Store your bulb in a paper bag or crate in a cool, dark, and dry area. The ideal temperatures for storing amaryllis bulbs range between 50 and 60 degrees Fahrenheit (10 to 15 degrees Celsius), away from direct sunlight.
4. Replanting the Bulb
After approximately 8 to 12 weeks of dormancy, it’s time to replant your amaryllis bulb.
Choosing a Pot
Select a pot that is about 1-2 inches larger in diameter than the bulb.
Ensure the pot has drainage holes to prevent water logging.
Potting Soil
Use well-draining potting mix, ideally formulated for bulbs. A mix with peat moss, perlite, and vermiculite provides good aeration and moisture retention.
Planting Process
Fill the pot with potting soil, leaving enough space to place the bulb.
Gently place the bulb in the pot, ensuring that about one-third of the bulb remains above the soil surface. This exposure helps promote healthy growth and flowering.
Fill around the bulb with soil, gently pressing it down to remove air pockets while ensuring not to damage the bulb.
Water the bulb lightly to settle the soil around it, ensuring that the soil is moist but not overly saturated.
5. Providing Proper Care Post-Planting
Location
After planting, place the pot in a warm location with bright, indirect light. A spot near a window where it can receive sufficient light without direct sun exposure is ideal.
Watering Regimen
Initial Watering: Water the bulb thoroughly after planting to ensure the soil is evenly moist.
Ongoing Watering: Keep the soil slightly moist as growth begins, but let the top inch of soil dry out between waterings. Avoid letting the bulb sit in water, as this can lead to rot.
6. Triggering Growth
Most amaryllis bulbs will begin to sprout within 4 to 8 weeks after replanting, depending on the conditions.
Temperature
For optimal growth, maintain a temperature around 70 to 75 degrees Fahrenheit (21 to 24 degrees Celsius).
Fertilizing
Once shoots begin to appear, start applying a balanced liquid fertilizer every 2-4 weeks. This will support the plant’s growth as it prepares to bloom again.
7. Managing Light Conditions
Daylight Hours
Amaryllis bulbs require bright light to encourage healthy growth. If natural light is insufficient, consider using grow lights to supplement their needs.
Rotation
Rotate the pot every week to encourage even growth and prevent the plant from leaning toward the light source.
8. Anticipating Blooms
As your amaryllis grows, you may start to see flower stalks emerge from the bulb. Flower stalks will usually appear after the leaves have achieved substantial growth, marking the beginning of the bloom phase.
Staking
Once the flower stalks reach a height of 6-8 inches, you may want to stake them if you notice they start to lean. Using a soft tie to secure the stalk gently can help prevent breakage when the flowers open.
9. Enjoying the Blooms
Blooming Period: Amaryllis flowers will typically bloom within 7 to 10 days once the stalks have fully developed. Each stalk usually produces 2 to 4 large blossoms, bringing joy and splendor into your home.
Maintenance During Bloom: While in bloom, ensure the plant continues to receive bright light. Avoid repositioning it excessively, as this can lead to dropped buds.
10. What to Do After the Blooms Fade
Once your amaryllis has finished flowering, follow the same process of care as you did after the initial blooms.
Cutting Flower Stalks: Gently cut off the spent flower stalk at the base, but continue to care for the leaves.
Resume Dormancy Cycle: Follow the dormancy steps detailed above to prepare for the next blooming cycle in the coming years.
Troubleshooting Common Issues
While growing amaryllis can be straightforward, you may encounter some common issues.
1. No Blooming
If your bulb does not bloom after you’ve replanted it, consider the following factors:
Insufficient Dormancy: Ensure the bulb received enough time in dormancy – typically 8-12 weeks is essential.
Lack of Light: Ensure the bulb receives enough light. If the light conditions are poor, it may delay blooming.
Fertilizer Imbalance: Excessive nitrogen may promote foliage growth at the expense of blooms. Use a balanced fertilizer.
2. Yellowing Leaves Post-Bloom
Yellowing leaves are natural, but if they occur prematurely or extensive yellowing takes place:
Overwatering: Check if you’re overwatering, leading to root rot. Adjust your watering schedule accordingly.
Nutrient Deficiency: Lack of nutrients can also lead to yellowing. If this appears to be the case, consider adjusting your fertilization routine.
3. Pests and Diseases
Root Rot and various pests like aphids or spider mites can affect your amaryllis:
Root Rot: Ensure your pot has adequate drainage and adjust your watering to eliminate excess moisture.
Pests: Inspect your plant regularly for pests. If you find any, remove them by hand or treat the plant with insecticidal soap or neem oil.


