Repotting a Peace Lily (Spathiphyllum) is not just a routine task; it’s an opportunity to invigorate your plant’s life while simultaneously enriching your own. There’s something profoundly satisfying about nurturing a living being that breathes, grows, and transforms in your care. Whether you’re an experienced gardener or just beginning your adventure with houseplants, understanding how to repot a Peace Lily can significantly impact its health and aesthetic appeal.
In this comprehensive guide, we’ll delve deep into the nuances of this process, ensuring you feel empowered and knowledgeable every step of the way.
Understanding the Peace Lily
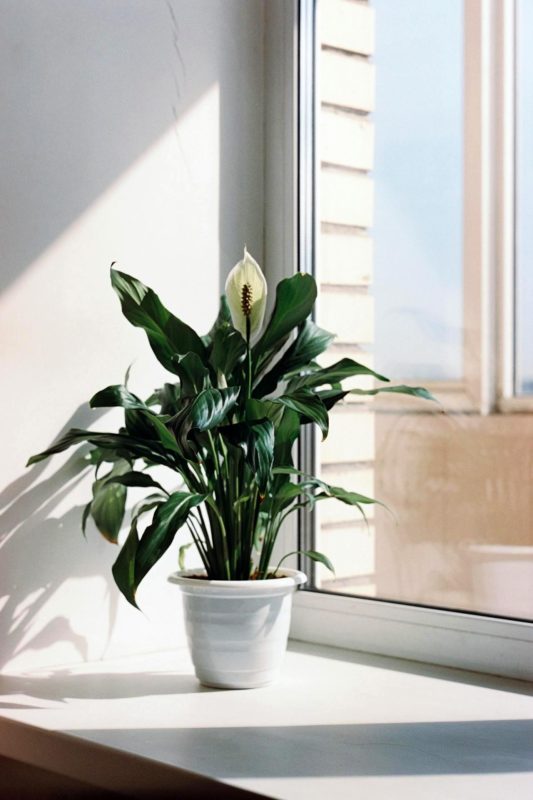
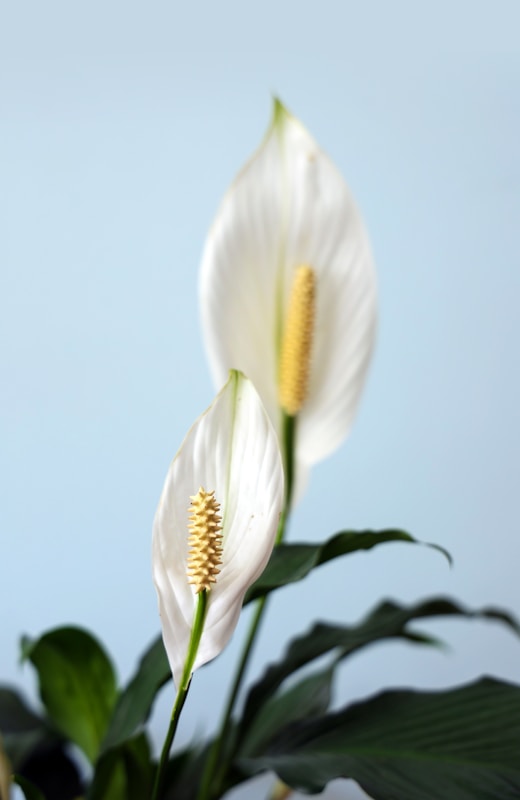
Before we dive into the technicalities of repotting, let’s take a moment to appreciate the Peace Lily itself. Renowned for its elegant white blooms and lush green foliage, this houseplant thrives in low-light conditions, making it an excellent choice for indoor spaces. However, its tropical origins indicate that it enjoys a humid environment and well-drained soil. This understanding of its natural habitat is vital as we move forward with repotting.
Peace Lilies are also known for their air-purifying qualities, which add an extra layer of allure—making them a favorite among indoor plant enthusiasts. They are beautiful yet forgiving, which makes them perfect for beginners. Still, a healthy Peace Lily requires some attention regarding its growing conditions, particularly when it comes time to repot.
Signs It’s Time to Repot
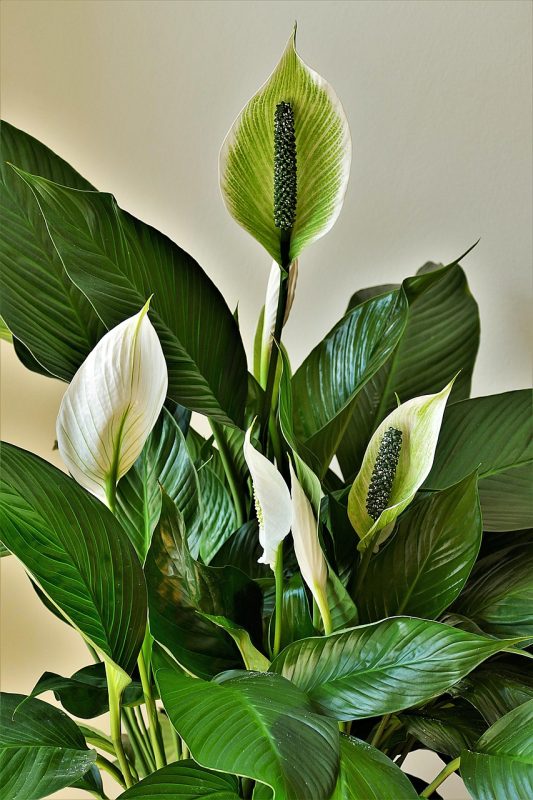
One of the first indicators that it’s time to repot your Peace Lily is when you see roots peeking out of the drainage holes or emerging from the top of the soil. This is a sign that the plant has become root-bound. Other signs might include stunted growth, yellowing leaves, or a general decline in vitality.
In addition to growth patterns, inspecting the soil is vital. If you notice that water is not absorbing properly, or if the soil has become compacted or depleted, it’s time for a change. Nutrient depletion can lead to a myriad of issues, including discoloration and poor flowering. According to numerous plant care experts, repotting every 1-2 years is a good practice for ensuring a healthy and vibrant Peace Lily.
Selecting the Right Pot

Choosing the right pot is a crucial step in the repotting process. Remember, a Peace Lily needs room for its roots to expand while also offering adequate drainage to avoid waterlogged conditions. Generally, a pot that is 1-2 inches larger in diameter than the current pot will suffice. The material of the pot is also essential; terracotta pots allow for better airflow, while plastic pots are lightweight and have better moisture retention.
Consider the aesthetic aspect of the pot as well. A beautiful pot can enhance not only the plant’s appearance but also the overall decor of your space. Personal anecdotes here can make the decision process much more relatable—perhaps you recall a time when you chose a ceramic pot that harmonized perfectly with your living room, making your Peace Lily a stunning focal point.
Preparing to Repot
Preparation is key to a successful repotting session. Before starting, gather all necessary materials and tools. You’ll need:
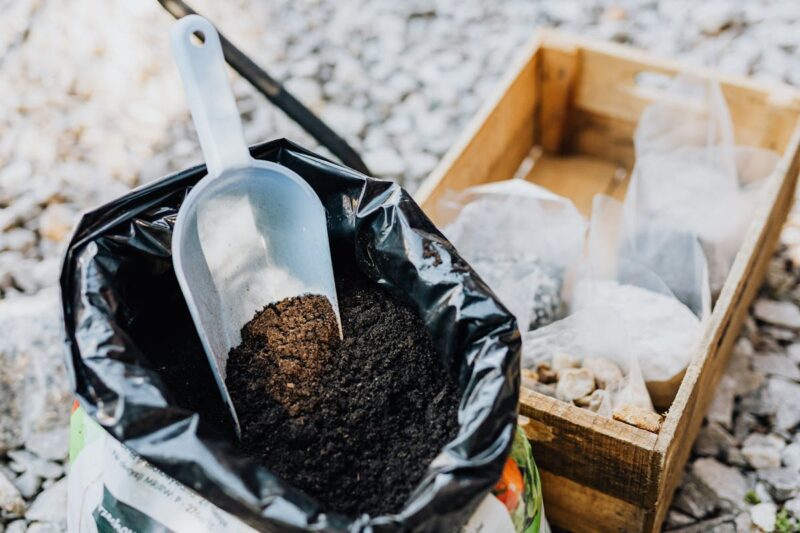
A new pot (1-2 inches larger)
Fresh potting soil, ideally one formulated for houseplants
Potting gloves
A trowel or small shovel
Spray bottle for misting the leaves
Additionally, find a clean, well-lit workspace where you can comfortably work. Lay down something like a plastic sheet or newspaper to catch soil spills. This step not only makes your workspace tidy but also eases cleanup, allowing you to focus on the task.
The Repotting Process
Now, let’s dive into the step-by-step process of repotting your Peace Lily:
Step 1: Prepare Your Peace Lily
Begin by watering your Peace Lily a day before repotting. This will help in loosening the soil and make it easier to remove the plant from its current pot. The moisture will hydrate the roots, minimizing stress during the process.
Step 2: Remove the Plant
Gently grasp the base of the plant near the soil and carefully turn the pot upside down. Tap the pot’s sides if necessary to loosen the soil. If your Peace Lily is stuck, you may need to gently rock it side to side. Be mindful of the leaves; they can be delicate. This part can be quite the adventure—one time, I had a stubborn Peace Lily that almost became a floor decoration before I finally succeeded in dislodging it!
Step 3: Inspect the Roots
Once removed, examine the root system. Healthy roots are firm and white, while brown or mushy roots indicate decay. You may need to trim away any unhealthy sections using sterilized scissors. This is not just trimming—it’s akin to giving your plant a refresher, allowing it to focus its energy on strong, healthy roots.
Step 4: Prepare the New Pot
Add a layer of fresh potting soil at the bottom of the new pot. Adjust the soil level so that when you place the Peace Lily back in, the top of the root ball sits about an inch below the rim of the pot. This level is critical—not only does it leave room for watering, but it also helps prevent soil from spilling over during watering sessions.
Step 5: Place the Plant
Carefully slide the Peace Lily back into the pot. Fill in with fresh potting soil around the sides, ensuring that the roots are covered but the crown of the plant remains above the soil line. Gently pat down the soil to eliminate any air pockets but avoid compacting it too tightly.
Step 6: Water and Settle
Water the plant thoroughly until you see water flow out of the drainage holes. This allows the soil to settle around the roots and removes any remaining air pockets. This moment is where your care begins to show results—keep an eye out for your plant’s immediate response. You may notice it perking up almost instantly!
Aftercare
After repotting, placing your Peace Lily in a location that receives indirect light is best, avoiding harsh direct sunlight, which can stress it out. Remember to monitor the moisture levels; give it a thorough watering again when the top inch of soil feels dry to the touch.
Maintaining humidity is equally important. Peace Lilies thrive in humid environments, so consider misting the leaves or placing a humidity tray with water and pebbles beneath the pot. Sharing personal stories about these humidity hacks can further engage your readers—like how my own plants benefitted immensely from a simple pebble tray, turning an ordinary corner into a mini-jungle!
Common Mistakes to Avoid
Repotting can seem straightforward, but there are pitfalls. Avoid using a pot that is too large; excessive soil can retain too much moisture, leading to root rot. Similarly, ignore the urge to fertilize immediately after repotting. The plant will be stressed from the move, and even a gentle fertilizer could overwhelm it. Give it a month to acclimate before resuming a regular fertilization schedule.
Another mistake is neglecting the root inspection during the repotting process. Taking the time to care for the roots significantly influences your plant’s future health.
Benefits of Repotting Beyond Aesthetics
While the visual appeal of a thriving Peace Lily is undeniable, the benefits of repotting extend far beyond what meets the eye. Frequent repotting stimulates new growth, encourages flowering, and enhances the plant’s ability to filter toxins from the air—something that resonates deeply with many modern plant lovers who prioritize clean indoor air quality.
Understanding Peace Lily Care Post-Repotting
Post-repotting care is crucial for your Peace Lily’s recovery. Beyond watering and humidity levels, evaluate its light conditions. The right amount of filtered sunlight can promote flowering and vigorous growth. Regularly check for signs of distress—yellowing leaves may point to an unsuitable environment or watering issues.
Consider incorporating natural fertilizers over time, like compost or worm castings, which nurture the plant without the harshness of chemical alternatives. My own experiments with organic options yielded incredible results, with blooms that seemed to brighten overnight!
Conclusion: A Journey of Growth
Repotting a Peace Lily can feel like a journey, one filled with the excitement of renewal and growth. Each step, from recognizing the signs of needing a new pot to the final watering, breathes life back into your plant. The satisfaction derived from caring for your Peace Lily is mirrored in its flourishing beauty—a testament to the bond between gardener and plant.