This guide will walk you through the essential steps and considerations to ensure that your evergreen trees thrive in their new environment.
The Ideal Time to Transplant Evergreens
Seasonal Considerations

Timing is crucial when it comes to transplanting evergreens. The best period for the job largely depends on the climate, region, and the type of evergreen but is generally during the cooler months of early spring or late fall.
Early Spring
Late winter to early spring, particularly before new growth begins, is ideal for transplanting many evergreens. During this time, the plant is still dormant, minimizing stress while enabling it to establish roots in the new soil before the onslaught of summer heat and potential dryness.
Spring is a magical time of renewal. While many plants wake from dormancy during this season, the risk of frost should be a consideration; planting too early may expose the evergreen to unexpected cold snaps. To ensure success, wait until the risk of frost has passed and the soil can be worked comfortably.
Late Fall
Similarly, late fall offers a good window for transplanting, particularly before the ground freezes. Once frost hits, the changing soil conditions can cause complications during the planting process. Much like in spring, the cooler temperatures will put the evergreen into dormancy, allowing it to recover from any transplant shock it might encounter while regaining its roots.
Consider your local climate and soil temperature trends to determine the optimal timing for your specific evergreens.
Avoiding Summer Transplanting
Transplanting during the hot summer months can stress evergreens, as they may struggle to sustain themselves amid higher temperatures. The ongoing need for hydration becomes even more critical during this time, increasing your workload and risking health.
In regions with limited rainfall, summer heat can induce excessive water loss from evergreens, leading to wilting and damage. If summer transplanting is your only option, ensure you have a robust watering plan in place, create temporary shade using cloth or garden fabric, and monitor the plant frequently for signs of distress.
Preparing for the Transplant
Site Selection

Choosing the right location should be your foremost consideration. Every evergreen has specific environmental preferences, and understanding these will dramatically enhance their growth.
Sunlight: Different evergreens have varied sunlight needs. For instance, most conifers prefer a full sun (6–8 hours of sunlight), while certain broadleaf evergreens might fare better in partial shade. When assessing your garden, consider the daily patterns of sunlight and shade.
Soil Quality: Well-draining soil is critical for evergreens, as sitting in waterlogged soil can lead to root rot. If the new location is heavy clay, consider amending the soil with compost or planting sand to improve drainage. You might also consider raising the site with mounds if drainage is consistently an issue.
Space for Growth: As you plan for the future, take into account the mature size of the evergreen you want to transplant. Before you dig, assess the height, width, and growth habits of the tree. Allowing enough space reduces competition from neighboring plants, leading to a healthier, more vigorous evergreen.
Tools and Materials
Gathering the right tools will streamline your efforts and make the transplanting process smoother. Essential items for this project include:
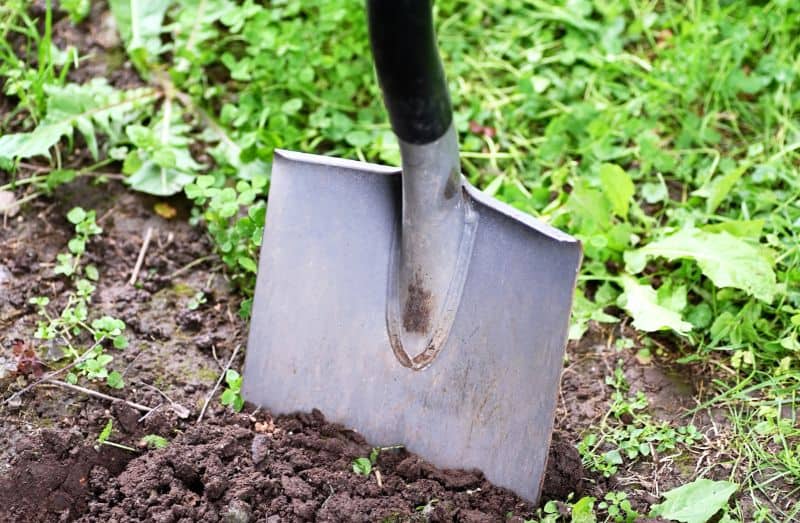
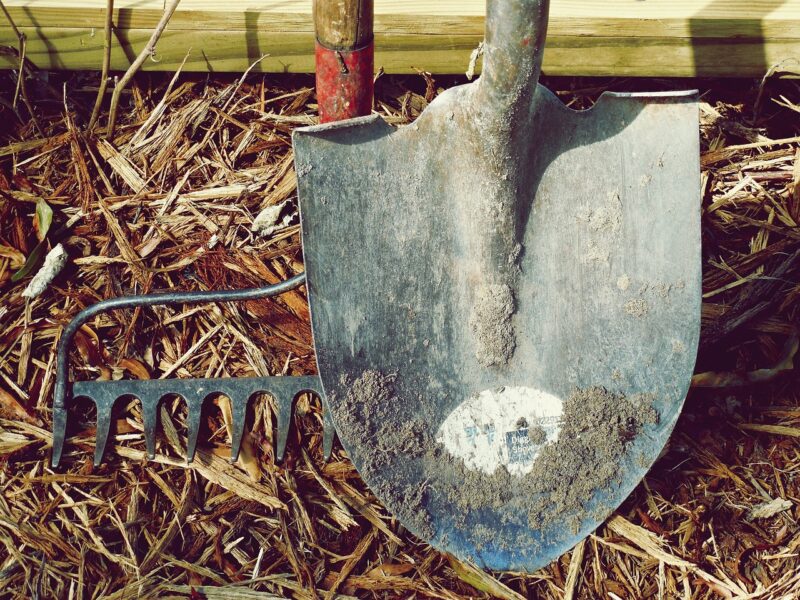
Shovel or Spade: A fundamental tool for digging up the evergreen correctly. Choose one with a sturdy blade to handle tougher soil.
Garden Fork: An invaluable asset for loosening compacted soil around the roots without damaging them.
Pruning Shears: These come in handy to trim any damaged roots or branches before, during, or after transplanting.
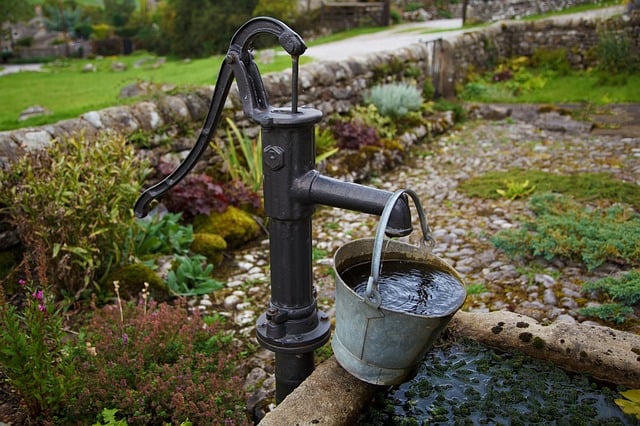
Watering Can or Hose: A necessity for keeping the root ball moist, especially if you’re working in dry conditions.
Mulch: Once the transplant is complete, mulch helps conserve moisture and protect the roots from temperature fluctuations.
Root-Stabilizing Supports: Especially for taller evergreens, support may be necessary to stabilize the plant until the roots have firmly established.
Having these tools and materials prepared before you start will ensure that your transplanting process is efficient and effective.
Assessing the Evergreen
Before proceeding, inspect the evergreen for pests, disease, or any damage. Assessing these factors can save you headaches later.
Pests like aphids or spider mites can weaken the plant before transplantation, while diseases may hinder recovery post-transplant. Addressing these issues before making the move will set up your plant for success. Consider treatment options such as insecticidal soap for pests or appropriate fungicides for diseases, but allow time for treatment to take effect before transplanting.
The Transplantation Process
Transplanting an evergreen requires careful execution and attention to detail. Here’s how to proceed effectively.
Step 1: Watering the Evergreen
Start by watering the evergreen a day or two before you plan to transplant. Adequately hydrated plants are less prone to stress. This step will ensure that the root ball remains moist and is less likely to fall apart when you lift the tree from the ground.
Step 2: Digging Up the Evergreen
When digging around the evergreen, keep an adequate distance from the trunk—usually about 6 to 12 inches per diameter inch of trunk. Use a spade to create a circular trench around the plant, going about 12 to 24 inches deep. This gives you a solid root ball that minimizes disturbance to the plant.
Make sure to maintain the integrity of the root system as you work; damaging roots can lead to slow recovery or even plant death.
Step 3: Lifting the Root Ball
When lifting the evergreen from the ground, take your time and make steady movements. Gently slide the spade or fork under the root ball, being aware of any entangled roots. Lifting too quickly can break the root system, while careful handling ensures that the roots remain mostly intact.
For larger trees, consider using a burlap sack to wrap around the roots, keeping the ball together as you lift it out of the hole.
Step 4: Preparing the New Hole
Prepare the new hole by digging it about twice as wide as the root ball and the same depth. This allows for proper drainage and provides ample room for the roots to spread into new, loosened soil.
Enriching the soil with organic compost can dramatically improve nutrient availability and drainage, setting the plant up for success in its new home.
Step 5: Planting the Evergreen

Once the hole is ready, it’s time to place the evergreen inside. Gently lower the root ball into the hole, ensuring it sits at the same depth as its original location. If you notice any circling roots, gently tease them apart and direct them downward.
Backfill the hole, using your hands to eliminate air pockets by lightly tamping down the soil. Water generously after planting to settle the soil around the roots. This initial watering is crucial in giving your evergreens a solid foundation in their new habitat.
Step 6: Mulching

After planting, apply a 2- to 3-inch layer of mulch around the base of the evergreen, being careful to keep it a few inches away from the trunk to prevent rot. This mulch layer will help retain moisture, suppress weeds, and regulate soil temperature.
Using organic mulch, such as bark or straw, can also improve soil quality over time as it breaks down and adds nutrients.
Post-Transplant Care
The work isn’t finished once the evergreen is in place. Post-transplant care is crucial for a successful acclimatization period.
Watering Schedule
For the first few weeks after transplanting, water your evergreen regularly. During this period, maintaining consistent moisture is critical for encouraging root growth.
Daily Monitoring: You might need to water every other day for the first week, depending on weather conditions, especially in warm areas. Assess the soil’s moisture with your fingers—if it’s dry a couple of inches down, it’s time to water.
Gradual Reduction: Gradually reduce your watering frequency as the plant begins to establish itself in the new location, usually after a month or so.
Monitoring Health
Keep a close eye on your evergreen during its first few months in the new spot. Monitor for signs of stress such as yellowing needles, wilting, or stunted growth.
Assess Water Needs: If you notice significant wilting, it might signal too little water. Adjust your watering regimen accordingly.
Evaluate Soil Conditions: Soil compaction or drainage issues may surface if your evergreen shows signs of stress. Regular checks can help you identify issues early.
Fertilization
It’s generally best to avoid fertilizing immediately after transplanting. Newly moved plants need time to adjust, and adding fertilizers too soon can result in nutrient overload, leading to further stress.
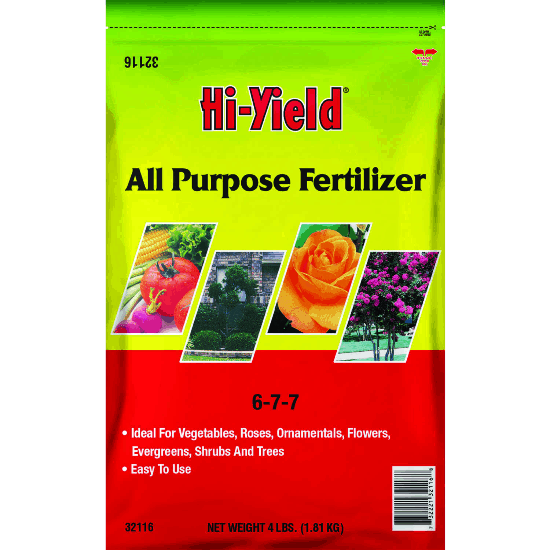
After about a month of establishment, you can consider applying a balanced, slow-release fertilizer to provide additional nutrition, especially if you notice signs of nutrient deficiency. Organic options such as fish emulsion or compost are great low-stress introductions.
Pruning

During the transplanting process, if you had to remove any limbs, you might want to gently prune excess top growth to redistribute the plant’s energy towards new root growth. Follow proper pruning guidelines by cutting at a 45-degree angle just above a node to encourage healthy new growth without causing water pooling and disease.
Adjusting the weight of the branches helps create balance and stability as the roots establish.
Common Transplanting Challenges and Solutions
Transplanting evergreens is rewarding but can come with challenges. Here are some problems you might face and how to address them effectively.
Transplant Shock
One of the most common challenges you’ll encounter is transplant shock, which manifests through wilting, yellowing leaves, or stunted growth. To alleviate this issue, try these tips:
Consistent Watering: Keep the soil around the roots adequately moist without overwatering. Consistent hydration is key.
Root-Stimulating Hormones: If you notice early signs of shock, consider using a root-stimulating hormone product that helps promote root development.
Minimal Disturbance: Limit disturbances to the newly planted area in the first weeks of acclimatization. Avoid heavy foot traffic or continual moving of mulch, which can compact the soil.
Soil Quality Issues
If your evergreen struggles post-transplant, inadequate soil quality may be the culprit. Conducting a soil test can help identify nutrient levels, pH, and potential contaminants.
Amending Soil: Consider adding organic matter or fertilizers to boost soil health. Elements like bone meal or mycorrhizal fungi may enhance root growth significantly.
Raised Beds: If drainage remains problematic, consider mounding or building raised beds to improve the water flow around your evergreen.
Pest Infestations
Even with careful planning, pests may invade after transplanting, causing additional stress to your evergreen. Regularly inspect your plant for any unusual signs, including discoloration, webbing, or sticky residue.
Beneficial Insects: Introduce predatory insects like ladybugs to help curb pest populations organically.
Organic Pesticides: If the infestation is severe, consider employing organic insecticidal soaps or neem oil, which can target pests without harming the plant.
Understanding Evergreens: The Basics
What Are Evergreens?
Evergreens are a diverse group of plants that retain their foliage throughout the year. Unlike deciduous trees, which shed their leaves seasonally, evergreens offer a consistent source of greenery. They can be found in various climates and terrains, ranging from rugged mountains to suburban gardens.
Evergreens are primarily classified into two categories: conifers and broadleaf evergreens.
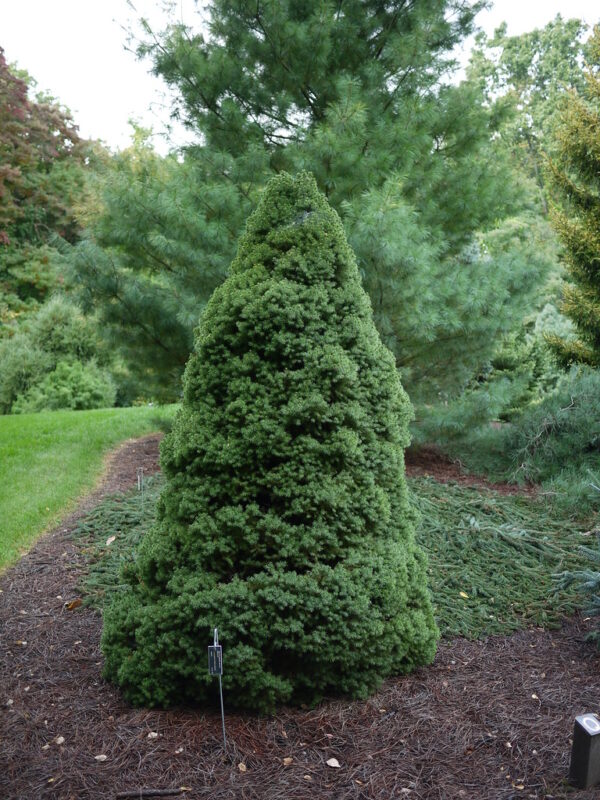
Conifers: These are the classic needle-bearing evergreens, which include trees like pines, spruces, and firs. Conifers tend to be more tolerant of cold climates and typically have a conical shape, which helps them shed snow easily.
Broadleaf Evergreens: These include plants like holly, laurel, and rhododendron. Unlike conifers, broadleaf evergreens have wider leaves and can thrive in milder winters. They often serve as staple plants in warmer climates and bring lushness to gardens all year round.
Understanding the specific type of evergreen you’re working with is crucial, as each species has distinct characteristics, care requirements, and transplanting guidelines. For example, some conifers may have a significant taproot that dominates their root system, requiring careful digging and handling during a transplant.
The Benefits of Evergreens
Choosing to plant evergreens can significantly enhance the layout and aesthetics of your landscape. Here are a few key benefits:
Year-Round Foliage: Evergreens provide visual interest and color even in the winter months, which many deciduous plants do not.
Windbreaks and Privacy: They can effectively act as natural windbreaks or privacy screens. Tall evergreens can shield homes from gusty winds and create a secluded backyard oasis.
Wildlife Habitat: Evergreens offer year-round nesting habitats and food sources for various birds and wildlife, supporting local biodiversity.
Soil Erosion Control: Their extensive root systems help bind soil, preventing erosion on sloped landscapes.
Recognizing the myriad advantages of evergreens can guide your design choices and help you appreciate their role in your garden.
Why Transplant Evergreens?
As you reflect on your garden, several scenarios might prompt you to consider transplanting an evergreen. Understanding your motive can guide you in choosing the right time and method for the task.
Landscape Design
Changes in landscaping trends or personal tastes often lead gardeners to reevaluate plant placement. Perhaps you planted an evergreen too close to another plant or placed it in a spot that doesn’t highlight its beauty. An evergreen can be a centerpiece in any garden; however, its placement is crucial to both aesthetic appeal and plant health.
Health Issues
Sometimes, an evergreen may become unhealthy in its current location, struggling with poor soil drainage or being overshadowed by taller plants. Transplanting it to a more suitable spot can help restore its vigor and allow it to flourish once again.
Growth Management
Evergreens can grow much larger than anticipated. If you find that an evergreen is encroaching on its neighbors or your property lines, it might be time to relocate it. A judicious move can prevent overcrowding issues and ensure each plant has sufficient space to thrive.
Understanding the reasons for transplanting will help you decide the most suitable approach, minimizing stress for both the plants and yourself.
Conclusion: A Green Future Awaits
Successfully transplanting evergreens requires care, attention, and patience, but the long-term rewards far outweigh the effort involved. A well-placed evergreen enhances your landscape, adds value to your property, and serves as a living testament to your gardening abilities. With careful preparation, timing, and post-transplant care, you can ensure that your evergreens adapt well and continue to enliven your garden year after year.