Whether you’re an experienced gardener or a beginner, propagating aloe is a rewarding endeavor that allows you to expand your collection or share with friends and family. In this post, we’ll cover everything you need to know about propagating aloe, including methods, care tips, and common challenges.
Why Propagate Aloe Vera?
Cost-Effective: Purchasing new aloe plants can be expensive, but propagating your existing plants saves money.
Plant Health: If your aloe plant has outgrown its pot or looks unhealthy, propagation can rejuvenate the plant and promote growth.
Sharing: Propagating allows you to give a piece of your plant to friends or family, spreading the love for this versatile succulent.
Methods of Propagating Aloe Vera
1. Offsets (Pups)
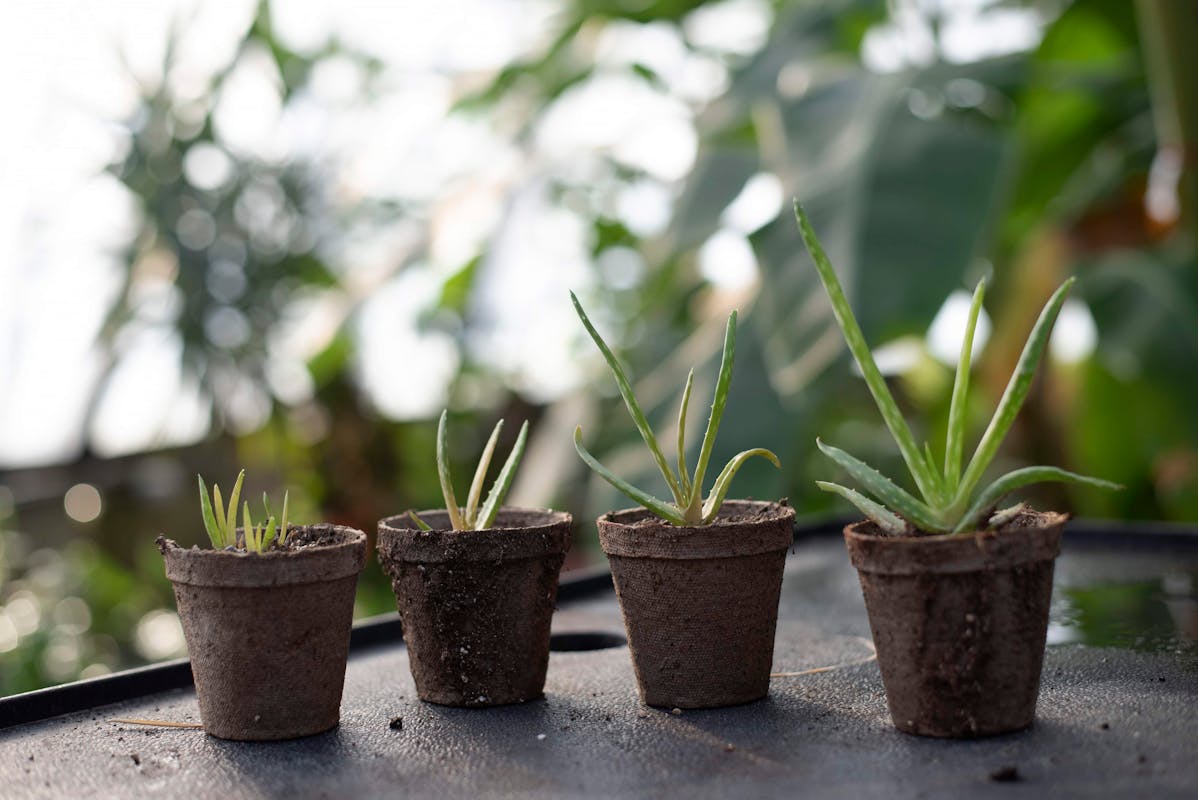
Aloe plants naturally produce offsets, commonly referred to as pups. These small plants grow at the base of the parent plant.
How to Propagate Using Offsets:
Identify Offsets: Look for pups that have developed a few inches in height and have their own roots.
Remove the Offset: Gently tug the pup away from the parent plant. You may need to use a sharp, clean knife to separate it if it’s attached.
Let It Heal: Allow the cut end of the offset to dry for a few hours or overnight. This helps prevent rot when planted.
Planting: Prepare a pot with well-draining succulent soil. Plant the pup in the soil and water it lightly.
Care: Place the new plant in a warm, bright area but not in direct sunlight immediately. Gradually introduce it to more light over the coming weeks.
2. Leaf Cuttings
While not the most common propagation method for aloe, you can still propagate from leaf cuttings, although the success rate is lower.
How to Propagate Using Leaf Cuttings:
Choose a Healthy Leaf: Select a mature, healthy leaf from the parent plant.
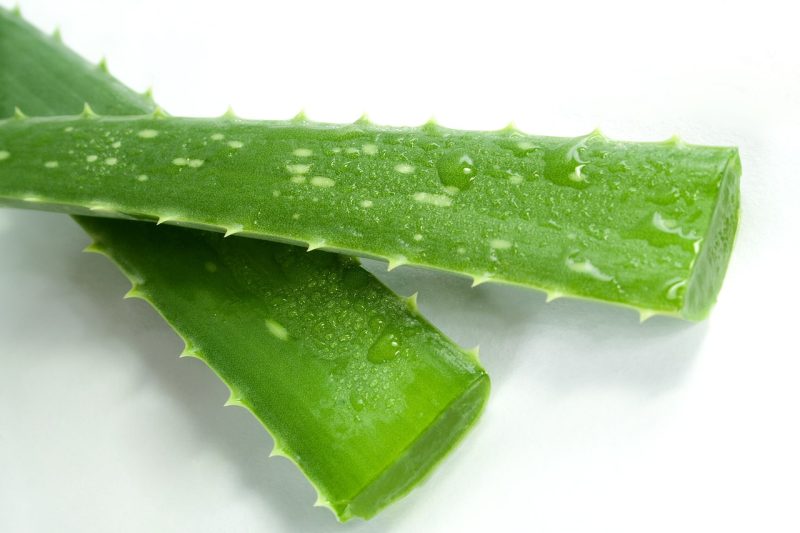
Cut the Leaf: Use a clean, sharp knife to slice the leaf close to the base. Cut the leaf into several sections, each about 4–6 inches long.
Let It Callus: Place the cut sections in a dry area for 1-3 days, allowing the ends to form a callus.
Plant the Cuttings: Fill a pot with well-draining succulent soil. Insert the cut end of the leaf into the soil and lightly water.
Care for the Cuttings: Similar to offsets, keep the cuttings in a warm spot with indirect light. Water sparingly until new growth appears.
3. Seeds
Although not the most common method for home propagators, starting aloe from seeds can be an adventurous challenge.
How to Propagate from Seeds:
Obtain Seeds: Purchase seeds from a reputable source or collect them from a flowering aloe plant.
Prepare the Soil: Use a seed-starting mix that drains well.
Plant the Seeds: Sow the seeds on the surface of the soil and lightly press them in. Do not cover them as they need light to germinate.
Watering: Mist the soil gently to keep it moist. Cover with plastic wrap or a clear lid to maintain humidity.
Light and Temperature: Place the container in a warm area with indirect light. Once seedlings emerge, remove the cover and care for them as you would adult aloe plants.
Tips for Successful Aloe Propagation

Choosing the Right Soil: Use a well-draining potting mix designed for succulents. This prevents root rot, a common issue in aloe plants.
Temperature Matters: Aloe vera thrives in warm temperatures, ideally between 60°F–75°F. Avoid frost and extreme cold.
Light Requirements: Aloe plants love bright, indirect sunlight. Too much direct sunlight can scorch their leaves, while too little light can stunt growth.
Watering Wisely: Aloe vera plants prefer to be on the dry side. Water only when the soil has completely dried out to prevent overwatering.
Common Challenges
Root Rot: This occurs when the plant sits in waterlogged soil. Ensure pots have drainage holes.
Pests: Aloe can attract pests like mealybugs and aphids. Regularly inspect your plants and treat infestations with natural remedies or insecticidal soap.
Slow Growth: If your new plants aren’t growing, check your light levels, and ensure that you’re not over-watering.


