In this guide, we’ll cover everything you need to know about begonias and their propagation methods, ensuring you can successfully multiply your leafy companions.
Understanding Begonias

Before we get into propagation, it’s crucial to understand what begonias are. Belonging to the Begoniaceae family, these plants boast over 1,800 species. They’re loved for their decorative leaves and flowers, making them popular houseplants and garden additions. Begonias can be classified into three primary categories: fibrous-rooted, rhizomatous, and tuberous begonias.
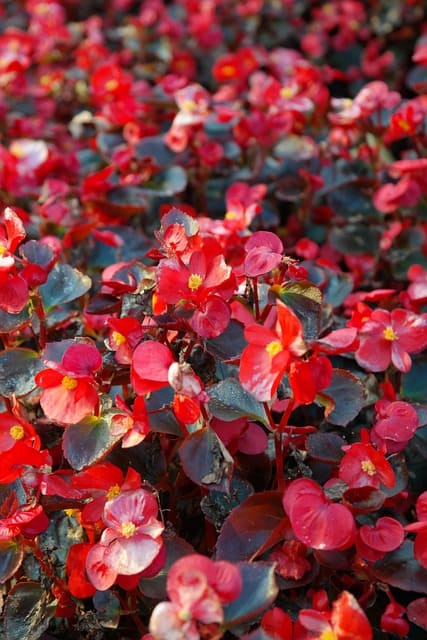
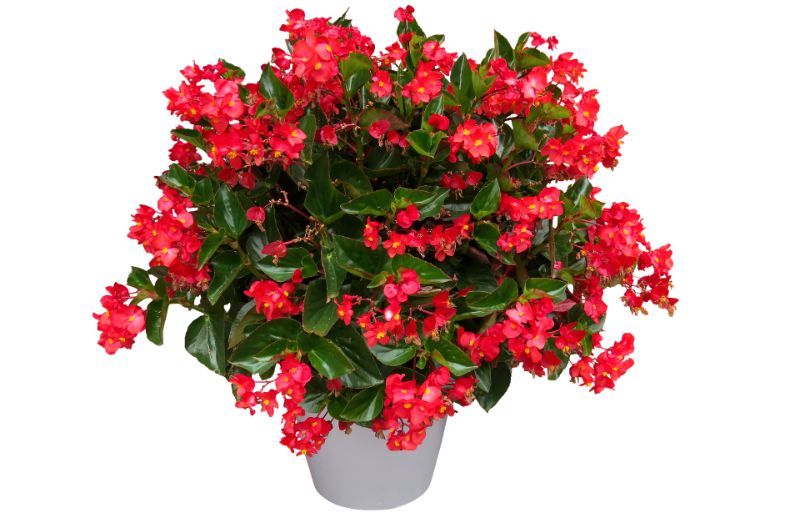
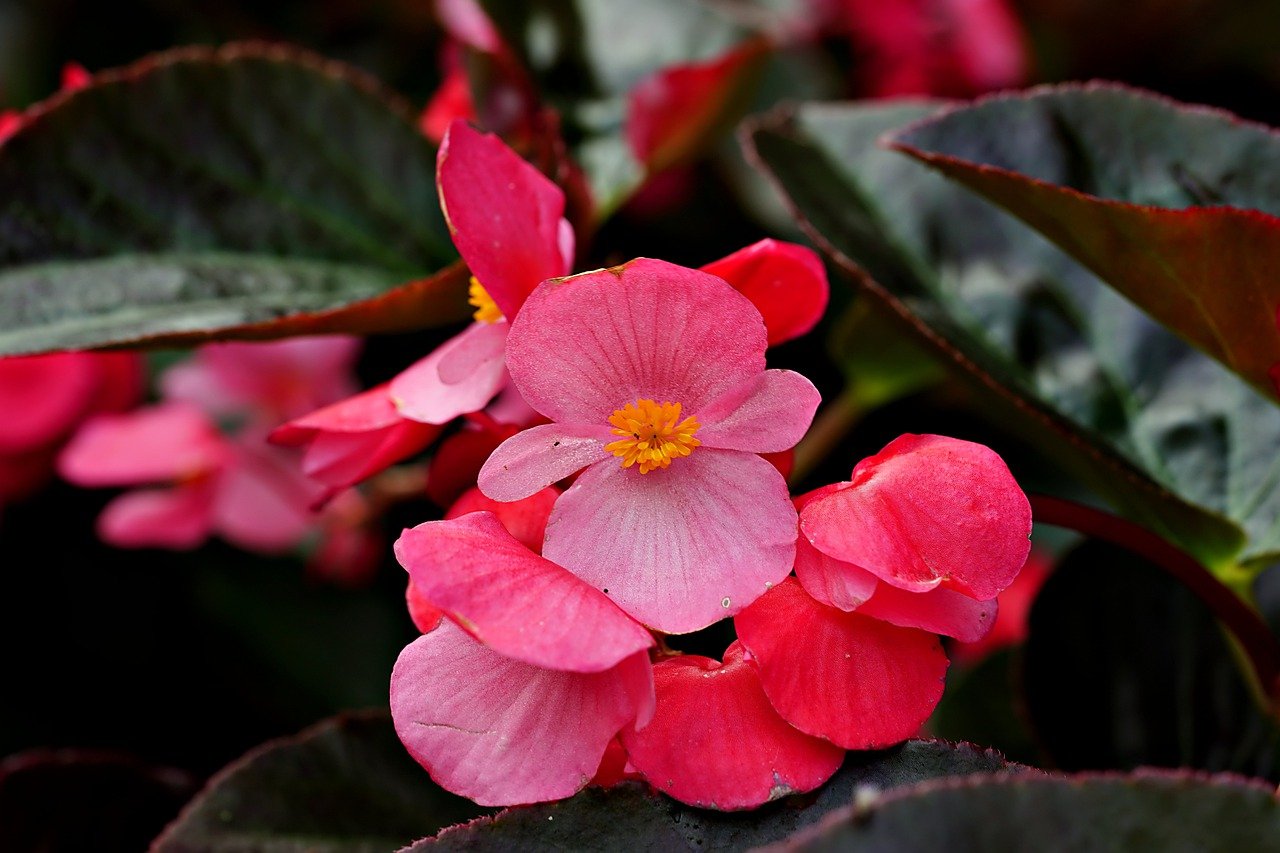
Fibrous-Rooted Begonias: This group includes the common wax begonia. They typically have thick, waxy leaves and are bushy in appearance, making them great for borders and containers.
Rhizomatous Begonias: Known for their thick, succulent stems that grow horizontally underground, these begonias offer unique leaf forms and patterns. They thrive in indirect light and add a touch of the exotic to any space.
Tuberous Begonias: Recognized for their large, bright flowers, tuberous begonias are often grown as annuals. They require a little more care but are well worth the effort.
Best Times to Propagate Begonias
The most ideal time to propagate begonias is during the spring or early summer months when the plants are actively growing. This timeframe gives your cuttings the best chance to root and establish themselves before the cooler months set in. However, it’s possible to propagate begonias year-round, particularly if you provide appropriate conditions.
Methods for Propagating Begonias
1. Leaf Cuttings
Leaf cuttings are one of the simplest and most common methods for propagating begonias, particularly for rhizomatous and fibrous-rooted varieties.
Steps:
Select a Healthy Leaf: Choose a healthy, mature leaf from the parent plant. Ensure it’s free from pests and diseases.
Cut the Leaf: With a clean, sharp knife or scissors, cut the leaf into sections. Each piece should have a vein running through it, as this is where the roots will develop.
Prepare for Planting: Allow the cut sections to callous over for a few hours or overnight to reduce the risk of rot.
Plant the Cuttings: Place the leaf cuttings in a pot filled with well-draining potting mix, burying them slightly but leaving part of the leaf surface exposed.
Water and Cover: Lightly water the soil and cover the pot with a clear plastic bag or a mini greenhouse to retain humidity.
Provide Light: Place the pot in a bright, indirect light location, avoiding direct sunlight that could scorch the leaves.
2. Stem Cuttings
Stem cuttings work well for fibrous-rooted begonias and can yield quick results.
Steps:
Choose a Sturdy Stem: Look for a healthy stem that is at least 3-4 inches long with several leaves.
Cut the Stem: Using sterile pruning shears, make a clean cut just below a node (the point where leaves attach).
Remove Excess Leaves: Trim any lower leaves to prevent rot when planted.
Rooting Hormone (Optional): You can dip the cut end in rooting hormone to encourage faster root growth.
Plant the Cutting: Insert the stem cutting into a pot filled with well-draining potting soil, burying it a couple of inches deep.
Water and Cover: Provide light watering and cover it with a greenhouse dome or plastic bag to maintain humidity, similar to the leaf cutting method.
3. Division
For established begonias, division is an effective way to propagate and can be done during repotting.
Steps:
Remove the Plant from the Pot: Gently take the parent plant out of its pot, shaking off excess soil.
Identify Natural Divisions: Look for areas in the root system that are naturally separated. Use a clean, sharp tool to divide the plant into sections, ensuring each division has roots and healthy foliage.
Replant Each Section: Pot the divisions in their own containers with fresh soil, watering them lightly and placing them in indirect sunlight to help them adjust.
Caring for Newly Propagated Begonias

After propagating your begonias, care is essential for successful rooting and future growth.
Humidity: Keep the humidity levels high to encourage rooting, especially for leaf and stem cuttings. Mist the cuttings regularly or use a humidity dome if necessary.
Watering: Be cautious with watering. Overwatering can lead to rot while underwatering can hinder root development. Keep the soil slightly moist but never soggy. It’s best to check the moisture level regularly, allowing the top inch of soil to dry before the next watering.
Light: Place your propagated begonias in a location with bright, indirect sunlight. Direct light can scorch the leaves, while too little light may prevent healthy growth. A spot near a window with filtered light is often ideal.
Fertilization: Once you see signs of new growth, usually in a few weeks, you can begin feeding your new plants with a diluted, balanced, water-soluble fertilizer every 4-6 weeks. This will support vigorous growth as they establish themselves.
Troubleshooting Common Problems
1. Wilting Leaves
If your propagated begonias are wilting, it could be due to underwatering or too much direct sunlight. Ensure that you’re providing adequate moisture and adjust their location to avoid harsh light.
2. Root Rot
Root rot is a common issue when propagating begonias due to excessive moisture. If you notice black, mushy roots or a foul smell, it may be time to repot into fresh soil and cut back on watering. Make sure pots have drainage holes to allow excess water to escape.
3. No Growth
If your cuttings show no signs of growth after a couple of weeks, it could be due to low humidity or inadequate light. Check the conditions and consider moving them to a more suitable environment.
Final Thoughts
Propagating begonias is not only economical but also a gratifying experience that connects you more deeply to your plants. Whether you’re a seasoned gardener or just starting your plant journey, the methods discussed above will help you successfully propagate these lovely plants. With patience and proper care, you’ll soon have a thriving collection of begonias to enjoy or share.
As you embark on your propagation journey, remember to document your progress. This can be incredibly rewarding, especially as you witness your cuttings grow into beautiful new plants. Consider sharing your journey on Pinterest or other social media platforms — the plant community thrives on sharing experiences, tips, and inspirations..


