In this guide, we’ll cover everything you need to know about propagating camellias, from the best methods to tips for success.
Understanding Camellias
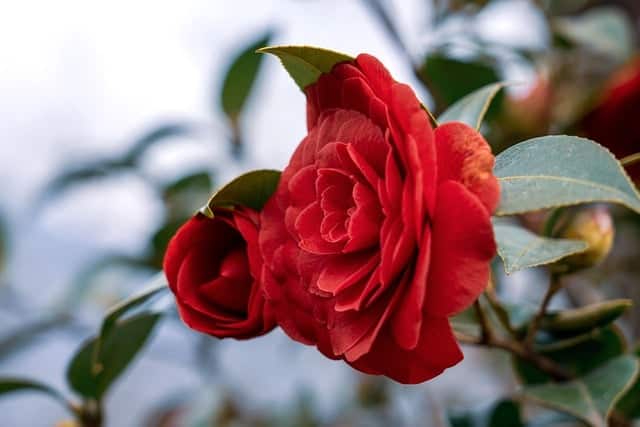
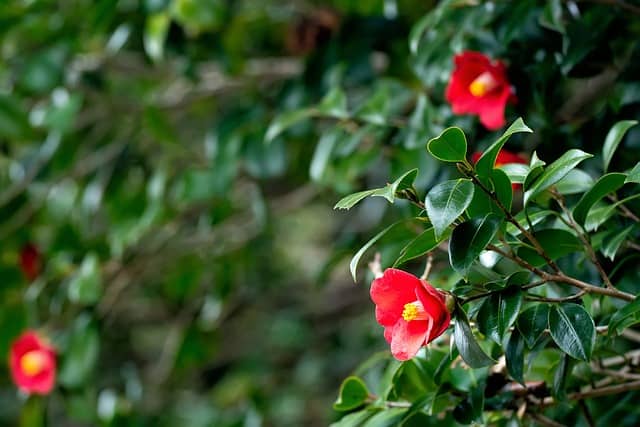
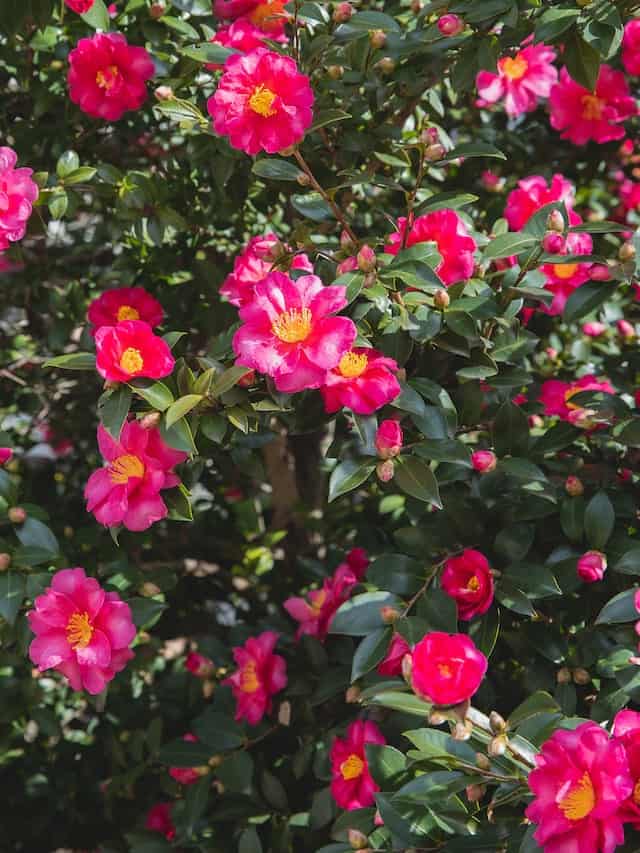
Camellias belong to the Theaceae family and are native to Asia. There are several different species, with Camellia japonica and Camellia sasanqua being the most commonly cultivated. Camellias bloom in a variety of colors—including white, pink, and red—adding beauty to any garden. They thrive in temperate climates and prefer a well-drained, acidic soil to flourish.
Methods of Propagation
There are a few effective methods for propagating camellias. Here are the two most popular:
1. Cuttings
Propagation by cuttings is one of the most common methods for camellias. Here’s how to do it:
Timing: The best time to take cuttings is in late spring or early summer when the plant is actively growing. Look for semi-ripe wood (not too soft and not too woody).
Selecting Cuttings: Choose healthy stems that are about 4 to 6 inches long. Each cutting should have 2-3 sets of leaves.
Preparing Cuttings: Using a sharp, clean knife, make a cut just below a leaf node, then remove the leaves from the bottom half of the cutting to reduce moisture loss.
Rooting Hormone: Dip the cut end in rooting hormone to encourage root growth, though this step is optional.
Planting: Fill small pots or a tray with a well-draining potting mix, such as a mix of peat and perlite. Insert the cuttings into the soil about halfway down and water gently.
Humidity and Light: Cover the pots with a plastic bag or a clear plastic dome to maintain humidity. Place them in a location with indirect sunlight. Check regularly, ensuring the soil stays moist but not soggy.
Root Development: After a few weeks, gently tug on the cuttings to see if they have developed roots. Once roots are established, you can transplant them into larger pots or your garden.
2. Layering
Air layering is another effective technique for propagating camellias, especially for larger plants.
Preparation: Choose a healthy branch that is flexible enough to bend down to the ground. Make a small upward cut about one third of the way through the branch about 12 inches from the tip. This cut should be wrapped lightly in moist sphagnum moss.
Wrapping: Cover the cut area with the moss and secure it with plastic wrap or aluminum foil, ensuring that it maintains moisture.
Securing: Use ties to hold the moss in place, and keep it moist. The idea is to encourage roots to grow where the bark has been wounded.
Transplanting: After a few months, when the roots are visibly growing into the moss, you can cut the branch below the new roots and transplant it into soil.
Caring for Your Newly Propagated Camellias
Once your new camellia plants are established, it’s time to care for them:
Watering: Keep the soil consistently moist, especially during hot, dry periods. However, avoid overwatering which can lead to root rot.
Fertilizing: Use a balanced fertilizer during the growing season to encourage healthy growth and flowering.
Sunlight: Most camellias prefer partial shade. Make sure they are protected from harsh afternoon sun.
Pruning: Regularly prune your camellias to maintain their shape and remove any dead or diseased branches.
Troubleshooting Common Issues

Even seasoned gardeners face challenges when propagating. Here are a few common problems and how to address them:
Cuttings Not Rooting: This could be due to insufficient humidity. Ensure that your cuttings remain moist and covered.
Fungal Issues: Too much moisture can lead to fungal problems. Ensure proper airflow around your cuttings by keeping the humidity level in check and avoiding water accumulation. Using a sterile potting mix can also help prevent diseases.
Wilting Leaves: If your cuttings start to wilt, this may be a sign of transpiration loss. Ensure that your cuttings are well-covered to maintain humidity and consider misting them lightly if necessary.
Stunted Growth: This may occur if the cuttings are not receiving enough light. While direct sunlight can be too harsh, providing bright, indirect light is essential for their growth.
Conclusion
Propagating camellias can be a delightful and fulfilling journey for any gardening enthusiast. Whether you choose to use cuttings or layering, with the right techniques and care, you can successfully grow new plants that bring beauty and joy to your garden. As you nurture your camellias into maturity, you’ll not only gain satisfaction from your new plants but also create opportunities to share your passion with others.
Remember that patience is key; propagation takes time, and not every attempt will be successful. However, with practice and attention to detail, you will improve your skills and enjoy the results of your hard work.