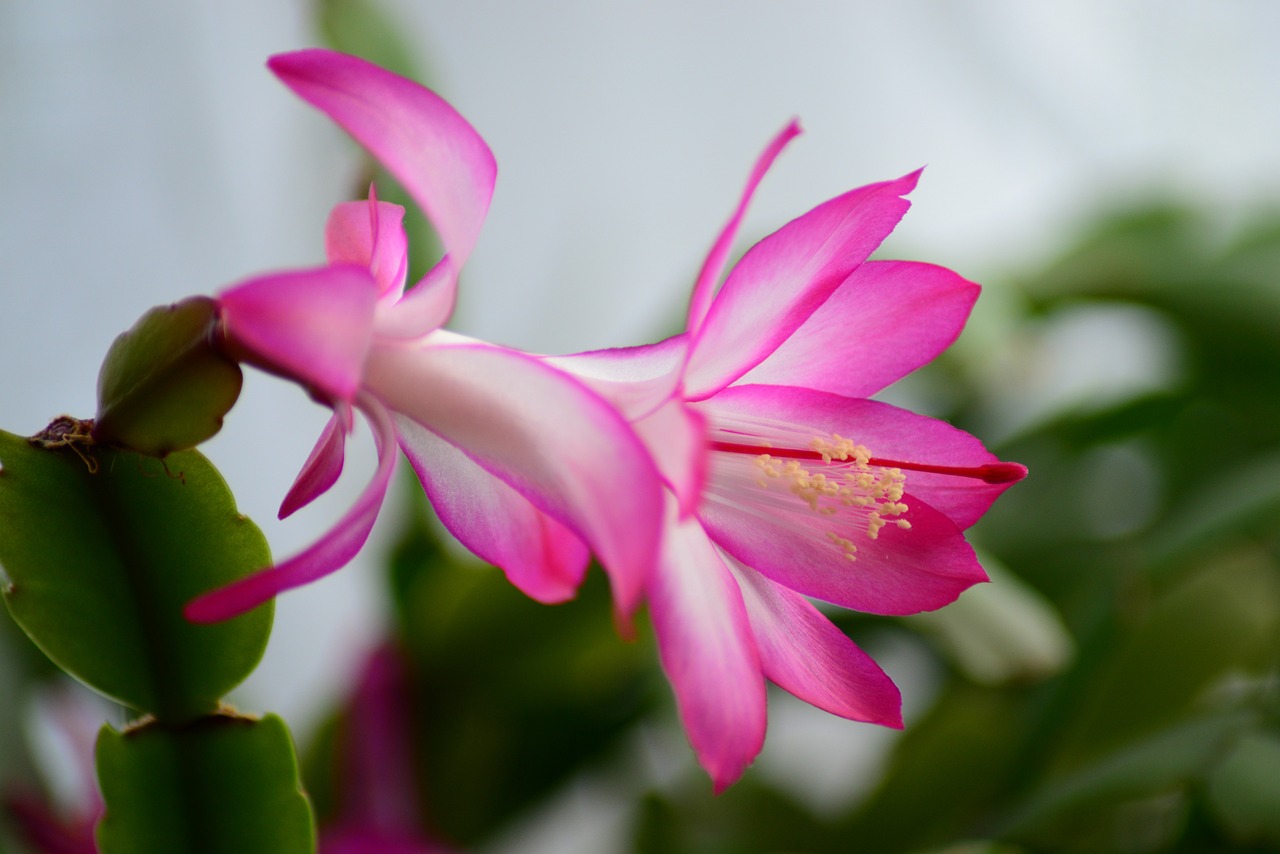
Christmas cacti are popular houseplants that brighten up any space, especially during the holiday season. Here’s a comprehensive guide to help you successfully propagate your Christmas cactus, ensuring a lush and lively collection.
Understanding the Christmas Cactus
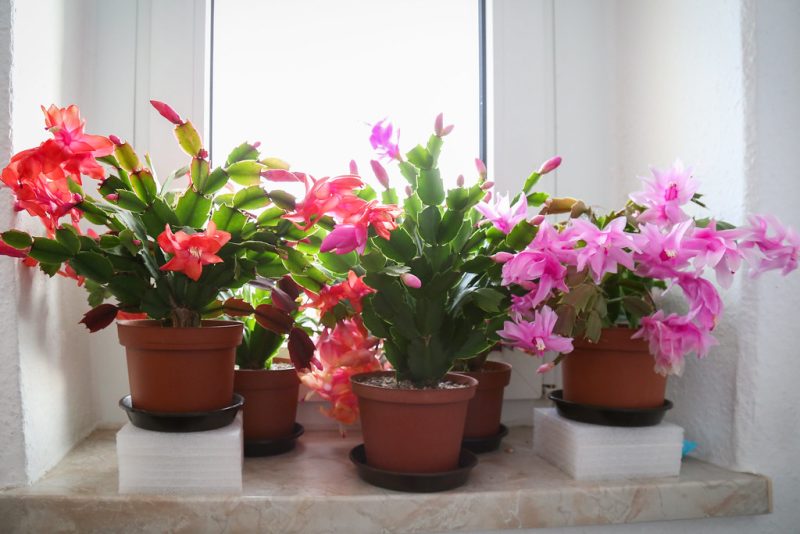
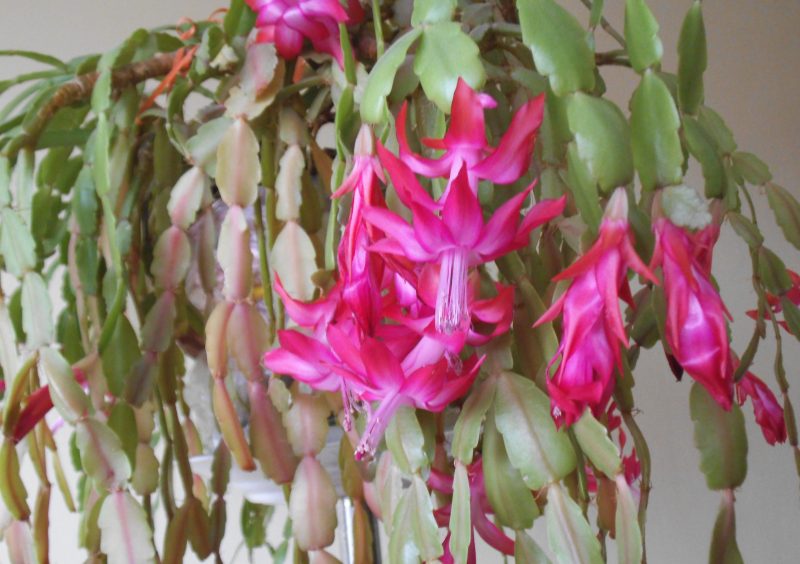
The Christmas cactus differs from many other cacti because it thrives in humid environments and requires regular watering, especially during its growing phase. Native to the rainforests of Brazil, these plants bloom in winter, providing beautiful flowers that can range from pink to white, yellow, or red.
Why Propagate?
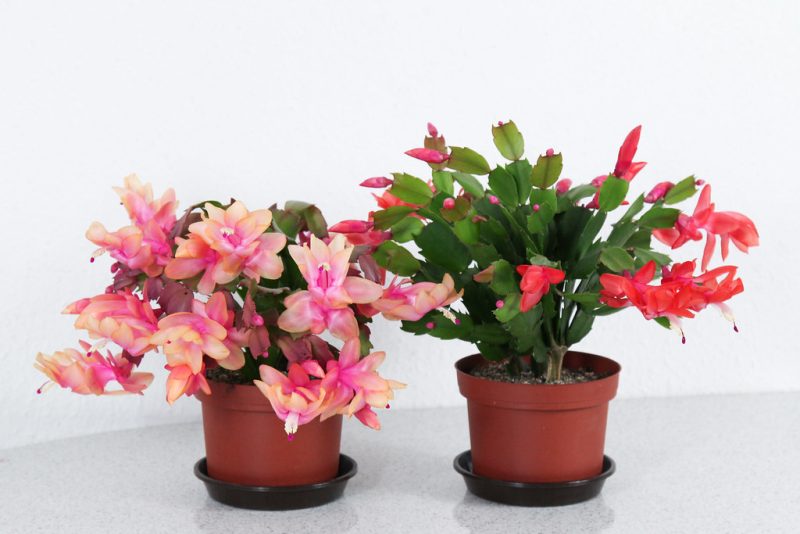
Propagation not only allows you to create new plants but can also rejuvenate existing ones. It’s an excellent way to maintain a healthy cactus garden, especially if your plant has become leggy or has lost its vigor. This process can also be a thoughtful gift for loved ones, allowing you to share a piece of your greenery.
When to Propagate
The best time to propagate a Christmas cactus is in the spring or early summer, just after its blooming period. During this time, the plant is in a growth phase and can recover more efficiently from the propagation process.
Materials You’ll Need
Before you start, gather the following items:
A healthy Christmas cactus
Clean, sharp scissors or pruning shears
Small pots with drainage holes
Well-draining potting soil (a mix formulated for cacti or succulents works well)
Watering can or spray bottle
Step-by-Step Propagation Process
1. Choose the Right Stem
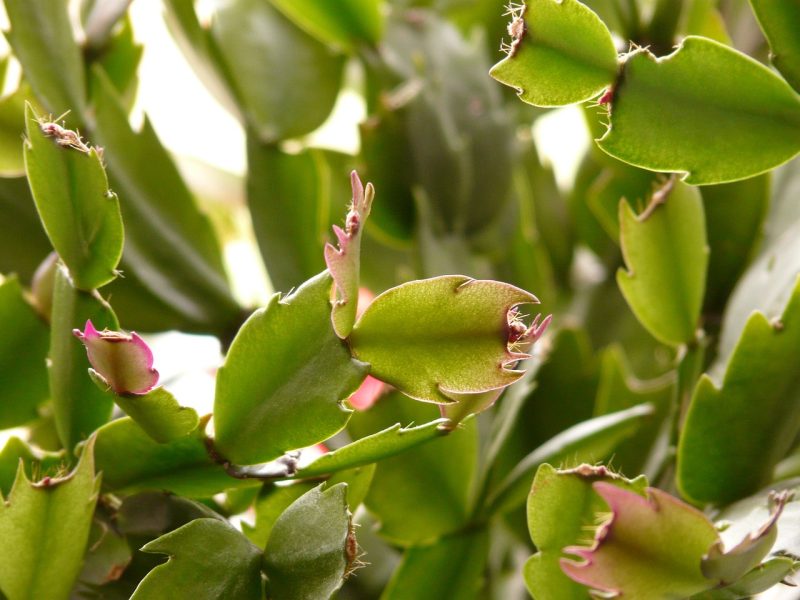
Look for healthy segments of your Christmas cactus. Ideally, you will want to select stem segments that are at least 2-3 inches long. Avoid any segments that are discolored or shriveled.
2. Cut the Stem
Using your clean, sharp scissors, gently cut a segment from the main plant. Make sure to include 2-3 “joints” (the segments of the cactus) in your cutting, as this will encourage better root growth.
3. Allow to Callus
After cutting, place the segment in a cool, dry area away from direct sunlight for about 24-48 hours. This will allow the cut end to callus over, which helps prevent rot when it is placed in soil.
4. Prepare the Potting Mix
While the stem is callusing, prepare your potting mix. Use a well-draining soil mix to help prevent drowning the roots. You can also add perlite or sand to improve drainage.
5. Plant the Segment
Once the cut end of the stem has callused, plant it in your pot with the cut side down. Firm the soil gently around the segment to provide stability. It’s best to plant multiple segments in one pot, spacing them at least a couple of inches apart.
6. Water Sparingly
After planting, wait a week before watering to allow the segment to adjust to its new environment. Once you start watering, do so lightly. The soil should be moist but not soggy. You can use a spray bottle for more gentle watering.
7. Provide Suitable Conditions
Place your pot in a location that receives indirect sunlight. Avoid placing it in direct light, which can scorch the new growth. The temperature should be warm, ideally between 70°F – 85°F (21°C – 29°C).
8. Monitor Growth
After a few weeks, you should start to see signs of growth. At this point, you can gradually increase watering frequency, allowing the soil to dry out slightly between waterings. When roots have established (in about 4-6 weeks), you can shift to a regular watering schedule.
Caring for Your New Christmas Cactus
Once your new cuttings have taken root, they will require the same care as mature plants. Make sure they have bright, indirect light, and continue to provide that humidity they love. You can also fertilize them with a balanced, diluted fertilizer during the growing season to encourage lush growth and flowering.
Troubleshooting Common Issues
Rotting: If the cuttings rot, it may be due to overwatering. Always ensure the soil is well-draining and allow the soil to dry out between waterings.
Wilting: This can indicate underwatering or insufficient humidity. Check the moisture level of the soil and adjust as necessary.
Conclusion
Propagating a Christmas cactus is an enjoyable way to expand your plant collection or share with others. With a little patience and the right methods, you’ll find success in creating new plants that can flourish for years to come.


