In this guide, you’ll find essential information on how to propagate ferns successfully, ensuring these beautiful plants continue to thrive.
Understanding Ferns

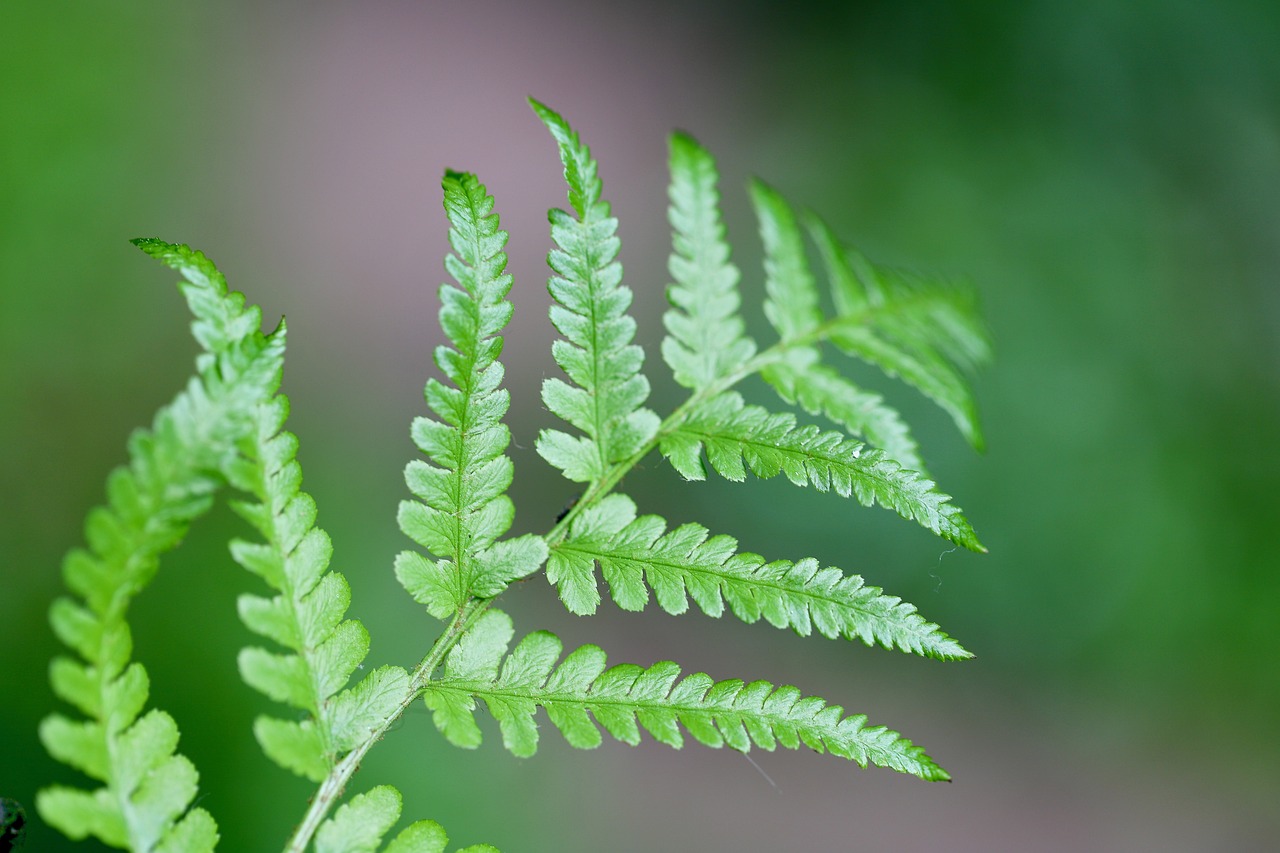
Ferns belong to a group of plants known as Pteridophytes and are distinguished by their unique life cycle, which involves producing spores instead of seeds. They are versatile plants that can be found in a variety of habitats, from tropical rainforests to temperate woodlands. Their adaptability makes them a popular choice for home gardeners.
Methods of Fern Propagation
1. Division
Dividing ferns is one of the simplest and most effective ways to propagate them. This method works best for established ferns that have grown large and dense.
Steps to Divide Ferns:
Choose the Right Time: Spring is the ideal time for division, as ferns are entering their active growth phase.
Prepare Your Tools: You’ll need a sharp spade or garden knife, and possibly a garden fork to help pry the ferns apart.
Remove the Fern from Its Pot or the Ground: Gently lift the fern, being careful not to damage the roots. If it’s in the ground, loosen the soil around it first.
Identify Natural Divisions: Look for sections of the root system that can be separated. Aim for clumps that have several fronds and a healthy root structure.
Divide the Plant: Use your spade or knife to carefully cut through the root ball. Ensure each section has roots and fronds.
Replant: Place the divided sections into new pots or back into the garden, ensuring they are at the same soil depth as before. Water well after replanting.
2. Spore Propagation
This method is less common for home gardeners but can be a fun project for those interested in the full fern life cycle.
Steps for Spore Propagation:
Collect Spores: Wait for the spore cases (sori) to mature. This typically happens in late summer. Once brown and dry, gently scrape the spores into a paper or envelope.
Prepare a Seed Tray: Fill a tray with a sterile potting mix or a mix of peat and perlite. Moisten the substrate before adding the spores.
Sow Spores: Scatter the spores over the surface of the soil. Do not cover them, as they need light to germinate.
Maintain Humidity: Cover the tray with plastic wrap or a clear lid to retain humidity. Keep the soil moist, but avoid waterlogging.
Provide Indirect Light: Place the tray in a spot with bright, indirect light.
Wait for Germination: Spores can take several weeks to months to germinate. Once you see small green structures (prothallia), continue to care for them until they develop into small ferns.
3. Leaf Cuttings
While not as common, some ferns can be propagated through leaf cuttings.
Steps for Leaf Cutting:
Choose a Healthy Leaf: Select a mature leaf from the fern. Ensure it’s free from pests and diseases.
Cut the Leaf: Slice the leaf into several sections, ensuring each piece has a vein.
Plant the Cuttings: Position the cuttings in a sterile potting mix, burying the vein slightly.
Provide Humidity: Cover the pot with a plastic bag to maintain humidity while the cuttings root.
Wait for Growth: After a few weeks, new fronds should appear, and you can remove the cover once they are established.
General Tips for Successful Propagation
Soil Choice: Use a well-draining potting mix. Ferns prefer slightly acidic soil, so consider using a mix designed for acid-loving plants.
Watering: Keep the soil consistently moist, but not soggy. Ferns thrive in humidity, so misting them regularly can help keep their environment moist.
Light Conditions: Ferns generally prefer indirect light. Direct sun can scorch their leaves, so it’s best to provide bright, filtered light conditions.
Temperature and Humidity: Ferns enjoy warm environments, generally thriving in temperatures between 60°F to 75°F (15°C to 24°C). Additionally, maintaining a humid environment (around 50% humidity or higher) can greatly benefit their growth. If you live in a dry climate, consider using a humidifier or placing a tray of water with pebbles under your fern pots to increase humidity.
Fertilizing: When propagating ferns, avoid heavy fertilization in the early stages. Once the new plants establish themselves, you can use a diluted liquid fertilizer formulated for ferns every 4-6 weeks during the growing season.
Pest Management: Keep an eye out for common pests such as aphids, spider mites, and mealybugs. Regularly inspect your ferns, and if you spot any pests, isolate the affected plant immediately to prevent spreading. You can treat infestations with insecticidal soap or neem oil.
Common Fern Species for Propagation

Not all ferns propagate equally well. Here are a few popular fern species that are generally easier to propagate:
Boston Fern (Nephrolepis exaltata): Known for its feathery, arching fronds, the Boston fern is a favorite for indoor settings and can be easily propagated through division.
Staghorn Fern (Platycerium): This unique fern produces distinctive fronds resembling stag antlers. While they can be propagated via division, they are often mounted on wood or in hanging baskets.
Maidenhair Fern (Adiantum): With delicate leaves and a graceful appearance, Maidenhair ferns can be propagated through division, but their propagation via spores allows you to learn more about the fern’s lifecycle.
Asplenium (Bird’s Nest Fern): These ferns are characterized by their rosette shape. They can be easily propagated through division, making them a great option for beginners.
Troubleshooting Propagation Issues
If you encounter challenges while propagating ferns, consider these common issues and their solutions:
Yellowing Leaves: Often a sign of overwatering or underwatering. Adjust your watering schedule to ensure the soil remains evenly moist.
Leggy Growth: If your ferns appear tall and stretched out, they may not be receiving adequate light. Move them to a brighter location where they can receive indirect sunlight.
Wilting Fronds: This can be caused by low humidity. Increase the humidity around the plant by misting or using humidity trays.
Stunted Growth: If your propagated ferns are not growing as expected, check your soil quality and ensure it is suitable for ferns. Also, ensure the pots have drainage holes to prevent water logging.
Conclusion
Propagating ferns is an enjoyable journey that can enhance your gardening experience. Whether you choose to divide, use spores, or try leaf cuttings, with the right care and attention, you’ll find success in expanding your fern collection. Each propagation method offers unique challenges and rewards, allowing you to connect with these beautiful plants on a deeper level. With time, patience, and the dedication to nurturing your ferns, you will not only grow new plants but also gain valuable gardening skills along the way.
Happy propagating! If you have your own tips or experiences with fern propagation, feel free to share in the comments on Pinterest.