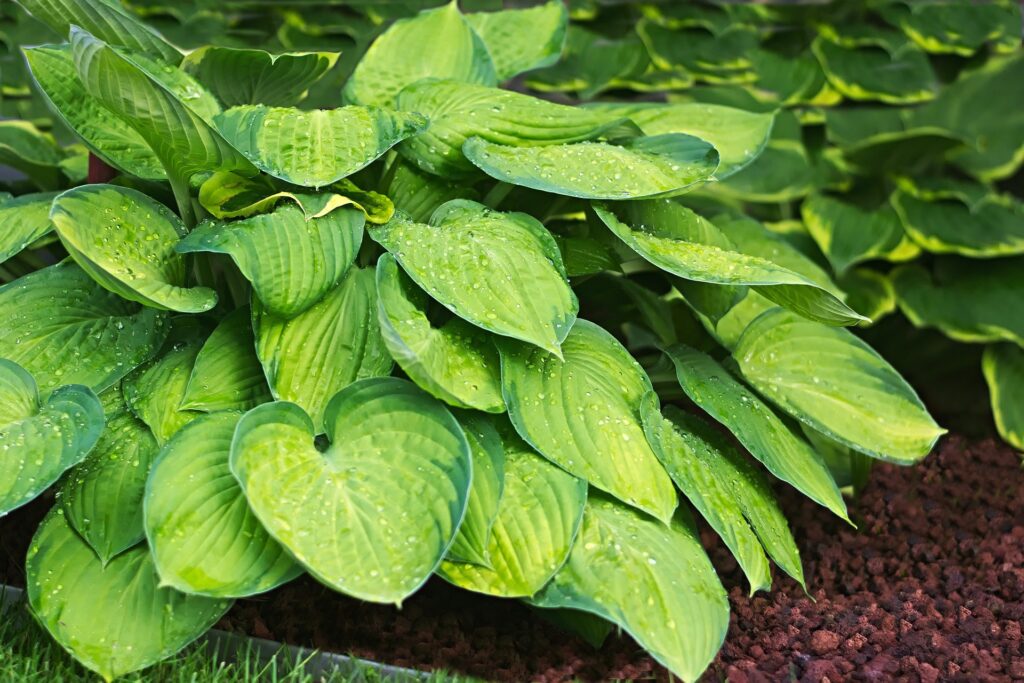
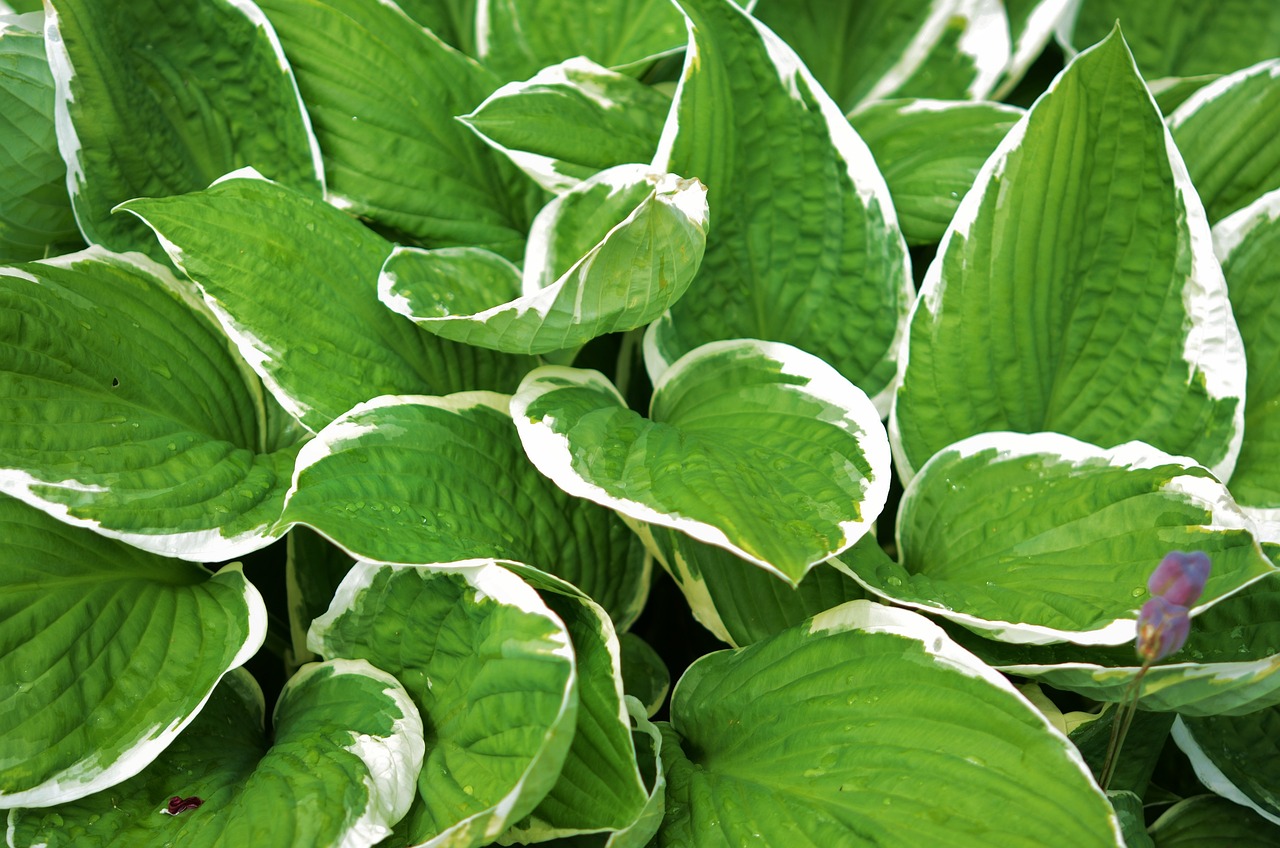
Hostas are known for their lush foliage and resilience, hostas are a favorite among gardeners. They thrive in shady areas, come in a variety of shapes and colors, and can bring texture and life to any garden.
If you’re considering adding more of these delightful plants to your collection, propagating hostas is a rewarding and cost-effective way to expand your garden. Let’s break down the steps, methods, and tips for successfully propagating hostas.
Understanding Hostas

Hostas are perennial plants that are celebrated for their attractive leaves, which can range from deep green to golden-yellow and blue, with some varieties featuring striking variegation. These hardy plants typically flourish in shady spots, making them perfect for areas where sunlight is limited. Additionally, hostas are relatively low-maintenance, requiring minimal care once established.
Methods of Propagating Hostas
1. Division
The most common and effective method for propagating hostas is division. This method is best suited for established hostas that are 3-5 years old.
Steps to Divide Hostas:
Timing: The best time to divide hostas is in early spring (before new growth begins) or fall (after the foliage has died back). Dividing in early spring gives hostas a longer growing season to recover.
Tools Needed: Garden spade, sharp knife, and garden gloves.
Preparing the Plant: Gently remove the entire plant from the ground using a spade. Be careful not to damage the roots.
Cleaning: Shake off excess soil to expose the roots.
Dividing: Using your hands or a sharp knife, carefully separate the clumps. Each division should have a healthy portion of roots and a few leaves. Aim for divisions that are about the size of a fist.
Replanting: Prepare the new planting holes in a shaded area with well-draining soil. Plant each division at the same depth they were growing previously, backfill with soil, and water thoroughly.
Care: Water the newly planted divisions regularly until they establish roots. During the first few weeks, monitor them closely for signs of stress or wilting.
2. Leaf Cuttings
While dividing is the most practical and successful method, some gardeners enjoy experimenting with leaf cuttings. This method is less reliable but can still yield interesting results.
Steps for Leaf Cutting:
Timing: Late spring to early summer is ideal when the plant is in its active growing phase.
Cutting: Select healthy leaves without any damage. Cut the leaf into several sections, each about 4-6 inches long. Ensure that each section has a vein running through it.
Preparation: Dip the cut ends in rooting hormone, which can help stimulate root growth.
Planting: Plant the cuttings in a pot filled with moist potting soil, burying the cut ends slightly.
Care: Place the pot in a warm, shaded area. Keep the soil consistently moist but not soggy. After a few weeks, you may notice new roots forming.
3. Offsets
Many varieties of hostas will produce offsets or small plants that grow from their root system. These can be removed and replanted to create new hostas.
Steps to Remove Offsets:
Look for small shoots emerging from the base of the parent plant.
Using a spade, carefully separate the offsets from the main plant, ensuring they have some root attached.
Replant the offsets in well-prepared soil, and care for them as you would a divided plant.
Tips for Successful Hosta Propagation

Soil Preparation: Hostas prefer rich, well-draining soil. Before planting, amend the soil with compost or well-rotted manure to ensure adequate nutrients.
Watering: Newly propagated hostas need consistent moisture, especially in warmer months. However, avoid overwatering, which can lead to root rot.
Mulching: Adding a layer of mulch around your newly planted hostas can help retain moisture, suppress weeds, and regulate soil temperature.
Monitoring for Pests:Hostas can attract pests such as slugs, snails, and aphids. Monitor the new divisions closely, especially in the early stages after propagation. Implement natural pest control methods, such as handpicking pests or using organic deterrents if infestations occur.
Sunlight Considerations: While hostas thrive in shady spots, ensure that your newly propagated plants are not in complete darkness. They need some filtered light to encourage healthy growth.
Feeding: Once the plants are established, consider using a slow-release fertilizer in early spring. This can promote healthy foliage growth and overall vigor.
Troubleshooting Common Issues
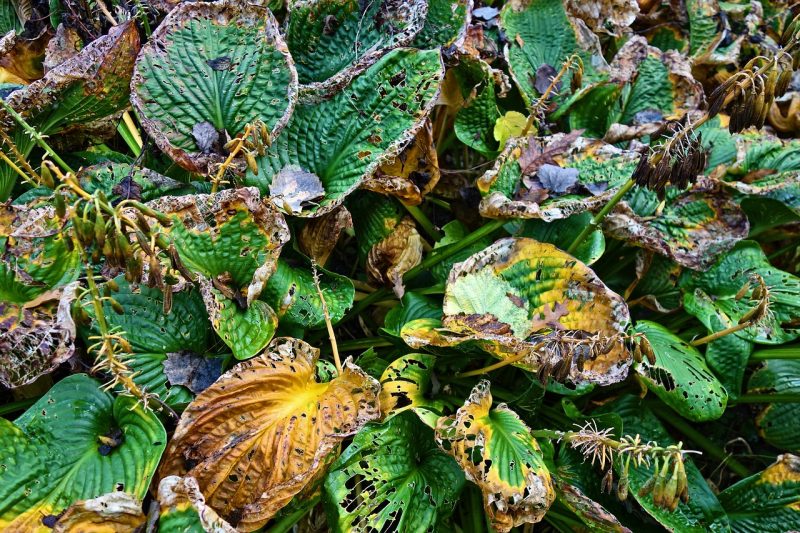
Yellowing Leaves: This could indicate overwatering, poor drainage, or inadequate sunlight. Adjust your watering habits and check the soil conditions.
Wilting or Browning Edges: Hostas may suffer from underwatering or extreme heat. Water more frequently during dry spells and consider providing some afternoon shade if the temperature rises significantly.
Stunted Growth: If your hostas aren’t thriving, assess their growing conditions. Check for overcrowding, as this can inhibit growth. Regular division can help alleviate this issue.
Pests and Disease: Keep an eye out for signs of pest damage, such as holes in the leaves or sticky residues from aphids. Effective pest management, including organic insecticides or introducing beneficial insects, can help maintain plant health.
Conclusion
Propagating hostas is a great way to not only expand your garden but also to create a personal connection with these beautiful plants. Whether you choose to divide existing plants, try your hand at leaf cuttings, or collect offsets, you’ll find that hosta propagation is straightforward and often successful.
With proper care and attention, your hostas will continue to thrive and beautify your garden for years to come. So, go ahead and give propagation a try! Before long, you’ll be enjoying your own lush, leafy paradise filled with a variety of hostas, showcasing the vibrant colors and textures that make these plants so beloved.


