In this guide, we’ll walk you through the various methods of propagating hydrangeas, tips for success, and everything you need to know to get started.
Understanding Hydrangea Varieties
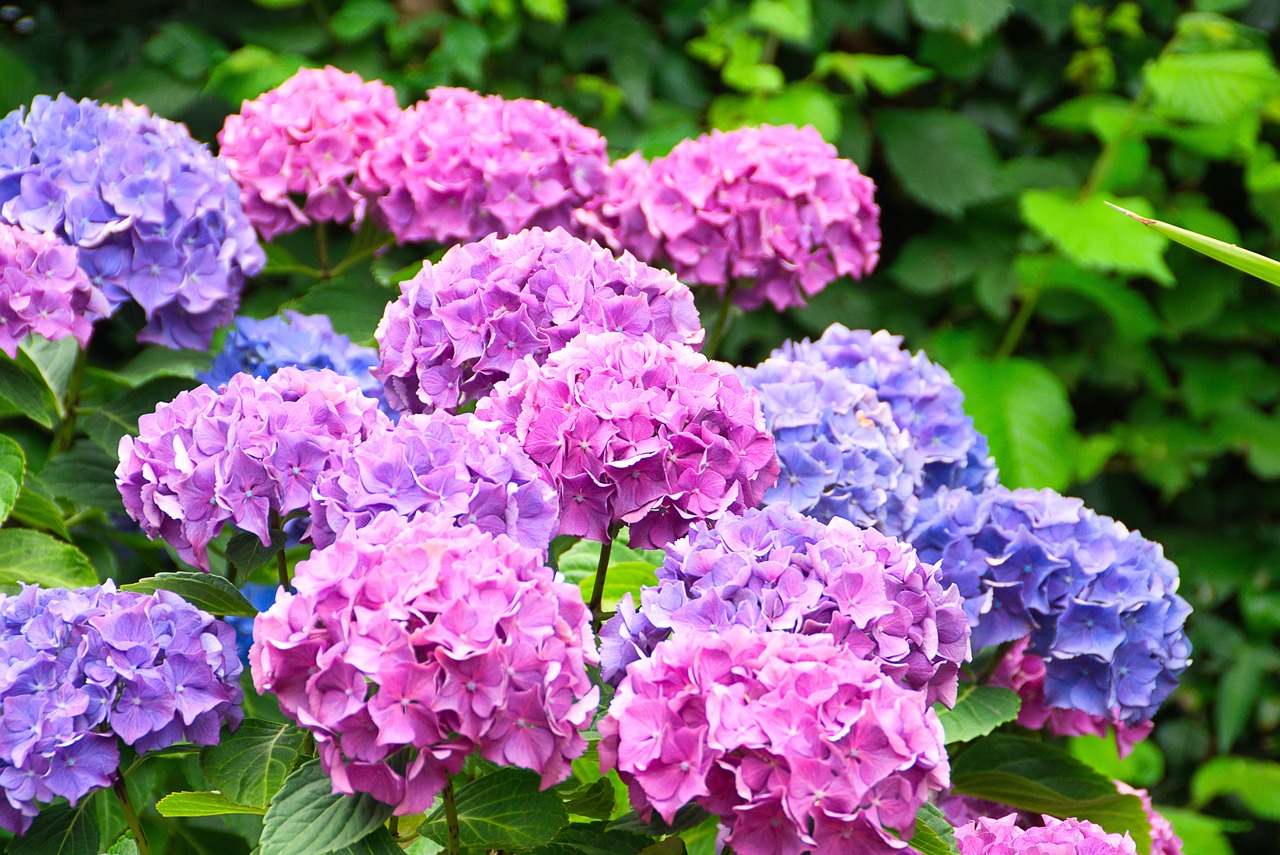
Before you start propagating, it’s important to know that there are several varieties of hydrangeas, each with its own unique characteristics. Some of the most common types include:
Bigleaf Hydrangeas (Hydrangea macrophylla): These produce large, rounded blooms and are often found in gardens due to their showy appearance.
Panicle Hydrangeas (Hydrangea paniculata): Known for their cone-shaped flower heads, these hydrangeas are hardy and adaptable.
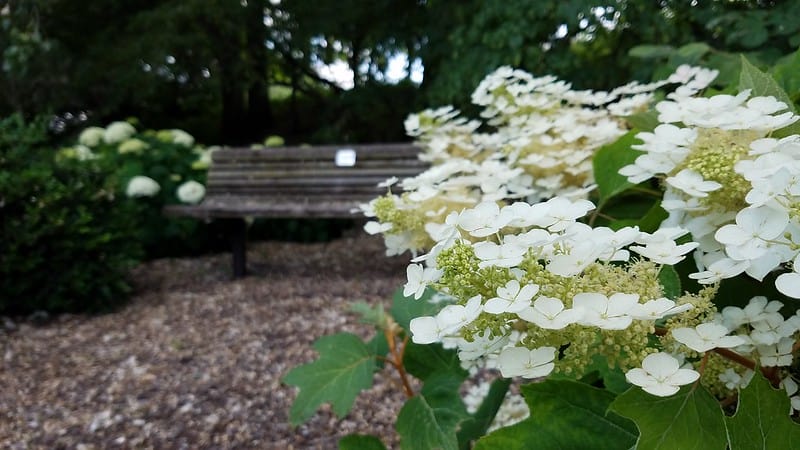
Smooth Hydrangeas (Hydrangea arborescens): These are often more disease-resistant and provide lovely white or pink blooms.
Oakleaf Hydrangeas (Hydrangea quercifolia): This variety is appreciated for its unique foliage and stunning fall color.
Knowing your hydrangea type is essential, as it informs the best propagation method to use.
Methods of Propagation
1. Stem Cuttings
One of the most popular methods for propagating hydrangeas is through stem cuttings. Here’s how to do it effectively:
Materials Needed:
Sharp, clean pruners
A container with well-draining potting soil
Water
Plastic bag or a propagation dome (optional)
Steps:
Timing: The best time for taking cuttings is late spring to early summer. During this period, the new growth is more tender and flexible.
Choose Your Cuttings: Select healthy stems that are about 4–6 inches long. Look for new growth that isn’t too woody.
Make the Cut: Use clean pruners to cut just below a leaf node (the bump on the stem where leaves grow). This increases the chances of new roots developing.
Prepare the Cuttings: Remove the lower leaves, leaving only one or two sets of leaves at the top.
Rooting Hormone (optional): Dip the cut end in rooting hormone to promote root growth, although this is not always necessary.
Plant the Cuttings: Insert the cut ends into the soil, ensuring they are buried about an inch deep. Water them lightly.
Covering: To maintain humidity, you can cover the container with a plastic bag or a propagation dome. Make sure there is some airflow to prevent mold.
Location: Place the container in a bright, indirect light location. Avoid direct sunlight, which can scorch the cuttings.
Watering: Keep the soil slightly moist but not soggy. After a few weeks, check for root development by gently tugging on the cuttings – if you feel resistance, roots are forming.
Transplanting: Once the cuttings have established roots, you can transplant them into larger pots or directly into your garden.
2. Layering
Layering is another effective method, particularly for larger specimens. This technique encourages new roots to form while the cutting is still attached to the parent plant.
Steps:
Choose a healthy stem and bend it to the ground.
Create a small notch in the stem where it meets the soil.
Bury the notched part in the soil, leaving the tip exposed. You can secure it with a rock or a U-shaped hairpin made from wire.
Water the area and keep it moist. After a few months, new roots will develop, and you can cut the stem from the parent plant and transplant it.
3. Division
Dividing hydrangeas can be an effective way to propagate established plants, especially in the spring or fall.
Steps:
Carefully dig up the existing hydrangea plant.
Gently separate the root ball into smaller sections, ensuring each section has both roots and healthy shoots.
Replant immediately in well-prepared soil or in new containers.
Tips for Success
Soil Quality: Use a high-quality potting mix that retains moisture but drains well. A mix designed for seed starting often works well.
Watering: Maintain consistent moisture but avoid over-watering, which can lead to rot.
Temperature and Light: Keep your plants in a warm environment with indirect sunlight. A temperature range of 70-75°F typically promotes successful rooting.
Patience: Hydrangeas can take several weeks to root. Don’t be discouraged if you don’t see results immediately; some varieties may take longer to develop their roots.
Labeling: If you’re propagating multiple varieties or batches, label them to keep track of what you’ve planted. This can also help you when it’s time to care for them or identify them later.
Common Challenges and Solutions
While propagating hydrangeas can be a straightforward process, you may encounter a few challenges along the way. Here’s how to address some common problems:
Wilting Cuttings: If your cuttings begin to wilt, it may be due to insufficient humidity. Make sure you’re using a cover or misting them occasionally.
Mold Growth: Mold can develop in overly moist environments. Ensure you have adequate airflow and avoid waterlogging the soil.
Slow Rooting: If your cuttings aren’t rooting as quickly as expected, they may need more warmth or light. Check their exposure and adjust accordingly.
Transplanting Your New Hydrangeas
Once your hydrangeas have established a good root system, they’ll need to be transplanted into their final growing locations. Follow these steps for a successful transplant:
Choose the Right Time: The best time to transplant hydrangeas is either in spring or fall when the plants are not actively growing.
Select a Location: Hydrangeas prefer partial shade to full sun, depending on the variety. Ensure the location offers good air circulation and well-draining soil.
Prepare the Soil: Enrich the planting area with compost or well-rotted manure to provide the necessary nutrients for your plants.
Dig the Hole: Make a hole that is twice as wide and deep as the root ball of the hydrangea. Gently loosen the soil at the bottom to encourage root growth.
Transplant Carefully: Remove the hydrangea from its pot or container and place it in the hole. Fill the around it with soil, ensuring it is at the same depth as it was in the previous container.
Water Thoroughly: After planting, water the new hydrangea well to help settle the soil around the roots and eliminate any air pockets.
Mulch: Adding a layer of mulch around the base will help retain moisture and suppress weeds.
Caring for Your Newly Propagated Hydrangeas
After transplanting, it’s important to care for your new hydrangeas properly:
Watering: Keep the soil consistently moist but not soggy. Regular watering is critical, especially for young plants during dry spells.
Fertilization: Offer a balanced fertilizer in early spring to encourage healthy growth, but avoid over-fertilizing as it can lead to excessive leaf growth at the expense of blooms.
Pruning: Once established, prune your hydrangeas according to their type to encourage bushier growth and enhance blooming. Remember that some varieties bloom on old wood while others bloom on new wood.
Conclusion
Propagating hydrangeas is a delightful way to expand your garden or share plants with friends. Whether you opt for stem cuttings, layering, or division, you can enjoy the satisfaction of nurturing new life from your existing plants.
With a little patience and care, you’ll soon have an array of beautiful hydrangeas to brighten your space. So gather your materials, prepare your workspace, and start your hydrangea propagation journey today! Happy gardening!