Whether you’re drawn to its beauty, its calming scent, or its culinary applications, propagating lavender can be an exciting endeavor. In this guide, we’ll cover everything you need to know about propagating lavender successfully, from the different methods to care tips.
Why Propagate Lavender?

Before we get into the details, let’s discuss why you might want to propagate lavender.
Cost-Effective: Growing your own lavender plants can save you money compared to purchasing them from a nursery.
Customization: Propagating lavender allows you to choose specific varieties that suit your garden or preferences.
Sustainability: By propagating your own plants, you can reduce your environmental footprint.
Satisfaction: There’s immense joy and satisfaction in nurturing a plant from start to finish.
Understanding Lavender Varieties

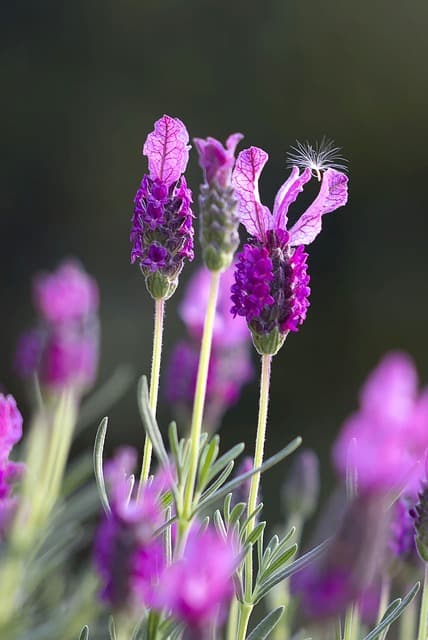
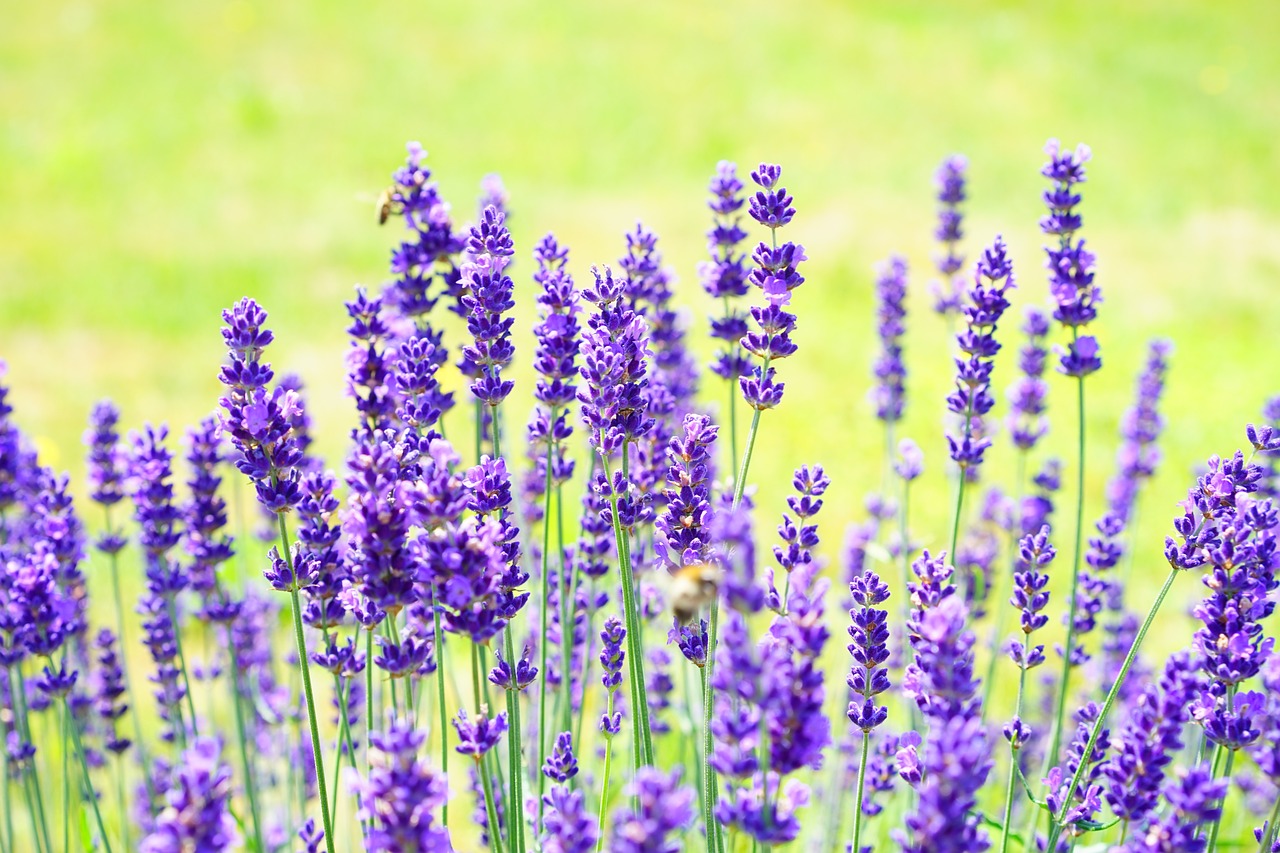
There are several species of lavender, the most common being French (Lavandula dentata), English (Lavandula angustifolia), and Spanish (Lavandula stoechas). Each has unique characteristics, but for propagation, English lavender is often preferred due to its hardiness.
Methods of Propagating Lavender
There are three primary methods for propagating lavender: cuttings, seeds, and division. Let’s break down each method.
1. Propagating Lavender from Cuttings
Materials Needed:
Sharp pruning shears
Small pots or trays
Well-draining soil mix
Clear plastic bag or a humidity dome
Steps:
Timing: The best time to take cuttings is in late spring or early summer when the plant is actively growing.
Taking Cuttings: Choose a healthy, non-flowering stem. Cut about 4-6 inches below a leaf node. Remove the lower leaves, leaving a few at the top.
Planting Cuttings: Place the cut end of the stem in a small pot filled with a well-draining soil mix. A mix of regular potting soil and sand or perlite works well.
Creating Humidity: Cover the pot with a plastic bag or place it in a humidity dome to retain moisture. Ensure there’s some airflow to prevent mold.
Watering: Keep the soil moist but not soaked. Check the cuttings regularly for signs of root growth.
Transplanting: After about 4-6 weeks, once roots have developed, you can transplant them to larger pots or directly into your garden.
2. Propagating Lavender from Seeds
Materials Needed:
Seed trays or small pots
Seed-starting mix
Clear plastic cover or plastic wrap
Steps:
Timing: Start seeds indoors 6-8 weeks before the last frost, or sow directly in the garden after the frost has passed.
Sowing Seeds: Fill your trays or pots with seed-starting mix. Lightly press the seeds into the soil without covering them, as they require light to germinate.
Creating a Greenhouse Effect: Cover the trays with a clear plastic cover or plastic wrap to keep moisture in.
Watering: Mist the soil gently to keep it damp.
Germination: Seeds usually take 2-3 weeks to germinate. Once they have a few sets of true leaves, they can be transplanted to larger containers.
3. Propagating Lavender by Division
Materials Needed:
Garden fork
Trowel
Well-draining soil
Steps:
Timing: The best time for division is in spring or fall, when the plant is not actively blooming.
Dividing the Plant: Carefully dig up the entire lavender plant using a garden fork. Gently tease apart the roots into smaller sections, ensuring each division has a few stems and roots.
Replanting: Replant the divisions immediately in well-draining soil, either in separate pots or in a new garden location.
Watering: Water the newly divided plants thoroughly, but avoid waterlogging.
Care Tips for New Lavender Plants

Light: Lavender loves full sun. Ensure your plants receive at least 6-8 hours of direct sunlight each day.
Soil: Good drainage is crucial for lavender. Sandy or loamy soil with a pH between 6.5 and 7.5 is ideal.
Watering: Lavender is drought-tolerant once established, so allow the soil to dry out between waterings. Overwatering can lead to root rot.
Pruning: After blooming, prune back the spent flowers to promote new growth and maintain shape.
Fertilizing: Lavender does not require much fertilization. A light application of organic fertilizer in early spring is sufficient.


