Whether you’re a seasoned gardener or a beginner, understanding how to propagate rosemary can help you expand your collection and enjoy its delightful flavor and fragrance. In this guide, we’ll cover everything you need to know to successfully propagate rosemary from cuttings.
Why Propagate Rosemary?
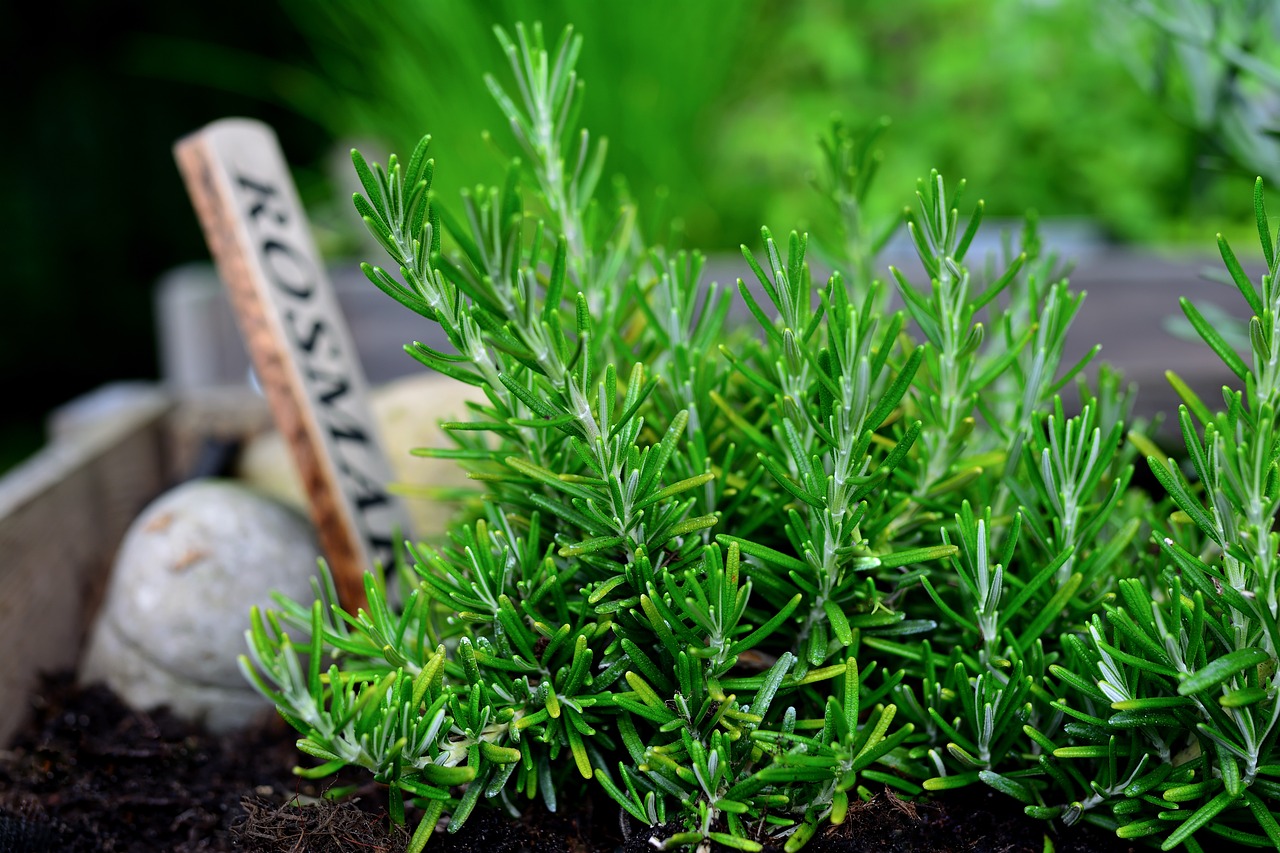
Before we jump into the process, let’s talk about the benefits of propagating rosemary. This herb not only adds a unique flavor to various dishes but is also a hardy perennial that can thrive in many conditions. Here are a few reasons to consider propagating rosemary:
Cost-Effective: Growing your own plants saves money while providing you with a constant supply of fresh rosemary.
Variety: You can create multiple plants from one existing rosemary plant, allowing you to try different varieties such as Tuscan Blue, Arp, or Spicy Rosemary.
Convenience: Having rosemary readily available in your garden or kitchen makes meal preparation much easier and more enjoyable.
When to Propagate Rosemary
The best time to propagate rosemary is during the spring or early summer when the plant is actively growing. However, you can also propagate from dormant plants in late winter, ensuring they have adequate warmth and light once they begin to sprout.
Propagating Rosemary from Cuttings
What You Will Need:
Healthy Rosemary Plant: Choose a healthy parent plant, free of pests and diseases.
Sharp Scissors or Pruning Shears: For clean cuts.
Small Pot: A 4- to 6-inch pot works well.
Potting Mix: A light and well-draining potting mix or a mixture of perlite and sand.
Water: For keeping the cuttings hydrated as they root.
Plastic Bag or Mini Greenhouse: To create humidity around the cuttings (optional).
Step-by-Step Guide:
Select Your Cuttings: Look for healthy, strong stems that are about 4 to 6 inches long. Select stems that are softwood (new growth) for better success. Avoid any stems that are woody or yellowed.
Make the Cut: Use your sharp scissors or pruning shears to cut your selected stems just below a leaf node. This is the point where the leaves emerge from the stem, and it’s crucial for root development.
Remove Lower Leaves: Strip the leaves from the bottom 2 inches of the cutting, leaving a few leaves at the top. This helps prevent rot when planted and focuses the plant’s energy on root development.
Optional: Rooting Hormone: While rosemary can root without it, dipping the cut end in rooting hormone can enhance your chances of success. This step is optional but can be beneficial, especially for tougher varieties.
Plant the Cuttings: Stick the cut end of the stem into the potting mix, burying it about 2 inches deep. Space multiple cuttings at least a few inches apart in the pot.
Water: Water the cuttings gently until the soil is moist, but not soggy. Good drainage is important to prevent root rot.
Create Humidity: To keep the cuttings moist, cover the pot with a plastic bag, ensuring it doesn’t touch the leaves. This mimics a greenhouse environment, helping the cuttings retain moisture. If you have a mini greenhouse, you can use that instead.
Positioning: Place the pot in a warm location with indirect light. Avoid direct sunlight, which can scorch the cuttings.
Care: Check the soil moisture regularly; it should be kept moist but not waterlogged. Remove the plastic cover for a few hours every few days to allow fresh air.
Wait for Roots: In 2 to 4 weeks, your cuttings should start to root. You can gently tug on them to check for resistance which indicates root growth.
Transplanting: Once the cuttings have established roots (you can feel resistance when tugging), usually after a month or so, they can be transplanted into larger pots or directly into the garden. Make sure to harden them off by gradually exposing them to outdoor conditions if they were grown indoors.
Additional Tips for Success
Soil Requirements: Rosemary prefers sandy, well-draining soil. Consider mixing a bit of sand or perlite into your potting mix for better drainage.
Watering Frequency: Rosemary likes to dry out between waterings. Monitor the moisture level and adjust your watering routine, especially in winter when plants typically need less water.
Sunlight Needs: Once established, rosemary thrives in full sun (6-8 hours a day). Ensure your plants are placed in a location where they can receive ample sunlight to promote growth and flavor.
Common Problems and Solutions
While propagating rosemary is generally straightforward, you may encounter some challenges. Here are a few common issues and how to address them:
Overwatering: Rosemary is sensitive to soggy soil, which can lead to root rot. Make sure your pots have drainage holes and only water when the top inch of soil feels dry.
Pest Infestation: Keep an eye out for pests like aphids or spider mites. If you notice any, you can wash them off with a gentle stream of water or use insecticidal soap.
Insufficient Light: If your cuttings are leggy or have pale leaves, they may not be getting enough light. Move them to a brighter location, or consider using grow lights if natural light is limited.
Too Much Humidity: While humidity is important for rooting, too much can lead to mold growth. If you notice mold forming on the soil or cuttings, remove the plastic covering for a longer period to improve air circulation.
Aftercare for Your New Rosemary Plants

Once your rosemary cuttings have successfully rooted and are ready to transplant, here’s how to care for them:
Fertilization: After a few weeks, apply a balanced liquid fertilizer diluted to half strength to encourage growth. Be careful not to over-fertilize, as rosemary thrives in poorer soil conditions.
Pruning: Regularly prune your rosemary plants to encourage bushy growth and prevent them from becoming too leggy. Pruning stimulates new growth and helps maintain the plant’s health.
Outdoor Transition: If you plan to move your rosemary outside, gradually acclimate them to outdoor conditions. Start by placing them outside for a few hours a day, incrementally increasing the time over one to two weeks.
Harvesting: Enjoy the fruits of your labor! You can start harvesting leaves once your plants are healthy and well-established. Snip off what you need, and rosemary will continue to grow back, providing you with fresh herbs for years.
Conclusion
Propagating rosemary is an accessible and enjoyable gardening project that offers numerous benefits, from aesthetic appeal to culinary advantages. By following the steps laid out in this guide, you can confidently propagate rosemary cuttings and expand your herb garden. Just remember to provide your cuttings with the right environment and care, and soon you will have vibrant, healthy rosemary plants thriving in your home or garden.