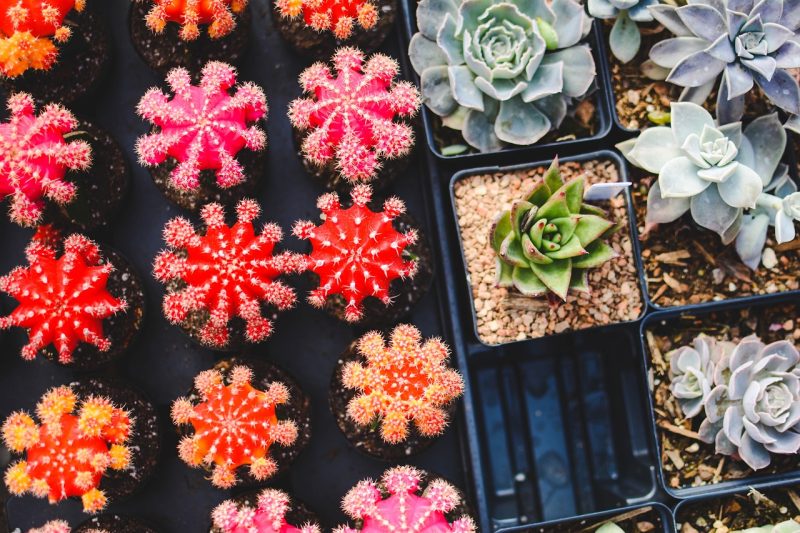
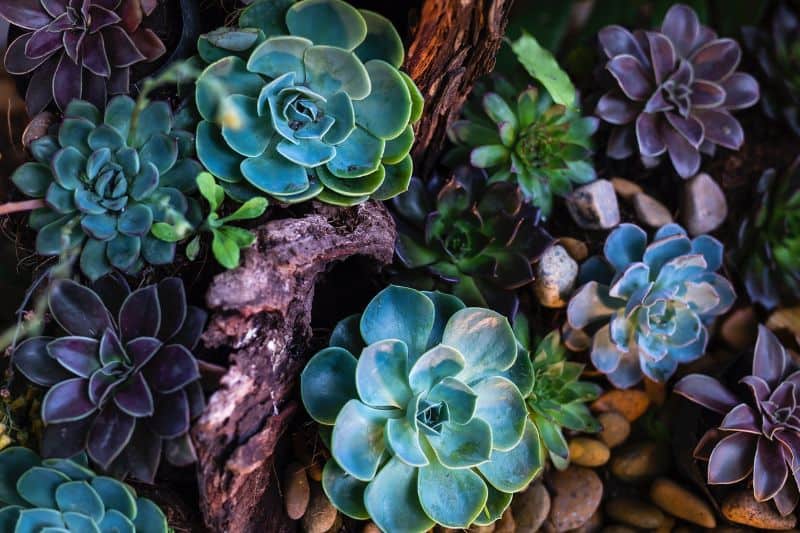
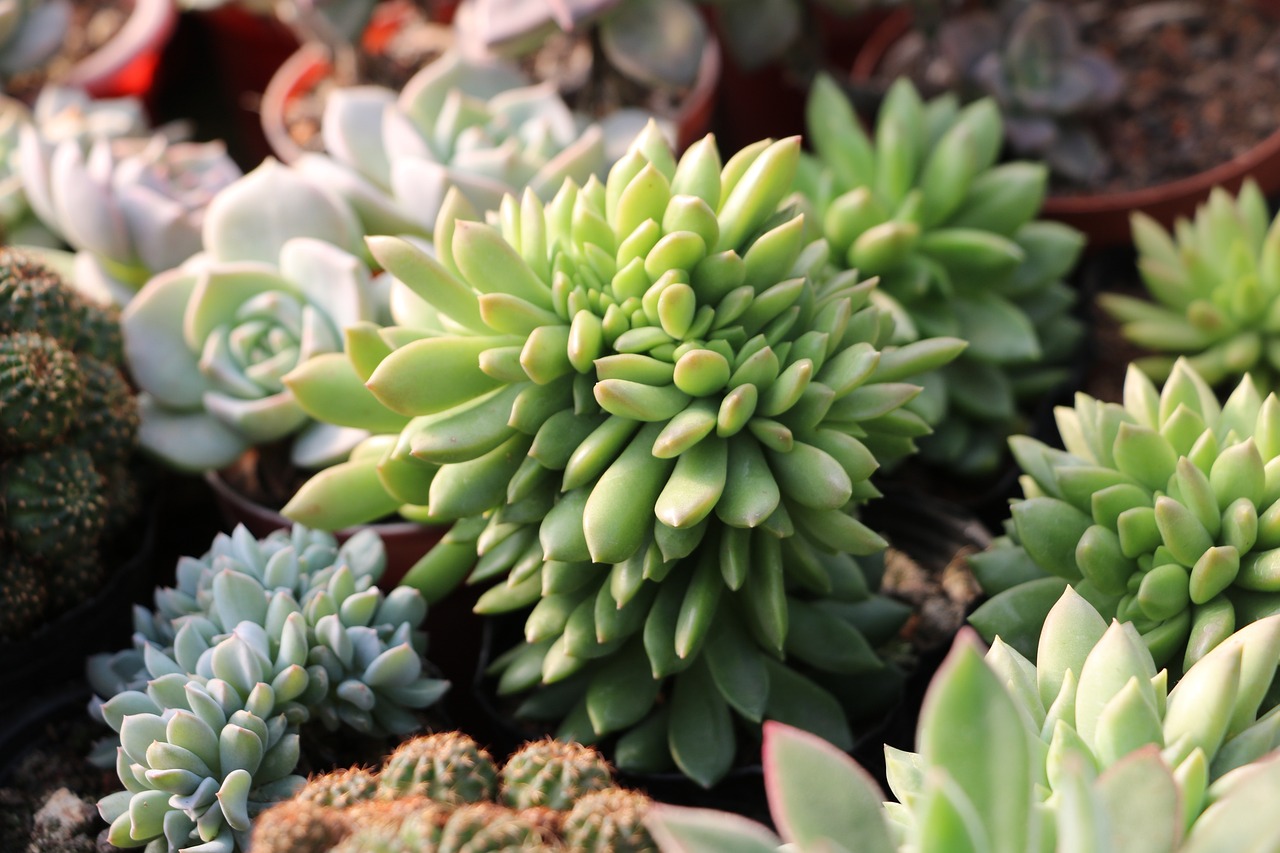
If you’ve recently fallen in love with succulents, you’re not alone! These adorable, easy-to-care-for plants have taken the gardening world by storm, thanks to their unique shapes and vibrant colors.
Beyond their aesthetic appeal, one of the most rewarding aspects of succulent care is the ability to propagate them from leaves. This method is simple, cost-effective, and a fantastic way to expand your succulent collection.
In this guide, we’ll walk through the steps of propagating succulents from leaves and share some tips to ensure your success.
Understanding Succulent Propagation
Propagation is the process of creating new plants from existing ones. When it comes to succulents, propagating from leaves is particularly popular because it requires minimal tools and materials. Almost any succulent plant can be propagated this way, making it an accessible project for both beginners and experienced gardeners.
What You’ll Need
Healthy Succulent Plant: Choose a healthy plant with mature leaves. Avoid plants that are wilting or have signs of disease.
Sharp Knife or Scissors: A clean, sharp instrument will help you take clean cuts.
Well-Draining Soil: A cactus or succulent mix is ideal. You can also mix regular potting soil with sand or perlite for improved drainage.
Containers: Use small pots, trays, or any shallow containers that allow excess water to drain away.
Water and Light: Bright, indirect light is crucial during the propagation process, and you’ll need to water sparingly.
Step-by-Step Guide to Propagating Succulents from Leaves

Select Healthy Leaves: Carefully inspect your succulent and choose a few healthy leaves. Look for plump leaves that are free from blemishes or rot. The best leaves for propagation are those that are located toward the bottom of the plant, as they tend to be older and more mature.
Remove the Leaves: Using your sharp knife or scissors, gently twist the leaf off the stem. It’s important to avoid tearing the leaf, as this could damage it and prevent successful propagation. Use a clean cut to ensure a smooth break.
Allow Leaves to Callous: Place the freshly cut leaves in a dry area with good airflow. Leave them for 2-3 days so the cut ends can callous over. This step is crucial because it helps prevent rot when you place the leaves in soil.
Prepare the Soil: While your leaves are callousing, prepare your well-draining soil. Fill your pots with the soil mix and gently tap it down to eliminate air pockets.
Plant the Leaves: Once the cut ends have calloused, lay the leaves on top of the soil. You can lightly press the end of each leaf into the soil, but don’t bury them completely. The leaves should be resting on the surface, as they will root from the cut ends.
Water Sparingly: Mist the soil lightly with water to provide moisture without over-saturating it. It’s important to avoid watering too often during this stage, as too much moisture can lead to rot. Instead, wait for the soil to dry out completely before misting again.
Provide Proper Light: Place your planted leaves in a location that receives bright, indirect sunlight. Avoid direct sun, as this can scorch the leaves. A south- or east-facing window is usually ideal.
Wait for Root Development: After a few weeks, you should start to see roots and tiny new plantlets sprouting from the base of the leaves. This process varies in time depending on the succulent species and environmental conditions. Patience is key; some leaves may take longer to propagate than others.
Transplanting: Once your new plants have developed a few roots and are a couple of inches tall, they can be carefully removed from the mother leaf and transplanted into their own containers. Be gentle during this process to avoid damaging the tender roots.
Tips for Success

Use Healthy Leaves: Always choose leaves that are free of pests and diseases.
Maintain Proper Humidity: If you’re in a very dry climate, consider using a humidity dome or plastic wrap to retain moisture during the initial stages of propagation. Just be sure to monitor it closely to prevent mold growth.
Keep Records: If you’re propagating multiple types of succulents, consider labeling them or keeping a journal of your propagation projects. This will help you track what works best for different species.
Troubleshooting Common Issues
Leaves Turning Yellow: This could indicate overwatering. Make sure your soil is draining well and allow it to dry between waterings.
No Root Development: If your leaves aren’t sprouting roots, they might not have calloused enough, or they may be getting too much direct sunlight. Check your conditions and adjust as needed.
Conclusion
Propagating succulents from leaves is not only an enjoyable hobby but also an excellent way to share your love of gardening with friends and family. With just a few simple steps, you can multiply your succulent collection without spending a lot of money. Each new plant you create is a testament to your skills as a gardener and a unique addition to your home.
As you embark on your propagation journey, remember that practice makes perfect. Don’t be discouraged by initial failures; instead, take them as valuable learning experiences. Keep experimenting with different succulent varieties, and soon you’ll find the techniques that work best for you.
Additional Resources
To continue your succulent journey, check out the following resources:
Books on Succulent Care: There are numerous books available that explore various aspects of succulent care, including propagation, caring for specific species, and landscape design using succulents.
YouTube Tutorials: Video demonstrations can provide visual guidance on the propagation process and showcase a variety of tips and tricks.
Pinterest Boards: Browse Pinterest for a multitude of creative ideas and projects related to succulents, from propagation methods to stunning container designs and arrangements.


