
This guide will walk you through the simple process of propagating your Swiss Cheese Plant successfully.
Understanding the Swiss Cheese Plant
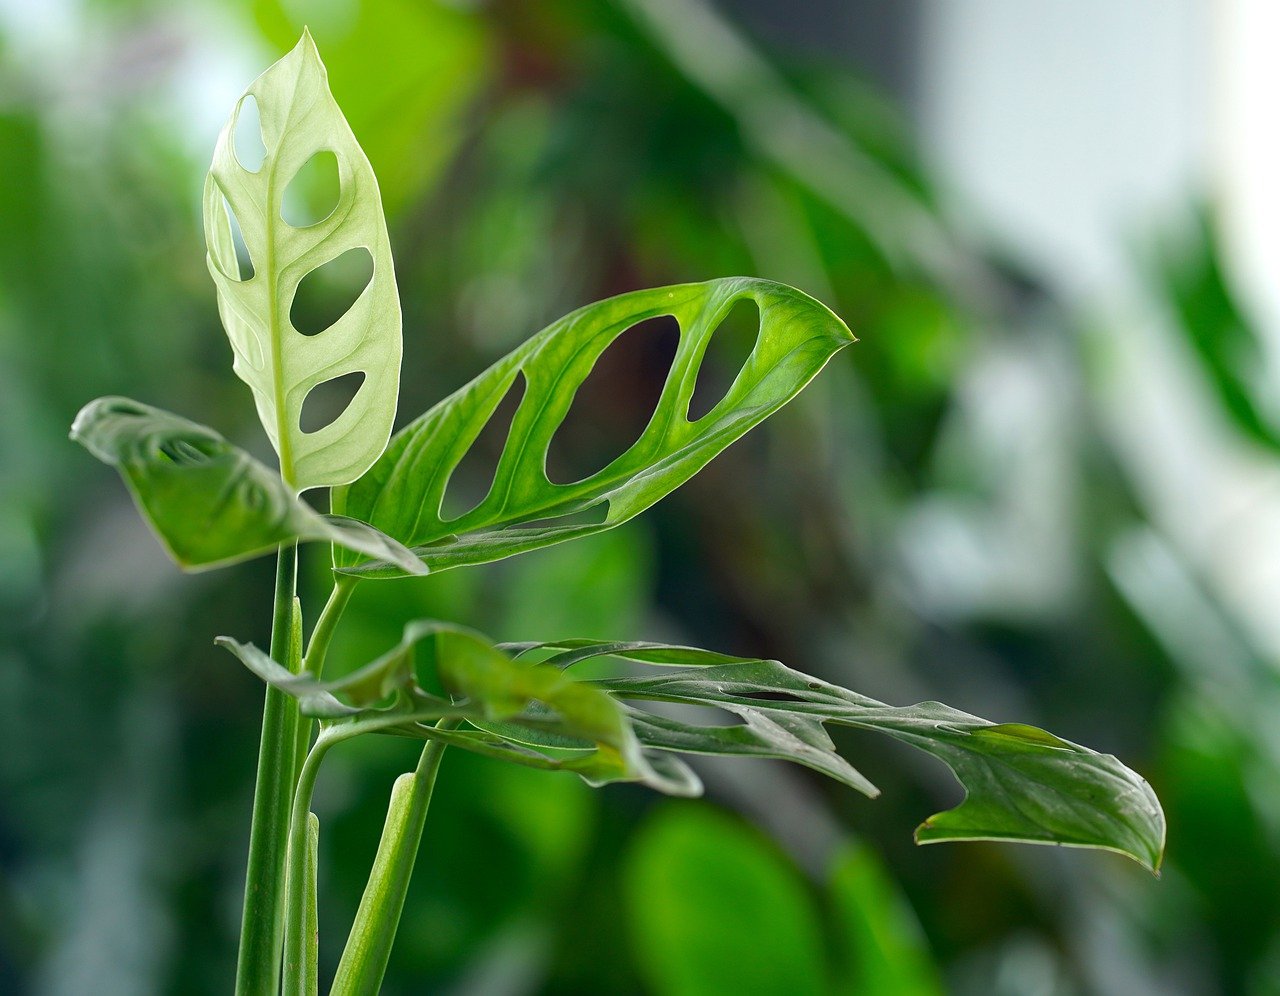
Before we get into the propagation methods, let’s take a moment to understand the Swiss Cheese Plant. Native to the rainforests of Central America, this plant is known for its unique leaf structure, which develops holes as it matures. These adaptations aid in survival by allowing wind to pass through, reducing the risk of damage in its native habitat.
The Swiss Cheese Plant is relatively low-maintenance, making it an ideal choice for both novice and experienced plant owners. With adequate light, humidity, and water, it can thrive indoors.
When to Propagate
The best time to propagate your Swiss Cheese Plant is during the growing season, which typically runs from spring to early summer. During this time, the plant is more likely to root successfully and grow into a healthy new plant. Look for a healthy parent plant with aerial roots, as these roots indicate that it’s ready to be propagated.
Methods of Propagation
There are two primary methods to propagate your Swiss Cheese Plant: stem cuttings in water and division. Each method is straightforward, and the choice depends on your preference and the health of your plant.
1. Stem Cuttings in Water
This method is popular among gardeners because it allows you to see the roots developing.
Steps:
Select a Healthy Stem: Look for a stem with at least one node (the small bump on the stem where leaves grow). The node is crucial for rooting.
Make the Cut: Use clean, sharp scissors or pruning shears to make a cut just below a node. A cutting that is around 4–6 inches long is ideal.
Let it Callous: Place the cutting in a dry location for a few hours or overnight to allow the cut end to callous over. This step helps prevent rot when you place it in water.
Place in Water: Fill a clean jar or vase with water, and submerge the cutting so that the node is underwater, but the leaves remain above the surface.
Provide Proper Conditions: Position the jar in a spot with bright, indirect sunlight. Change the water every week to keep it fresh.
Wait for Roots: After a few weeks, you should see roots starting to develop. Wait until they are about 2–3 inches long before transplanting.
Potting the Cutting: Transfer the rooted cutting into a pot with a well-draining potting mix, ensuring the node is buried and the cutting is supported upright.
2. Division
If you have a larger Swiss Cheese Plant, division is another effective way to propagate. This method involves separating the root system into multiple plants.
Steps:
Choose the Right Time: Spring or early summer is the best time for division.
Remove the Plant from Its Pot: Carefully remove the plant from its pot, taking care not to damage the roots.
Identify Sections: Look for natural divisions in the root ball. Ideally, you want to create sections that each have their own roots and at least one stem with leaves.
Separate the Sections: Gently use your fingers or a clean knife to separate the roots without causing too much disturbance.
Pot Each Division: Place each section in a new pot with fresh, well-draining potting mix. Water gently to settle the soil.
Care for the New Plants: Keep the newly potted divisions in a warm, humid environment and provide indirect light. They may take some time to adjust, but soon you’ll notice new growth.
Post-Propagation Care
Regardless of the propagation method you choose, caring for your new Swiss Cheese Plants is essential.
Humidity: These plants thrive in high humidity. You may want to mist them or place a humidifier nearby, especially in drier months.
Light: Provide bright, indirect light for optimal growth. While they can tolerate lower light conditions, their growth may slow down.
Watering: Water the plants when the top inch of soil feels dry. Be careful not to overwater, as this can lead to root rot.
Fertilizing: Once you notice new growth, begin fertilizing with a balanced liquid fertilizer every 4 to 6 weeks during the growing season.