Whether you’re looking to grow a new plant from cuttings, or you simply want to learn more about the process, this guide will provide all the information you need to successfully propagate your Umbrella Plant.
Understanding the Umbrella Plant
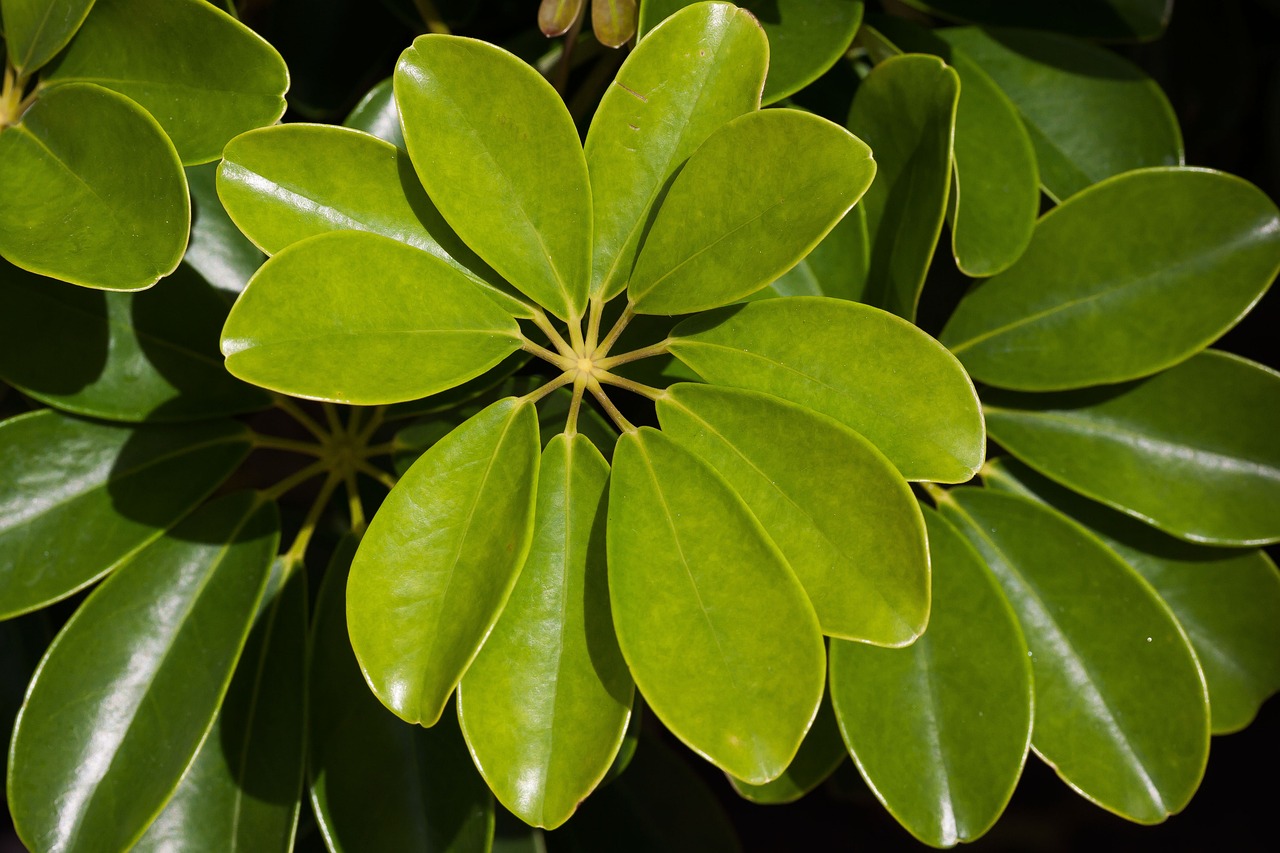
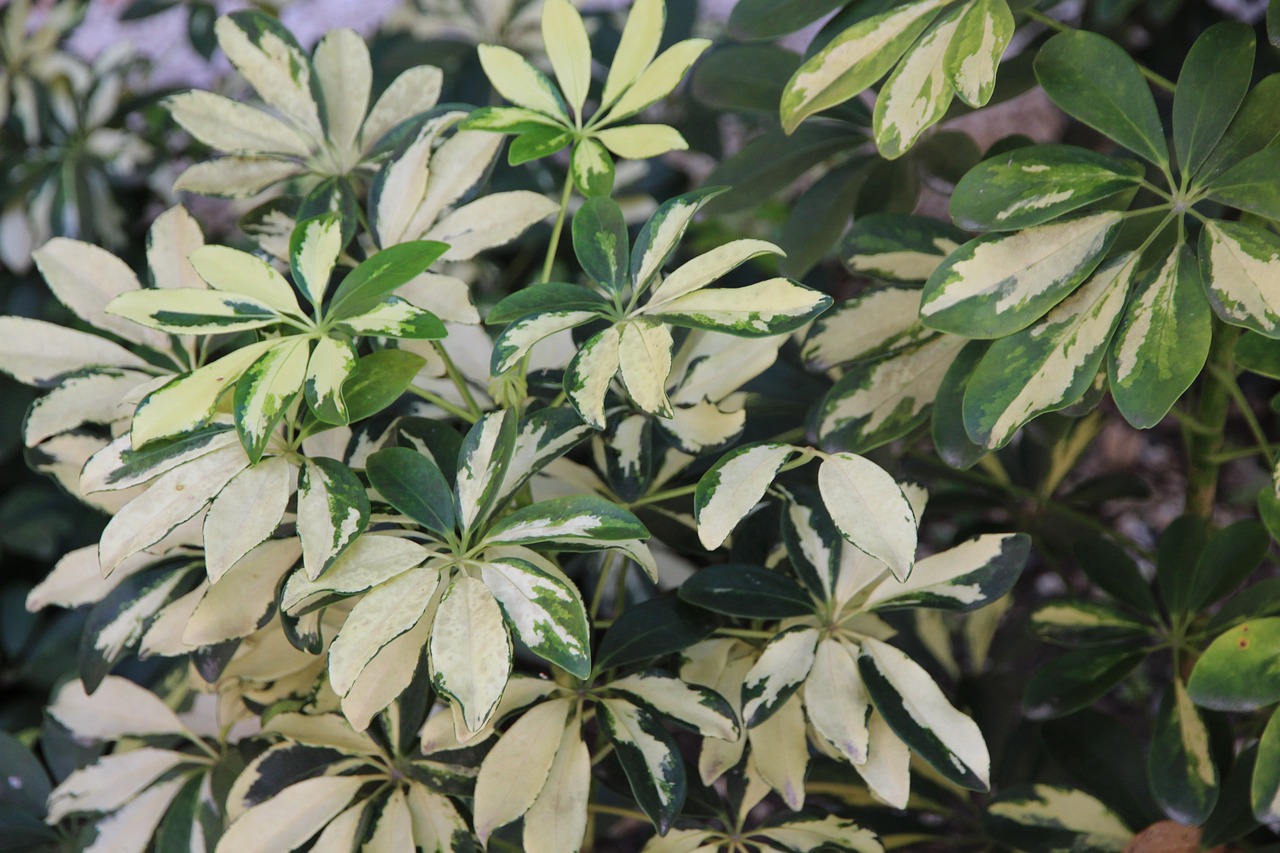
The Umbrella Plant is native to tropical regions, particularly in Southeast Asia. It is characterized by its unique, glossy, hand-shaped leaves that emerge in clusters resembling an umbrella, hence the name. Capable of reaching heights of up to 6 feet indoors, this plant makes a stunning statement piece in any home or office.
Ideal Conditions for Propagation
Before you start propagating your Umbrella Plant, it’s essential to provide the right conditions for growth. Here are some factors to consider:
Light: Schefflera thrives in bright, indirect sunlight. While it can tolerate lower light levels, the plants will grow more slowly and may become leggy. Place your plant near a window with filtered light for the best results.
Humidity: This plant enjoys high humidity levels, typically found in tropical environments. If your home is dry, especially during winter months, consider using a humidifier or placing your plant on a pebble tray filled with water to raise the humidity.
Soil: A well-draining potting mix is essential. A mixture designed for houseplants that includes peat moss, perlite, or vermiculite works well.
Water: Your Umbrella Plant prefers to dry out slightly between waterings. Overwatering can lead to root rot, so always check the top inch of soil before watering.
How to Propagate Your Umbrella Plant
There are two common methods for propagating the Umbrella Plant: stem cuttings and division. Here’s a step-by-step guide for both methods.
Method 1: Propagating from Stem Cuttings
Choose the Right Cutting: Select a healthy branch from the parent plant that has several leaves. Aim for a cutting about 4 to 6 inches long, ensuring you cut just below a node (the point where leaves attach to the stem).
Prepare the Cutting: Remove the lower leaves from the cutting, keeping at least two or three leaves at the top. This helps reduce moisture loss and promotes root growth.
Rooting Hormone (Optional): To encourage faster rooting and growth, dip the cut end in rooting hormone powder. This is optional but can improve your success rate.
Plant the Cutting: Place the cutting in a glass of water or directly in moist potting soil. If using water, ensure that the lower part of the stem is submerged, but the leaves remain above the waterline.
Provide Proper Conditions: Place your cutting in a warm, bright spot but out of direct sunlight. If using soil, keep it consistently moist but not soggy.
Wait for Roots to Develop: In about 2 to 4 weeks, roots should begin to form. If propagating in water, transfer the rooted cutting to soil once the roots have grown to at least 2 inches long.
Potting: If you placed the cutting in water, once rooted, pot it into a well-draining mix. Water it lightly after potting.
Method 2: Dividing the Umbrella Plant
Remove the Parent Plant from Its Pot: Carefully take the plant out of its pot, being cautious not to damage the roots.
Separate the Clumps: Look for natural divisions in the root ball. Gently pull apart or use clean scissors to cut through any large roots that are holding the sections together. Each section should have its own roots and a group of leaves.
Re-pot the Divisions: Place each division into its own pot filled with fresh potting mix. Ensure that the roots are spread out and not cramped.
Water and Care: Water the newly potted divisions lightly and keep them in a warm environment with bright, indirect light until they establish themselves.
Caring for Your New Plants
Once your Umbrella Plant cuttings or divisions are rooted and potted, provide the same care as you would for the parent plant. Monitor the moisture levels, provide bright, indirect sunlight, and maintain proper humidity. With time, your new plants will flourish and grow into beautiful specimens, adding lush greenery to your space.
Troubleshooting Common Issues
While propagating may seem simple, you may encounter some challenges. Here are a few common issues and their solutions:
Yellowing Leaves: If you notice yellowing leaves on your new plants, this may signal overwatering or insufficient light. Ensure the soil dries out slightly between waterings and check that your plant is receiving bright, indirect sunlight. Adjust its position if needed.
Wilting: If your cutting or newly potted division appears wilted, it may be underwatered or struggling with transplant shock. Give it a thorough drink while avoiding overly soggy soil, and be patient as it acclimates to its new environment.
Root Rot: This can occur if the cutting is kept in water for too long without changing it or if the soil remains too wet. If you suspect root rot, carefully remove the plant from its pot, inspect the roots, and trim away any mushy or blackened roots. Repot in fresh, dry soil.
Leggy Growth: If your new plants begin to stretch toward the light and look leggy, this means they are not receiving enough light. Move them closer to a light source or consider supplementing with a grow light.
Final Thoughts
Propagating the Umbrella Plant is a fantastic way to nurture your gardening skills and expand your collection. With a little patience and the right conditions, you can successfully grow new plants from cuttings or divisions. Whether you choose to keep them for yourself or share them with friends, the joy of watching your new plants thrive is rewarding.