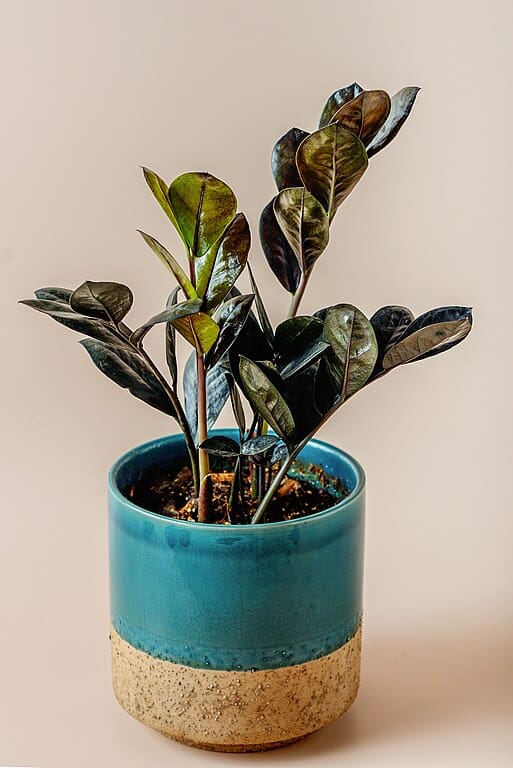
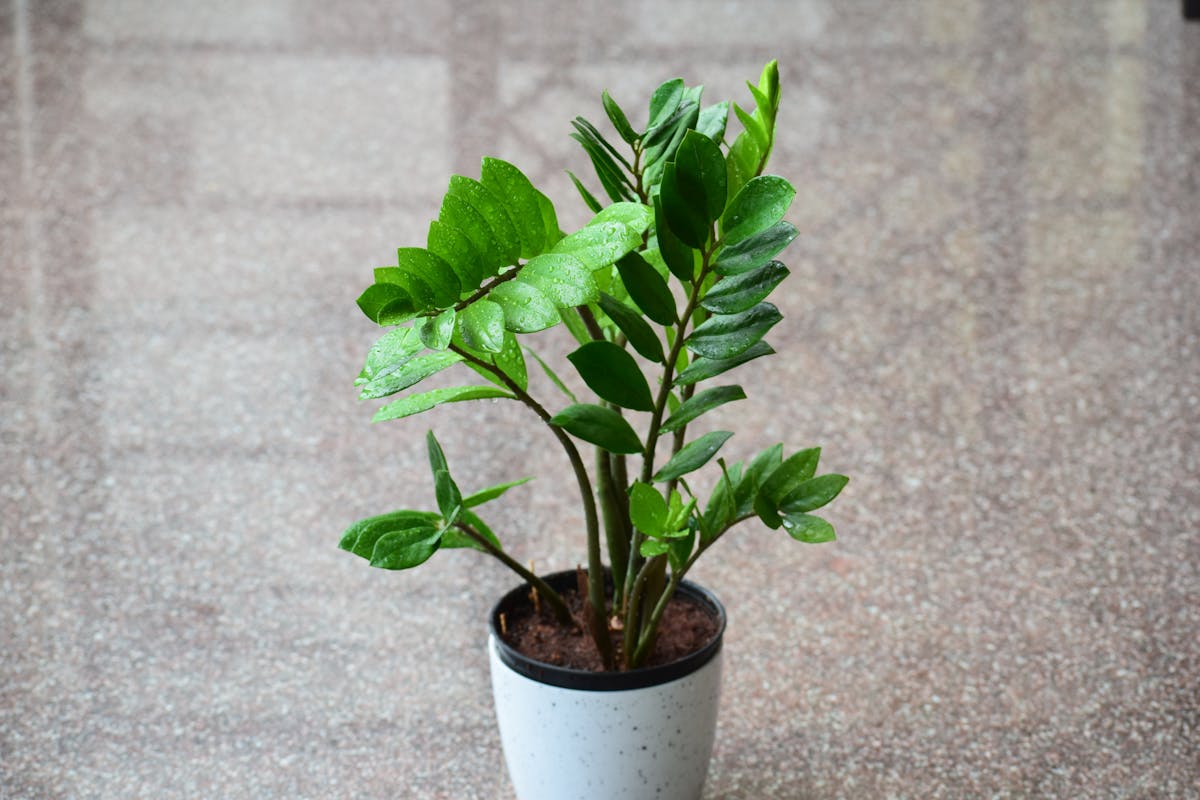
One of the best things about the ZZ plant is that it’s relatively easy to propagate, allowing you to create new plants for your home or share them with friends. In this guide, we’ll walk you through the different methods of propagating ZZ plants, along with essential tips for success.
Why Propagate a ZZ Plant?

Before we get into the how-tos, let’s discuss why you might want to propagate your ZZ plant.
Cost-Effective: Propagating your plant means you can increase your collection without spending money on new plants.
Sharing is Caring: A healthy ZZ plant can be a thoughtful gift for family and friends.
Personal Growth: Watching a plant thrive from propagation can be a fulfilling hobby and a way to learn more about plant care.
Best Methods for Propagating ZZ Plants
There are two primary methods for propagating ZZ plants: stem cuttings and division. Both methods can lead to successful growth, but each has its own steps and considerations.
1. Propagation by Stem Cuttings
Propagating ZZ plants through stem cuttings is a popular method and can be quite successful when done correctly. Here’s how to do it:
Materials Needed:
Sharp, clean scissors or a knife
A small container or pot with drainage holes
Well-draining potting mix (consider using a mix of potting soil, perlite, and sand)
Optional: rooting hormone
Steps:
Select a Healthy Stem: Choose a healthy stem that has several leaves. Make sure it is free from pests and diseases.
Take a Cutting: Use your scissors or knife to cut a section of the stem, ideally 4-6 inches long. Make your cut just below a node (the point where the leaves emerge).
Prepare the Cutting: Remove the lower leaves of the cutting to expose the node. This is where the roots will emerge.
Optional Step – Rooting Hormone: If you have rooting hormone, apply a small amount to the cut end of the stem to encourage root growth.
Plant the Cutting: Place the cutting in your prepared potting mix, ensuring that the node is buried in the soil while the leaves remain above the soil level.
Watering: Water the soil lightly to settle it around the cutting. Be careful not to overwater, as ZZ plants are susceptible to root rot.
Humidity and Light: Place the pot in a location with bright, indirect light. Covering it with a plastic bag or a clear container can help retain humidity, but make sure there’s some air circulation to prevent mold growth.
Care After Planting:
Check the moisture level regularly; keep the soil lightly moist but not soggy. In a few weeks, you should see new growth emerging, which indicates that roots are forming. After about 4-6 weeks, you can acclimate the new plant to normal care.
2. Propagation by Division
Another effective method of propagating ZZ plants is through division. This method involves separating the root balls of existing ZZ plants to create new ones.
Materials Needed:
Sharp knife or garden spade
A new container or pot for each division
Well-draining potting mix
Steps:
Choose a Mature Plant: Select a healthy ZZ plant that has outgrown its pot and shows signs of multiple stems.
Remove the Plant from its Pot: Gently remove the plant from its pot, shaking off excess soil to reveal the root system.
Inspect the Roots: Look for natural divisions in the root ball or separate stems. Each division should have well-developed roots and at least one stem with leaves.
Cut the Roots: Using your knife or spade, carefully cut through the roots to create divisions. Make sure each division has enough roots to support new growth.
Replant Each Division: Plant each division in its new pot filled with well-draining potting mix. Position the plant so that the top of the root ball is level with the soil surface.
Water and Care: Water lightly and place in a location with indirect light. Follow the same care as you would for a cutting.
Tips for Successful Propagation
Patience is Key: ZZ plants propagate slowly compared to other houseplants, so be patient and give your plants the time they need to establish roots.
Optimal Conditions: Keep your ZZ plant in a warm environment with humidity. They prefer temperatures between 65°F (18°C) and 75°F (24°C).
Avoid Overwatering: One of the most common mistakes is overwatering. ZZ plants are succulents and store water in their rhizomes. Ensure your pots have good drainage and allow the soil to dry out between waterings. A general rule is to water when the top inch of soil feels dry to the touch.
Monitor Light Exposure: While ZZ plants tolerate low-light conditions, they thrive in bright, indirect light. Too much direct sunlight can scorch their leaves, while too little light can hinder growth. If you’re using a plastic cover for humidity, be sure to remove it occasionally to let in fresh air.
Fertilization: After new growth appears, you can fertilize your ZZ plant with a balanced, water-soluble fertilizer diluted to half strength. Fertilize every 4-6 weeks during the growing season (spring and summer) for optimal growth.
Pest Control: Although ZZ plants are generally resistant to pests, keep an eye out for common houseplant pests like spider mites or mealybugs. If you notice any, treat them quickly with insecticidal soap or neem oil.
Conclusion
Propagating a ZZ plant can be an enjoyable and rewarding process. Whether you choose to use stem cuttings or the division method, following the steps outlined in this guide will set you on the path to success. With patience and care, you’ll soon have new ZZ plants thriving in your space.
The joy of watching your plants flourish and the opportunity to share them with friends and family makes propagation an appealing endeavor. So grab your tools, put on your green thumb, and get started on growing your ZZ plant family. Happy planting!


