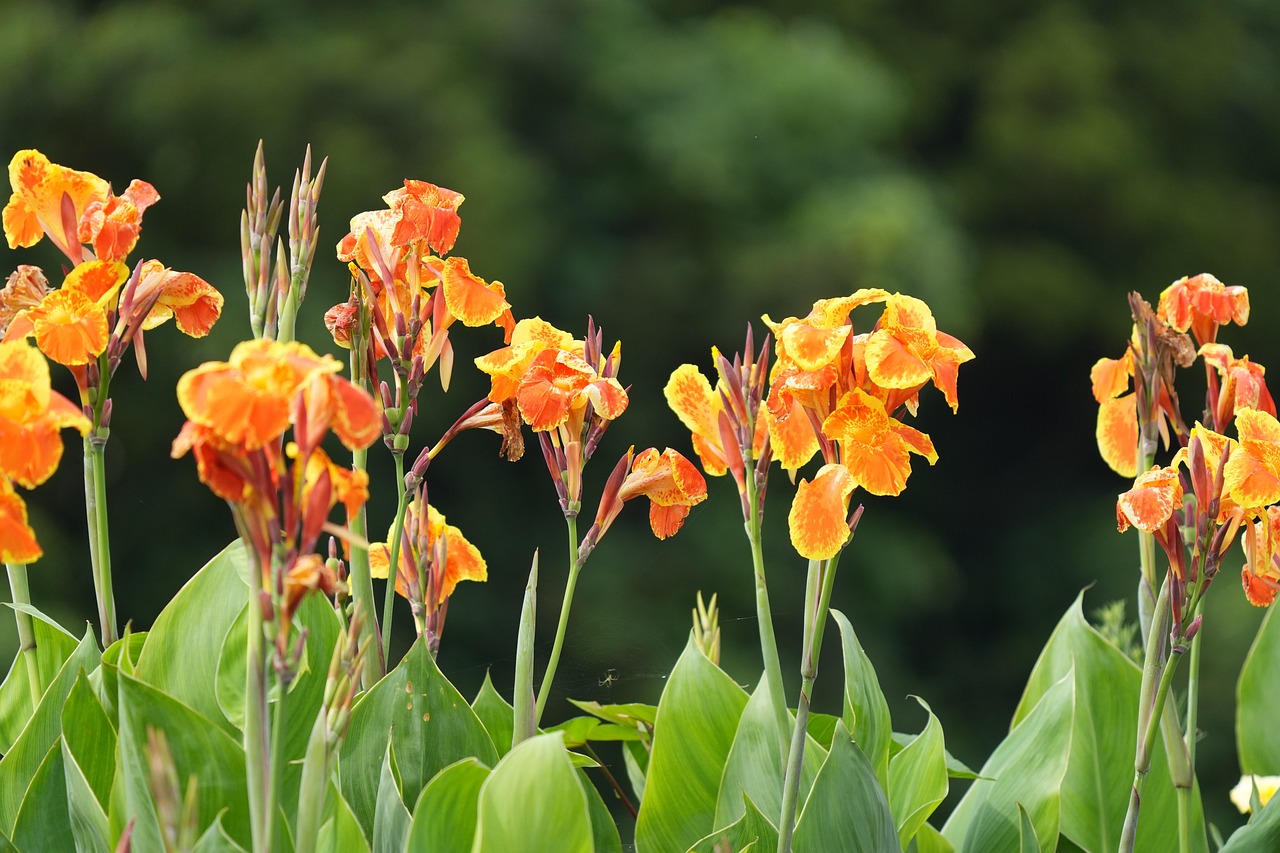
Canna lilies, with their vibrant blooms and lush, tropical foliage, have become a garden favorite for many. These beautiful plants not only add a splash of color to your landscape but also thrive in various conditions, making them a versatile choice for gardeners across the globe.
However, to keep your cannas flourishing year after year, replanting their bulbs (or rhizomes) is essential. In this comprehensive guide, we’ll explore the nuances of replanting canna bulbs, ensuring your garden stays captivating season after season.
Understanding Canna Bulbs
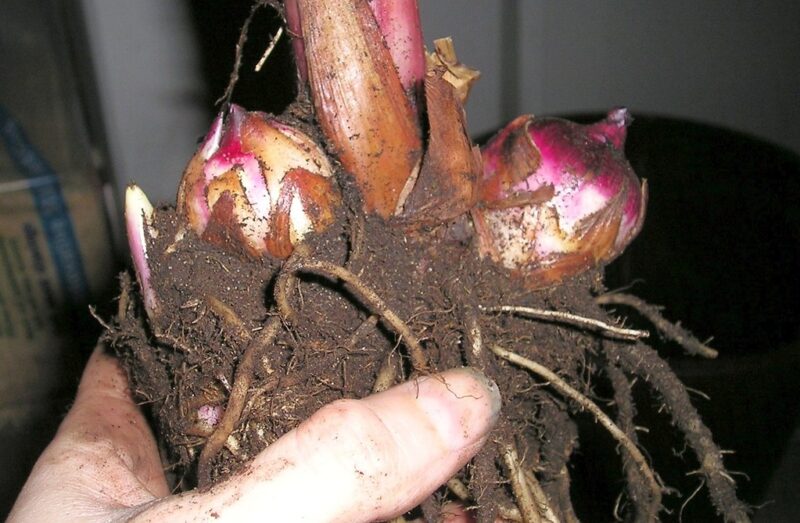
Before diving into the replanting process, let’s first clarify what we mean by “canna bulbs.” Technically, cannas do not grow from true bulbs but from rhizomes, which are modified stems that grow horizontally underground. These rhizomes store nutrients and energy, allowing the plant to survive harsh conditions and regrow each season. Understanding this aspect is key, as it influences how you will approach planting, care, and maintenance.
Types of Canna Rhizomes
Canna plants come in various species and hybrids, each with unique characteristics, flower colors, and growth habits. Familiarizing yourself with the types of cannas can help you select the best ones for your garden’s aesthetic and climate. For instance:
Canna indica – Known for its tall stature and large, orange or red flowers, this species is robust and ideal for back-of-the-border plantings.
Canna generalis – This hybrid features a range of colors and shorter growth, making it perfect for borders and in mixed beds.
Canna musafolia – Renowned for its large leaves that resemble banana plants, it adds a tropical feel to any garden space.
Each type may require slightly different replanting techniques, which we will touch upon later in this post.
When to Replant Canna Bulbs
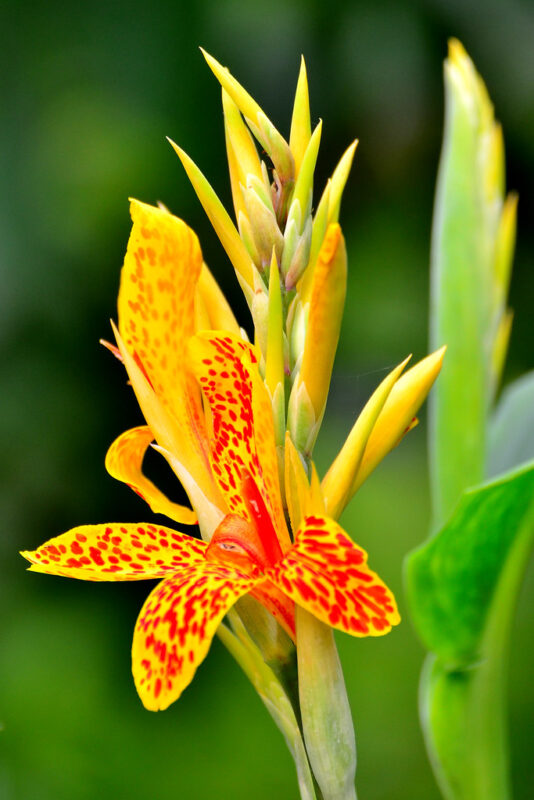
Timing is crucial when it comes to replanting canna rhizomes. Generally, the best time to replant is in the spring, once the danger of frost has passed and the soil temperature has warmed to at least 60°F (about 15°C). This typically falls anywhere from mid-April to late May, depending on your geographical location.
Factors to Consider
Frost Dates: Check your local frost dates to avoid damaging tender new growth.
Soil Temperature: Use a soil thermometer to ensure the ground has warmed adequately.
Previous Season’s Growth: If you notice that your cannas aren’t performing well, take this opportunity to divide and replant them, giving them a fresh start in the new growing season.
Preparing for Replanting
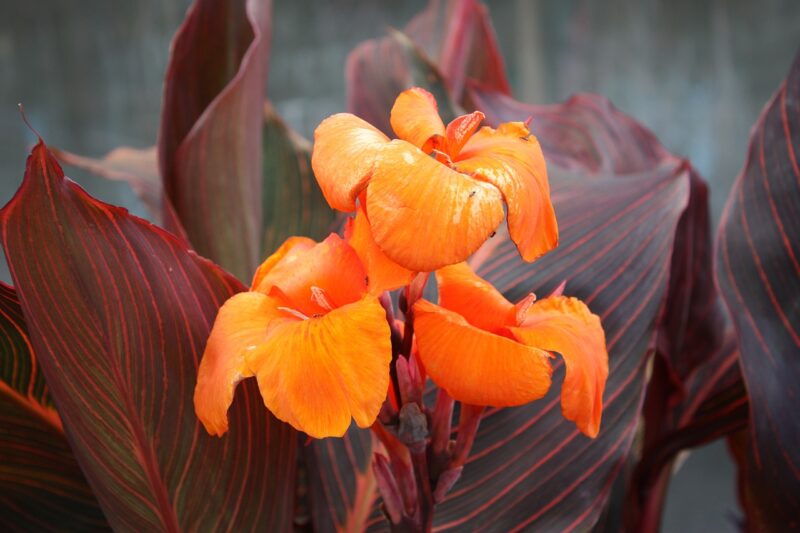
Once the time is right, the next step is preparing both the bulbs and the location where they will be planted.
Inspecting the Rhizomes
Before replanting, inspect your canna rhizomes carefully:
Condition: Look for any signs of rot, mold, or disease. Healthy rhizomes should be firm and plump, not shriveled or mushy.
Division: If you have a large clump, consider division. Each segment should have at least one or two eyes (the nodes from which new shoots will emerge). Use clean, sharp gardening tools to make the cuts cleanly and avoid harming the plant.
Preparing the Soil
Canna lilies thrive best in well-draining, nutrient-rich soil. To prepare the planting area:
Site Selection: Choose a spot that receives 6-8 hours of sunlight daily for optimal growth.
Soil Amendment: Test your soil pH and amend it as necessary. Cannas prefer slightly acidic to neutral soil (pH 6.0-7.0). Incorporate compost or well-rotted manure to enrich the soil with nutrients.
Tilling a New Bed: If you’re creating a new bed, till the soil to a depth of 12-18 inches, mixing in organic matter to improve drainage.
Watering Preparations
Once planted, canna rhizomes require consistent moisture but can be prone to rot if the soil is excessively wet. Therefore, establishing a proper watering schedule is crucial. Have a plan in place for how you will manage their water needs during dry spells.
Planting Canna Bulbs
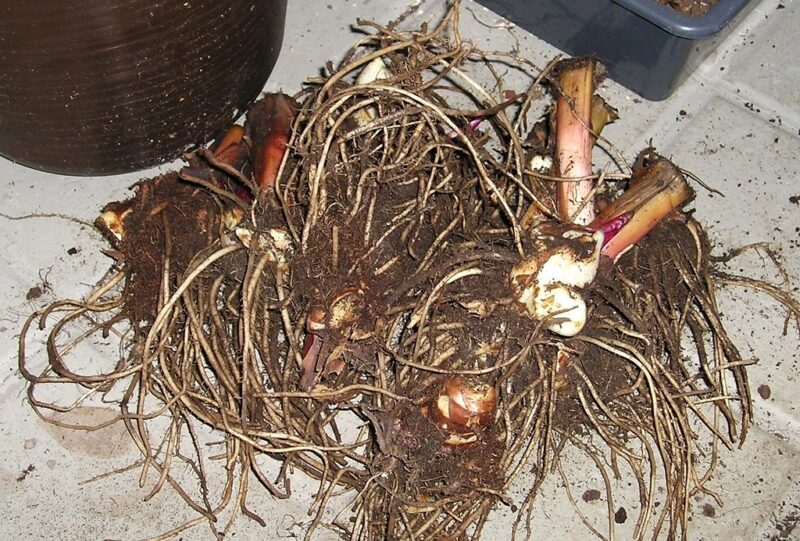
With preparations complete, it’s time to plant your rhizomes!
Steps to Plant
Digging the Hole: Create a hole that is 4-6 inches deep and a foot apart for each rhizome, allowing for proper airflow and space for growth.
Positioning the Rhizome: Place the rhizome in the hole horizontally, with the growing eyes facing upward. This promotes better sprouting.
Covering Up: Gently cover the rhizome with soil, patting it down lightly to remove any air pockets.
Watering After Planting
Post-planting, water your area thoroughly. This helps settle the soil around the rhizome and provides moisture needed for growth. Avoid overwatering and allow the top inch of soil to dry out between watering to prevent rot.
Caring for Canna Plants
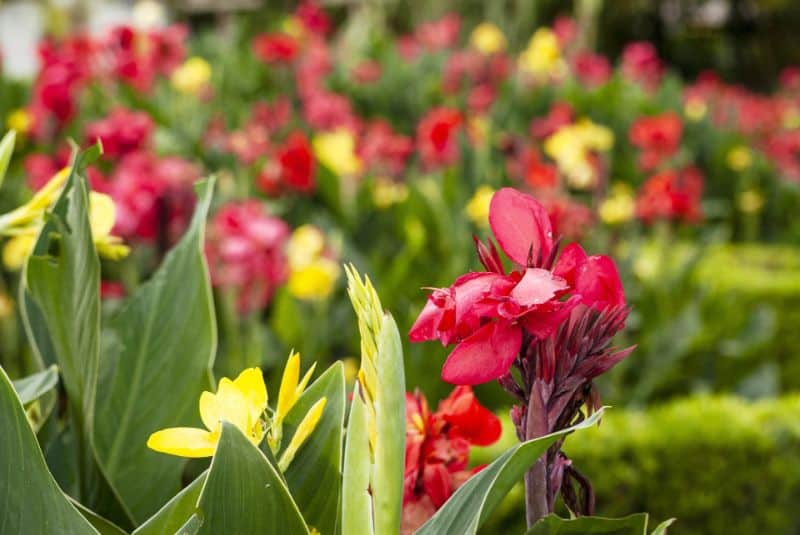
Following planting, maintaining your canna plants is critical to ensure healthy growth and vibrant blooms.
Watering Routine
Consistency is Key: Water regularly, especially during dry spells, but be conscious not to overdo it. Aim for a thorough soaking once a week, or more frequently during extremely hot periods.
Mulching: Applying a layer of organic mulch can help retain soil moisture and suppress weeds, reducing competition for nutrients.
Fertilizing
Canna lilies are heavy feeders, so a balanced, slow-release fertilizer should be applied to support growth. Here’s how to go about it:
Application: Fertilize your cannas every 4-6 weeks during the growing season using a formula like 10-10-10 or one designed for flowering plants.
Organic Options: Consider organic choices, like fish emulsion or compost tea, for a natural boost.
Pest and Disease Management
Cannas are relatively pest-resistant but can fall victim to aphids, spider mites, and fungal diseases. Monitor regularly for signs of distress:
Regular Checks: Inspect the undersides of leaves and new growth for pests.
Natural Remedies: Use insecticidal soap or neem oil for pests, while ensuring adequate air circulation to prevent diseases.
Preparing for Winter
As winter approaches, canna plants require special attention to ensure they survive the colder months. In many climates, they can be left in the ground, but in colder regions, digging them up may be necessary.
What to Do in Cold Climates
Stop Watering: As the leaves begin to die back in late fall, reduce watering.
Digging Up Rhizomes: Once the foliage is completely dead, carefully dig up the rhizomes. Clean them to remove dirt and debris.
Storage: Store the divided rhizomes in a dry, cool place, preferably in peat moss or sawdust to prevent rot. Ideal conditions are around 50°F (10°C) with low humidity.
Leaving Them in the Ground
If you’re fortunate enough to live in a warmer climate:
Mulch Heavily: Use several inches of mulch to insulate the roots and protect them from freezing temperatures.
Monitor Moisture: Ensure that the soil remains somewhat dry to prevent moisture-related rot.
Propagating Canna Rhizomes
Replanting canna bulbs becomes even more rewarding when you decide to propagate them. This process allows you to expand your garden effortlessly.
How to Propagate
Timing: Early spring is the best time for division propagation.
Dividing Rhizomes: Use a sharp, clean knife to cut large rhizomes into sections with at least one eye.
Remnants of Past Growth: Store or plant any healthy divisions immediately, as fresh cuts can dry quickly.
Conclusion
Replanting canna bulbs is an enriching gardening activity that enhances the beauty of your landscape while promoting the health and longevity of the plants. By understanding the unique characteristics of canna rhizomes, preparing properly, and providing adequate care, you can enjoy stunning blooms year after year.
Remember to monitor their growth, prepare adequately for seasonal changes, and learn to propagate them for even greater garden enjoyment. With these techniques in your gardening toolkit, your canna lilies will thrive, bringing joy and color to your property through every growing season.


