
In this comprehensive guide, we will explore the intricacies of clematis care, seasonal strategies, and provide you with detailed insights into how to prepare your clematis for the colder months.
Understanding Clematis Varieties

Before diving into the specifics of winter care, it’s essential to appreciate the diversity of clematis. There are three main groups, each with varying pruning needs:
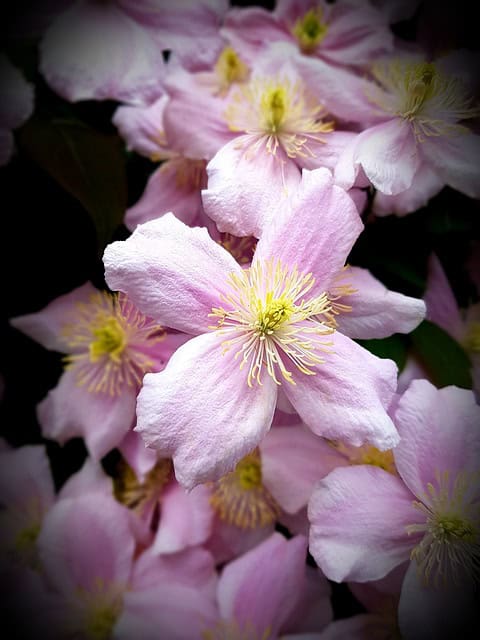
Group 1: These clematis bloom in early spring on old wood. Varieties like Clematis montana fall under this category. They typically do not require cutting back in the winter.
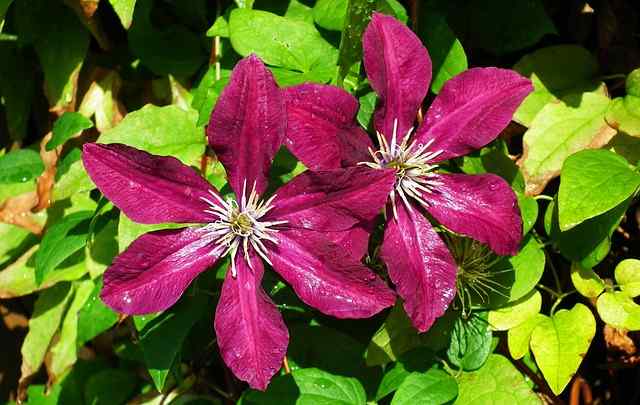
Group 2: These bloom in late spring and early summer on both old and new wood, such as Clematis jackmanii. A light pruning is generally advised after flowering to encourage healthy growth and blooming in the next season.
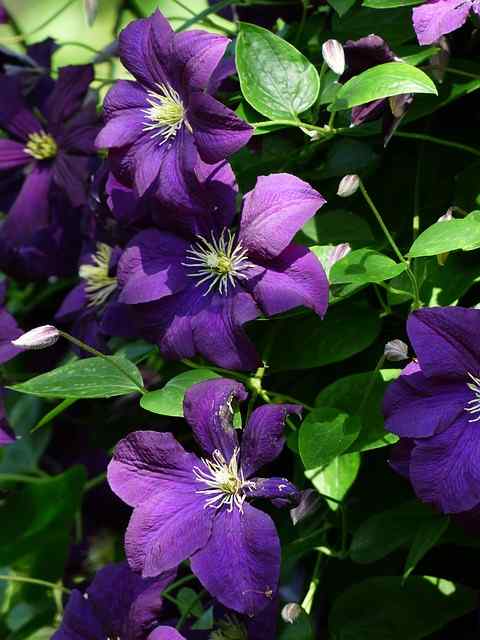
Group 3: This group produces flowers on new growth, typically during summer or early fall. Examples like Clematis vitalba often need significant cutting back in late winter or early spring to ensure vigorous growth and abundant flowers in the coming season.
Understanding these categories will significantly influence your winter care strategies.
The Benefits of Winter Pruning
While it may seem counterintuitive to prune a plant in winter, the process can actually benefit clematis in several ways. Winter pruning can:
Encourage Strong Growth: By trimming away old or dead growth, you can stimulate new shoots, which can lead to an explosion of vibrant blooms in the spring.
Prevent Disease: Old, dead, or diseased wood can harbor pests and pathogens. By cutting this material back, you help to create a healthier environment for growth.
Maintain Shape and Size: Regular pruning helps to control the size and shape of your clematis, ensuring it fits well into your garden design.
Improve Air Circulation: Thinning the plant allows better airflow through the foliage, reducing the risk of mold and mildew.
When is the Right Time to Prune?

Timing your clematis pruning effectively is critical. For Group 1 varieties, late summer or early fall is ideal to allow for dieback in colder climates. Group 2 flowers should be pruned just after they bloom in late summer, while Group 3 types benefit from a winter cut, specifically before new growth begins.
Seasonal Considerations
Your geographical location will play a significant role in determining when to prune. Areas with milder winters may allow for earlier pruning, whereas regions with harsher winters might require you to wait until the last frost has occurred.
How to Prune Clematis: A Step-by-Step Guide
Once you’ve determined the appropriate pruning schedule for your clematis variety, it’s time to follow the correct technique to ensure a healthy plant for next season. Here’s a detailed step-by-step guide:
1. Gather Tools
Before you start, ensure you have the right tools for the job:
Sharp Pruning Shears: Essential for clean cuts that promote healing.
Loppers: Good for thicker stems that are more difficult to cut.
Gloves: Protect your hands from plant toxins and thorns.
2. Inspect the Plant
Check your clematis for any signs of disease or insect damage. Look for dead, fragile stems and areas where the wood appears brown and shriveled. Mark these spots for pruning.
3. Make Strategic Cuts for Group 1
For Group 1 clematis, focus on removing any dead or damaged stems. It’s usually best to leave most of the old growth intact, as this is where your flowers will emerge in spring.
4. Prune Group 2 Wisely
For Group 2 varieties, prune back just after flowering to maintain shape. Lightly cut back some of the stems to shape the plant and remove dead growth.
5. Cut Group 3 Back Significantly
Group 3 should be pruned down to about 12 to 18 inches above the ground. This might seem drastic, but it ensures vigorous new growth.
6. Clean Up
Once you finish pruning, clean up your area by collecting cuttings. This helps to prevent diseases lingering in your garden.
Winter Preparation: Additional Care Tips
Pruning isn’t the only step necessary to prepare your clematis for winter. Other considerations will also support your plant’s health during the colder months.
Mulching
Applying mulch around the base of your clematis can help insulate the roots, protecting them from freezing temperatures. Organic mulch, such as shredded leaves or wood chips, can work wonders. Aim for a layer of about 3 inches, taking care not to pile it against the stems, as this may lead to rot.
Watering
Make sure your clematis is adequately watered before the ground freezes. As the plants enter dormancy, watering should be reduced but not neglected altogether. Hydrated plants are better equipped to withstand winter stress.
Wrapping Vines
For particularly vulnerable varieties, wrapping the stems in burlap or a similar material can provide additional protection against harsh conditions. Just be careful to avoid constriction as the plant grows.
Location Consideration
If your clematis is in a pot, consider moving it closer to your home or into a sheltered area. Container plants are often more susceptible to the cold since their roots are more exposed.
Dealing with Pests and Diseases

Clematis does have its share of pests and diseases that can plague the plant. Recognizing signs early can help you manage these issues effectively, ensuring a healthy comeback in spring.
Common Pests
Aphids: These tiny pests can often be found on the new growth and can lead to stunted plants. If you notice an infestation, a blast of water or insecticidal soap is typically effective.
Clematis Wilt: This fungal disease can cause wilting and dieback. Prevention and early detection are essential. Ensuring good airflow and removing affected areas can help manage it.
Monitoring Through Winter
While clematis is dormant during winter, it’s still good practice to monitor for pests and diseases. If you notice any issues, take action as soon as possible to prevent them from worsening.
Returning to Growth: Spring Care

As winter fades into spring, it’s time to shift your focus from preparation to revitalization. Here are a few tips on how to care for your clematis as it begins to wake up from dormancy:
Mulch Maintenance
Remove any winter mulch once the threat of frost has passed to allow warming soil. Retain a light layer of mulch to retain moisture and provide nutrients.
Fertilization
As growth begins, a balanced fertilizer can promote robust blooming. Aim for a formula meant for flowering plants, applying according to package instructions.
Support Structures
If your clematis is a climbing variety, check to ensure that the trellises or other supports are intact and ready for vigorous growth. Adjust as necessary to support the developing vines.
Pruning Post-Dormancy
Double-check for any dead or damaged growth that may have become apparent once the bloom cycle starts. Lightly prune any undesirable sections as the plant regrows.
Creating a Blooming Schedule
Understanding your clematis and its growth cycle can lead to better planning for blooms throughout the season. By knowing when to prune, fertilize, and train your vines, you can enjoy an abundant display of flowers.
Calendar of Care
Consider creating a seasonal calendar specific to your clematis type. Document its flowering times, ideal pruning schedules, and any pest management strategies you’ve found effective. This personalized approach will create a streamlined care routine that supports your garden’s vision.
Conclusion
The question of whether clematis should be cut back for winter isn’t one-size-fits-all. The approach you take will largely depend on the specific variety you are cultivating. By understanding the varieties, timing your interventions wisely, and employing a combination of pruning techniques and winter care strategies, your clematis can thrive through the cold months and burst forth with beauty when spring arrives.