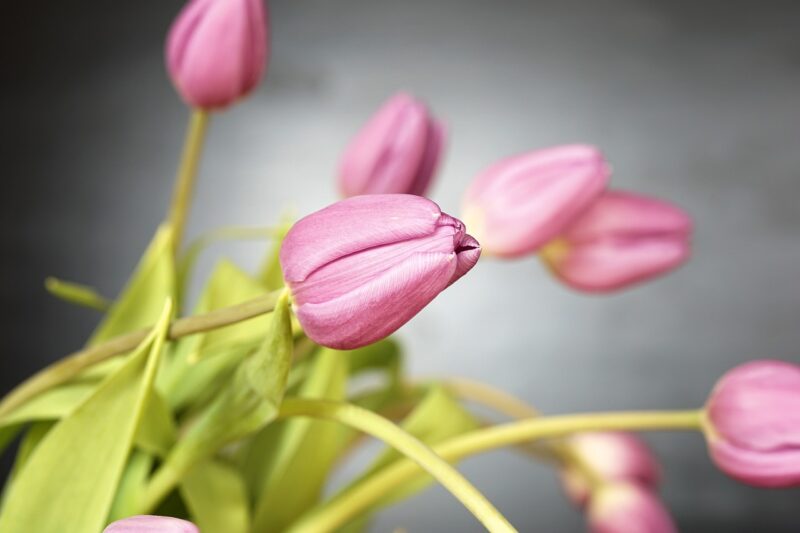
Tulips are a beloved springtime flower, renowned for their vibrant colors and elegant shapes. However, once the blooming period concludes, many gardeners are left pondering what to do next with their tulip bulbs. Proper post-bloom care is essential for ensuring that these bulbs return healthy and vibrant for seasons to come.
In this comprehensive guide, we’ll delve into the essential steps for managing tulip bulbs after they have bloomed, from the immediate actions to long-term storage and planting strategies.
Understanding Tulip Life Cycle

Before diving into what to do with your tulip bulbs after they bloom, it’s helpful to grasp the life cycle of these plants. Tulips typically bloom in the early to mid-spring, depending on the variety. After the flowers fade, the plant enters a new phase where it focuses on nourishment and energy storage. The leaves continue to photosynthesize, converting sunlight into energy to replenish the bulb’s reserves for next year’s growth.
The Importance of Foliage
The leaves of tulip plants play a crucial role in this process. Many gardeners make the mistake of cutting back the leaves too early, thinking this will keep the garden tidy or prevent the spread of disease. However, the foliage should remain intact for about six weeks after blooming. During this time, the leaves gather sunlight and store nutrients in the bulb. This storage period is vital for a robust flowering in the next season.
Step 1: Allow Foliage to Die Back Naturally
After tulips have finished blooming, the most important thing you can do is to allow their foliage to die back naturally. It may not be the most attractive sight in the garden, but this period is essential for the health of your bulbs.
Observing the Changing Colors
As the weeks progress, you’ll notice the leaves changing color, typically turning yellow and brown. This transformation indicates that the plant is successful in storing energy. Once the foliage has turned completely brown, it can be safely removed without harming the bulbs.
Benefits of Leaving the Leaves
By leaving the foliage in place until it has fully yellowed and died, you provide the bulbs with the best chance of replenishing their energy stores. This practice not only benefits the current year’s growth but also improves overall bulb vigor, which can lead to more abundant blooms in the following spring.
Step 2: Watering and Nutrient Management
During the die-back phase, tulips still require some maintenance. Proper watering and nutrient management during this period can significantly influence the health of the bulbs.
Watering Practices
Tulips prefer well-drained soil. After blooming, it’s essential to provide adequate moisture to the foliage, but be careful not to overwater. Soil that is consistently soggy can lead to rot. A good rule of thumb is to water only if rainfall has been insufficient and the soil feels dry to the touch.
Fertilization Tips
Consider applying a light application of a balanced fertilizer about three weeks after the blooming period. This will give the leaves the nutrients they need to continue thriving as they photosynthesize and prepare energy to send back to the bulb. Use a low-nitrogen fertilizer; high nitrogen levels can encourage leaf growth at the expense of bulb vitality.
Step 3: Deadheading and Pruning

As your tulips begin to fade, one task that can be beneficial is deadheading—removing spent flowers. This process prevents the plant from diverting its energy into seed production and instead encourages it to focus on bulb growth.
The Deadheading Process
Deadheading tulips is simple: gently snap or prune off the spent flowers at their base, being careful not to disturb the leaves. This action helps redirect the plant’s energy and resources back into the bulb, promoting better bloom production for the next season.
Pruning the Leaves
Once the leaves have fully yellowed and died, you can prune them back, cutting them at the base near the soil line. Avoid cutting the leaves too early; as mentioned, they play a vital role in energy storage and bulb health.
Step 4: Digging Up and Storing Bulbs (If Necessary)

Tulips are perennial, but whether or not to dig them up after blooming can depend on your specific climate and gardening goals. For areas with cold winters, tulips usually do well left in the ground, since they go dormant naturally.
When to Dig Up Bulbs
You might consider digging up your tulip bulbs if you live in a region with extremely wet winters, where the risk of rot is higher. Additionally, if you want to propagate your bulbs or replant them in a different area, lifting them post-bloom is necessary.
Procedure for Digging Up Bulbs
To dig up tulip bulbs, wait until the foliage has completely died down. Carefully remove the bulbs from the soil using a spade, ensuring you keep the bulbs intact and avoiding damage. Once removed, gently brush off excess soil and allow the bulbs to dry in a shaded, well-ventilated area for a few days.
Step 5: Storing Tulip Bulbs
After digging up your tulip bulbs, proper storage is crucial for ensuring they remain healthy and viable for planting in the fall.
Optimal Storage Conditions
Tulip bulbs should be stored in a cool, dry place. The ideal temperature range is between 60 and 65 degrees Fahrenheit. Store the bulbs in a mesh bag, paper bag, or cardboard box to allow air circulation. Avoid plastic bags, as they can trap moisture and lead to rot.
Monitoring Bulb Health
It’s wise to periodically check on your stored bulbs throughout the summer months. Look for any signs of mold, rot, or shriveling. If you notice any problematic bulbs, remove them immediately to prevent the spread of any disease.
Step 6: Preparing for Next Season’s Planting
The excitement of next year’s tulip season begins even as you care for your bulbs after blooming. Preparing for the next cycle of growth involves timing your planting and ensuring the bulbs receive the right conditions.
When to Plant Tulip Bulbs
Typically, tulip bulbs should be planted in the fall, about 6-8 weeks before the ground freezes. This timing allows the bulbs to establish roots but not sprout before winter sets in.
Site Selection and Soil Preparation
Choose a planting site that receives full sun and has well-draining soil. Before planting, consider improving the soil with compost or well-rotted manure to enhance nutrient content. Aim for a planting depth of about three times the height of the bulb.
Arranging Bulbs and Watering
When planting, space the bulbs adequately, usually 4-6 inches apart, to allow for air circulation and growth. After planting, give them a light watering to settle the soil. Avoid overwatering, especially as winter approaches.
Conclusion: Cultivating a Long-Lasting Tulip Garden
Caring for tulip bulbs after they bloom is an undertaking that requires patience and attention, but the rewards are worth it. By following the steps outlined in this guide—allowing foliage to die back, managing watering and nutrients, practicing deadheading, potentially digging up bulbs for storage, and preparing for planting—you can cultivate a vibrant tulip garden that graces your landscape year after year.
With proper care, your tulips can flourish season after season, serving as a stunning testament to your gardening skills and dedication. Embrace the cycle of life in your garden, and look forward to the captivating display of color and beauty that tulips bring each spring.


