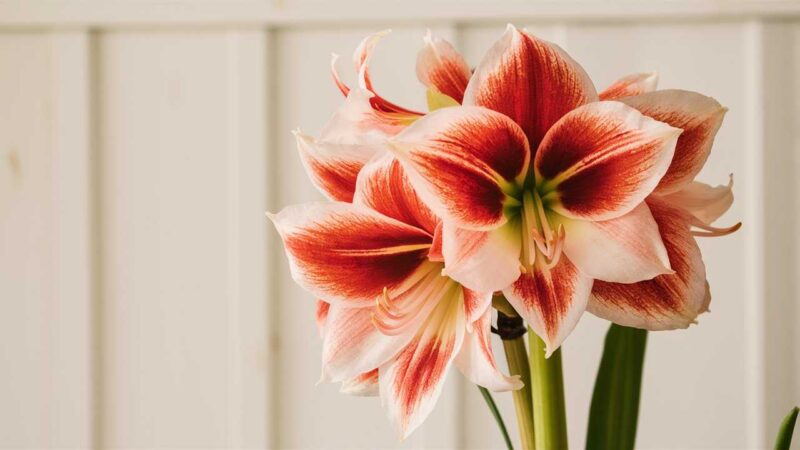
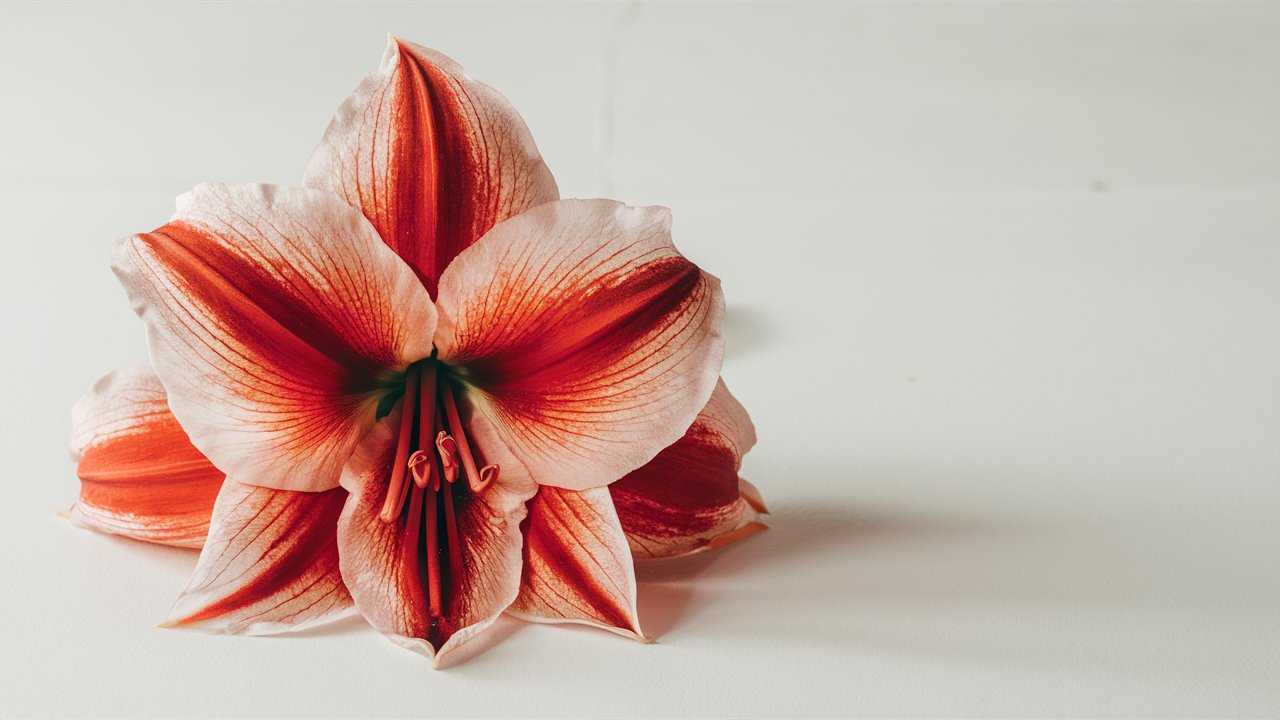
In this guide, we will explore the steps you should take after your amaryllis has finished blooming, ensuring your plant remains healthy and can potentially bloom again in the future.
Understanding the Amaryllis Lifecycle

Before digging into post-bloom care, it’s essential to understand the lifecycle of the amaryllis. The plant originates from South America and belongs to the Hippeastrum genus. It usually produces a tall flower stalk, adorned with several large flowers, which can last for several weeks. After flowering, the plant enters a resting period before it can be coaxed into blooming again.
The Blooming Cycle
Pre-Bloom: Amaryllis is typically planted in late fall or early winter. The bulb requires a period of dormancy before it starts to grow and bloom.
Blooming Phase: This phase lasts several weeks, where the stunning flowers make their appearance, generally between 6 to 12 weeks after planting.
Post-Bloom: After the flowers fade and fall off, the plant needs specific care to store energy in the bulb for future blooms.
Step 1: Post-Bloom Care
1. Deadheading Flowers
Once the stunning blooms have died, the first step is to remove any spent flowers. Deadheading is the process of cutting off the spent flowers to encourage the plant to focus its energy on growth instead of seed production.
How to Deadhead Your Amaryllis:
Carefully snip the flower stalk. It’s best to cut close to the base of the stalk.
Avoid removing the green leaves, as they are crucial for photosynthesis.
2. Continue Watering and Feeding
After blooming, your amaryllis will enter a growth phase, especially if you keep it indoors. Here are some key points for care:
Watering: Continue to water your amaryllis regularly. The soil should be kept slightly damp but not soggy. Overwatering can lead to bulb rot. Allow the top inch of soil to dry out before watering again.
Fertilizing: Start fertilizing your amaryllis with a balanced, all-purpose fertilizer every two weeks. A 20-20-20 liquid fertilizer is an excellent choice. This will support leaf growth and help the bulb store energy for the next blooming cycle.
3. Positioning and Light Requirements
After your amaryllis blooms, it needs the right light conditions to thrive.
Light: Amaryllis enjoys bright, indirect sunlight. Placing it near a sunny window is ideal.
Temperature: Keep your plant in a warm area, ideally between 65°F to 75°F (18°C to 24°C).
Avoid Drafts: Keep the plant out of the way of cold drafts to help it remain healthy.
Step 2: Leaf Care
The leaves are crucial for the plant’s recovery and future blooming. Here’s what you need to do:
1. Keeping Leaves Healthy
Do Not Remove Leaves: Leaves are essential for photosynthesis. Allow them to remain until they naturally yellow and die back.
Cleaning Leaves: Occasionally wipe down the leaves to remove dust. This allows the plant to photosynthesize more effectively.
2. Photosynthesis and Energy Storage
As long as the foliage remains green, it is imperative to ensure they receive adequate light and nutrients to store energy in the bulb for future growth. The leaves will begin to yellow and die back naturally as the plant prepares for its dormant phase.
Step 3: Dormancy
Once the leaves begin to yellow, it signals that the amaryllis is ready to enter its dormant phase. Understanding and properly managing this phase is crucial for the plant’s lifecycle.
1. Signs of Dormancy
Leaves yellowing and dying back is a natural sign that the plant is winding down.
The plant may stop growing and focus on resting.
2. Reducing Watering
Once the leaves are nearly gone, reduce watering significantly. Only water the bulb when the soil is entirely dry.
3. Timing for Dormancy
The dormancy period typically lasts about 8 to 10 weeks. This period is necessary for the bulb to rest and prepare for the next blooming cycle.
Step 4: Preparing for Re-Flowering
After the dormancy period, your amaryllis can be coaxed into blooming again. Here are steps to prepare it for the next cycle:
1. Bringing the Plant Back to Life
When you notice the first signs of new growth, it’s time to wake your amaryllis from dormancy. Here’s how to initiate the re-flowering process:
2. Re-potting (Optional)
If your amaryllis bulb has outgrown its pot or if you notice that the soil has depleted nutrients, re-potting is a good idea.
Choosing the Right Pot: Opt for a pot that is only slightly larger than the current one. Amaryllis bulbs prefer snug pots for better blooming.
Soil: Use well-draining potting soil, ideally a mix designed for bulbs or cacti, to provide adequate drainage and nutrients.
3. Resume Watering
As new growth emerges, gradually reintroduce water. Start watering more regularly, ensuring the soil is kept slightly moist but not waterlogged. Increase the watering frequency as the plant starts to leaf out and grow.
4. Reintroducing Fertilizer
Once new leaves start growing, resume feeding with a balanced fertilizer every two weeks. This will support the growth of leaves, which are essential for photosynthesis as the plant builds energy for the next blooming cycle.
5. Light Requirements
During this active growth period, it’s crucial to ensure your amaryllis receives plenty of bright, indirect light. If you have stored your amaryllis bulb in a dark, cool place during its dormancy, now is the time to bring it back into the sunlight.
Step 5: Encouraging Blooming
After your bulb has spent some time growing leaves and gathering energy, it’s time to coax it back into bloom.
1. Creating a Stress Trigger
One effective way to stimulate a second bloom before the end of the season is to mimic the natural triggers that lead to flowering:
Temperature Changes: Maintaining a warmer environment can encourage growth. However, subjecting the plant to slightly cooler temperatures (around 60°F or 15°C) for a short time can also stress it just enough to encourage blooming.
Watering Regimen: Start reducing water slightly to mimic natural conditions. This can trigger the blooming response, but be careful not to stress the plant too much to the point of causing damage.
2. Patience and Observation
Once you’ve put your amaryllis bulb back into active growth mode and made adjustments to its environment, patience is key. Blooms will typically appear within 6-10 weeks after conditions are favorable.
Step 6: Troubleshooting Common Issues
Despite your best efforts, you may encounter some common problems with amaryllis. Here are a few to look out for:
1. Fading Leaves
If your leaves begin to turn yellow prematurely after blooming, it might indicate overwatering or poor lighting conditions.
Solution: Ensure the pot has good drainage, reduce watering, and move the plant to a brighter spot.
2. No Blooms After Re-Flowering
Sometimes, your plant may grow beautiful leaves but not produce flowers. This could be due to insufficient light or a lack of nutrients.
Solution: Ensure it receives adequate light and nutrients during the growing phase, and follow the reevaluation steps for re-blooming.
3. Blooms that Don’t Open
If the buds form but don’t fully open, it could be due to stress from rapid temperature changes or inadequate watering.
Solution: Provide consistent watering and avoid drastic changes in temperature.
4. Pests
Keep an eye out for pests such as aphids or mealybugs, which might threaten your plant’s health.
Solution: Treat with insecticidal soap or neem oil as necessary and ensure proper air circulation to prevent infestations.
Step 7: Long-term Care
After your amaryllis has bloomed and you’ve followed the necessary steps for post-bloom care, it’s important to establish a long-term care routine. Here are some best practices to keep your amaryllis thriving:
1. Rotation
To ensure even growth, rotate your amaryllis pot every few weeks. This will allow all sides of the plant to receive equal light, promoting symmetrical growth.
2. Seasonal Care
During the summer months, it’s acceptable to move your amaryllis outdoors to a protected location. This can give it a boost of sunlight and fresh air. Just remember to bring it back inside as temperatures drop.
3. Regular Maintenance
Keep an eye on water levels, nutrification, and the overall health of the plant. Taking preventive measures, such as applying fertilizer and ensuring appropriate light levels, will keep your amaryllis in great shape.
Conclusion
Caring for your amaryllis after it blooms may seem daunting, but it can be a fulfilling and enjoyable process. With the right techniques and care, you can successfully encourage your amaryllis to flourish year after year. Remember the cycle of blooming and resting, and don’t hesitate to make adjustments based on your plant’s particular needs.


