In this giude, we’ll dig deep into the art of dividing hostas, guiding you through optimal timing, techniques, and care.
Understanding Hostas and Their Growth
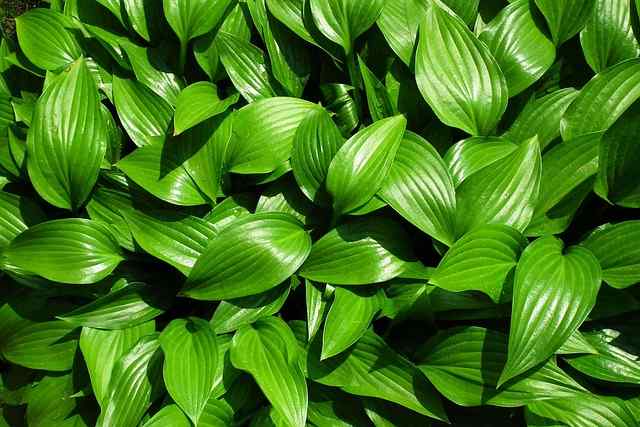
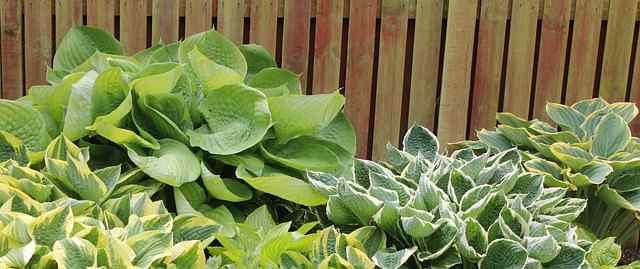
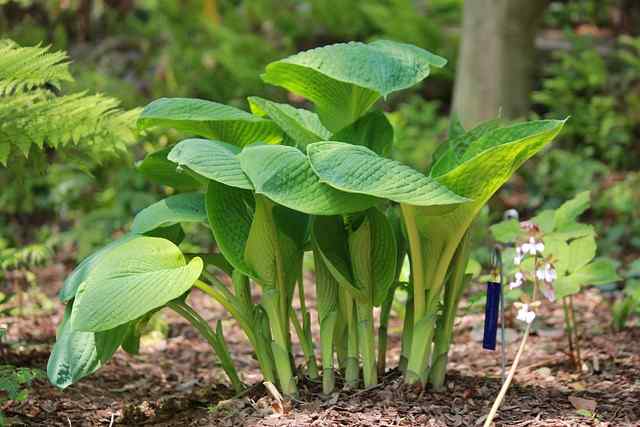
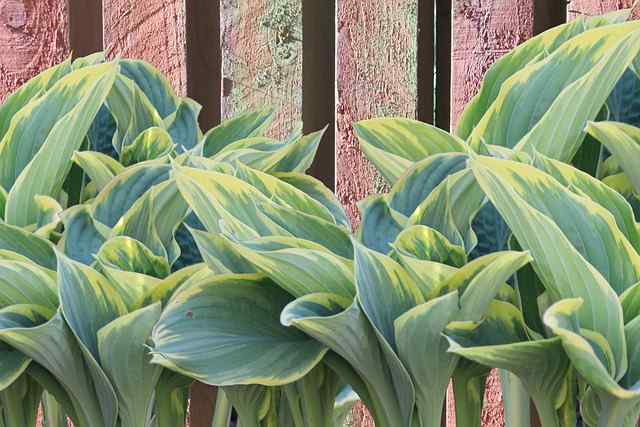
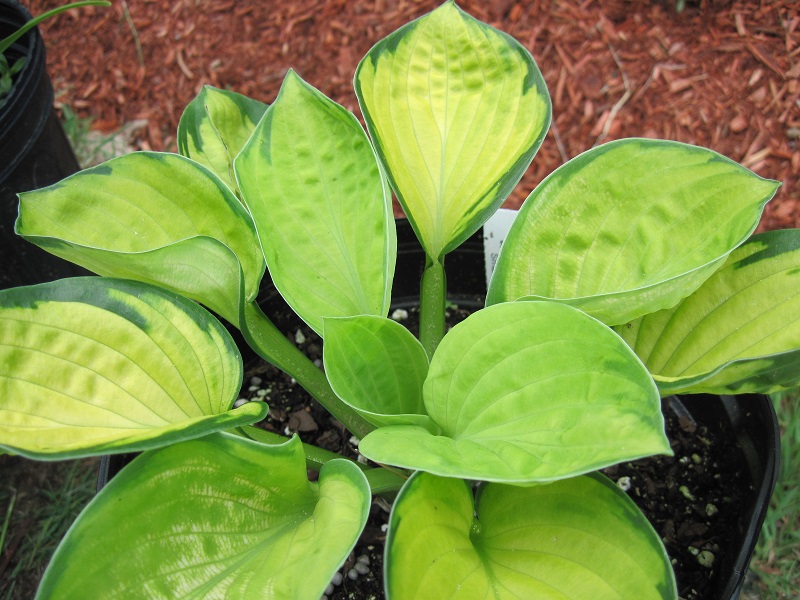
Before we explore the specifics of dividing hostas, it’s important to understand these plants and their growth habits. Hostas are primarily cultivated for their striking leaves, which can range from deep greens to vibrant blues and variegated patterns. They thrive in shade to partial sunlight, making them ideal for woodland gardens or shaded areas of your yard.
As perennial plants, hostas tend to grow in clumps, extending over time as the roots become crowded. Each variety grows at its own pace, influencing when you should consider dividing them. Generally, smaller hostas can be divided every two to three years, while larger varieties may require division every four to five years.
Signs That Your Hostas Need Division
Recognizing when to divide your hostas is essential for maintaining their health and appearance. Here are some signs that indicate it’s time for a division.
1. Crowded Growth
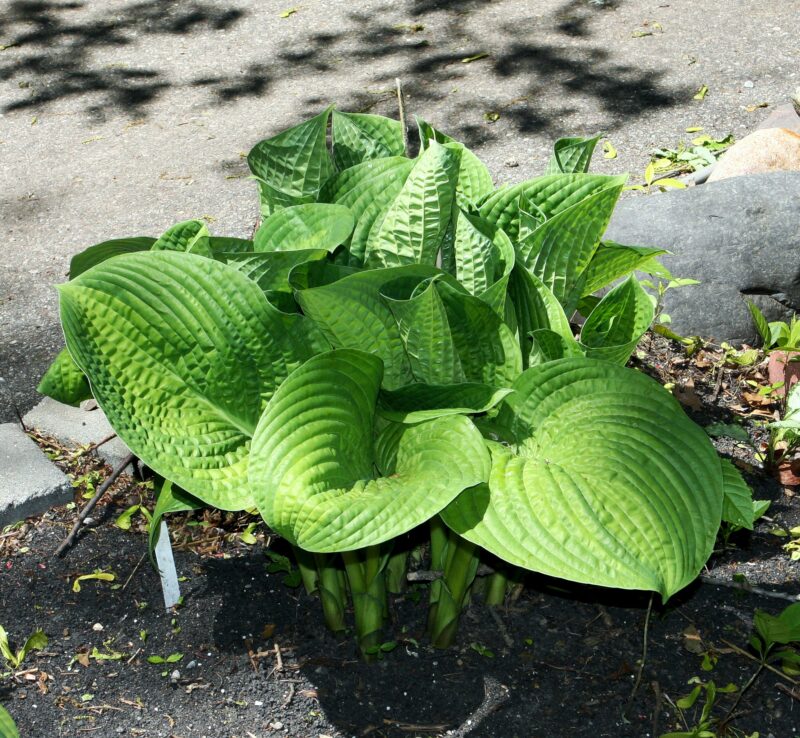
One of the most telltale signs a hosta needs division is when the clump becomes overcrowded. If you notice that your hostas are not performing as well as they used to—exhibiting smaller leaves, fewer blooms, or becoming sparse in the center—this is a clear indication that division is necessary. A crowded root system limits the nutrients and water available to each plant, hampering growth.
2. Center Die-Out
Another common issue in aging hosta clumps is the phenomenon known as “center die-out.” This occurs when the internal parts of the plant begin to die back, resulting in a hollow-looking center. This die-back can be caused by competition for resources within the dense clump. If you observe this, it’s definitely time to divide. Not only will this rejuvenate the plant, but it will also promote healthier growth.
3. Reduced Leaf Size
As hostas mature and their roots become congested, the size of their leaves may diminish significantly. If you previously enjoyed vibrant, large leaves and now notice they are not reaching their full potential, the roots may be seeking more room. Dividing the hosta can enable it to regain its lush, hearty leaves.
4. Thinning Blooms
For those who enjoy the beautiful blooms that hostas produce, a noticeable decrease in flower quantity can be disheartening. In cases where flower production slows down or ceases altogether, consider that the competition for resources among a densely packed clump may be impacting the plant’s ability to produce those lovely spikes of lavender, white, or blue flowers.
5. Propagation Desire
If you’re keen on expanding your hosta collection or sharing plants with gardening friends, division is a practical solution. Dividing healthy, well-established plants can yield multiple offshoots that will flourish in new locations, allowing you to enjoy the beauty of hostas in various spots throughout your garden.
The Ideal Time for Dividing Hostas
Timing is a crucial aspect of successfully dividing hostas. While it’s possible to perform this task at different times of the year, certain periods offer optimal conditions for both the plant and the gardener.
1. Early Spring Division
One of the best times to divide hostas is in early spring, just as new growth emerges but before the summer’s heat. At this time, the soil is generally moist, and the plants are actively growing. Dividing hostas now reinforces their health before they experience the stresses of summer conditions. Be careful, though, not to disturb the plants too much as they begin to unfurl; this might cause undue stress.
2. Late Summer Division
Another suitable time for division is late summer, particularly after the hostas have finished blooming. This allows the plant to focus its energy on root growth during the fall before the winter dormancy sets in. Ensure there’s enough time for the divided plant sections to establish roots before colder temperatures arrive. Late summer division can be particularly beneficial for those who prefer dividing large clumps, as the mature plants are more resilient.
3. Avoiding Stressful Conditions
It’s essential to avoid dividing hostas during periods of extreme heat or drought. Dividing during these times can stress the plants, leading to poor recovery and potential loss of the divided sections. Choosing a cool, cloudy day to undertake the task may also reduce the stress on the plants, making for a smoother transition.
Preparing for the Division Process
Now that you’ve determined the right time to divide your hostas, it’s critical to prepare adequately. Preparation ensures that the process goes smoothly and that your plants have the best chance of thriving after division.
1. Gather Your Tools
Before you begin, gather the necessary tools to ensure a successful division. You’ll typically need:
A sharp spade or garden fork
A hoe (for breaking up compacted soil)
A sharp, clean knife (for cutting through roots)
Watering can or hose
Mulch (to help retain moisture post-division)
2. Assess the Soil
Healthy hostas thrive in rich, well-draining soil. If your soil is compacted or lacks organic matter, consider amending it before dividing. Adding compost or well-rotted manure can improve nutrient availability and promote a healthy environment for newly divided plants.
3. Plan for Replanting
Decide where you want to replant your divided hostas. If you’re merely relocating sections, prepare those spaces by loosening the soil and ensuring they have adequate light conditions based on the variety of hosta.
The Division Process: Step-by-Step Instructions
Once you’re prepared, it’s time to get your hands dirty! Here’s a step-by-step guide to dividing hostas.
1. Water Before Division
A day or two before you plan to divide, provide extra water to the hostas. This helps to hydrate the plant and makes the soil easier to work with.
2. Remove the Plant
Gently dig around the clump, taking care not to damage the roots. Work your way around the plant with a spade or garden fork, loosening the soil. Carefully lift the clump from the ground, being mindful of root integrity.
3. Inspect the Roots
Once out of the ground, take time to inspect the root system. Look for any signs of rot or damage. Healthy roots should be firm and white; brown or mushy roots indicate decay. Trim away any damaged parts with your sharp knife to ensure the plant’s vigor.
4. Split the Clump
Using your hands or a garden fork, gently pull the clump apart. Depending on the size, you may need to slice through the root ball with your knife to create manageable sections. Aim for divisions that have at least two or three viable eyes (the points from which new growth emerges).
5. Prepare New Planting Holes
Dig holes in the prepared spots that are slightly larger than the root ball of each division. Ensure that the depth allows the crown (the point where roots meet the stems) to rest at soil level.
6. Replant and Water
Place each divided section into its respective hole and fill it with soil, firming it gently around the roots. Water thoroughly to settle the soil and help the plant adjust to its new environment.
7. Mulch to Retain Moisture
Apply a layer of mulch around the base of each newly divided hosta. This will help retain moisture, suppress weeds, and regulate soil temperature.
Post-Division Care: Keeping Your Hostas Happy
After you’ve divided and replanted your hostas, they will need some special care to ensure successful establishment.
1. Regular Watering
For the first few weeks after division, keep the soil consistently moist. However, avoid waterlogging, as this can lead to root rot. Checking your plants regularly will help determine their moisture needs.
2. Monitor for Pests and Diseases
Divided hostas can be more susceptible to pests and diseases as they adjust. Keep an eye out for signs of trouble, including aphids or snails, and act promptly if problems arise. Maintaining good airflow and avoiding overhead watering can also help prevent fungal issues.
3. Fertilize Sparingly
While hostas love nutrient-rich soil, over-fertilizing post-division can stress the newly divided plants. A light application of balanced fertilizer can be helpful, but it’s wise to wait until spring before applying a more substantial dose when the new growth begins.
4. Pruning (If Needed)
After a division, if any leaves appear yellow or damaged, it may be a good idea to prune these back. This encourages the plant to focus energy on new growth rather than trying to sustain unhealthy foliage.
5. Patience is Key
It’s important to remain patient after dividing hostas. Established plants may take a season or two before they return to their full glory. Regular care and attention will foster strong growth as they re-establish themselves.
Conclusion: Enjoying Your Beautiful Hostas
Dividing hostas may seem daunting at first, but with proper timing, preparation, and care, it can be an immensely rewarding process. In nurturing these resilient plants back to health after division, you not only enrich your garden visually but also embed a sense of accomplishment.