
This guide will walk you through everything you need to know about the optimal timing for planting Black Eyed Susans, along with some useful tips for care and maintenance.
Understanding Black Eyed Susans and Their Growing Habit
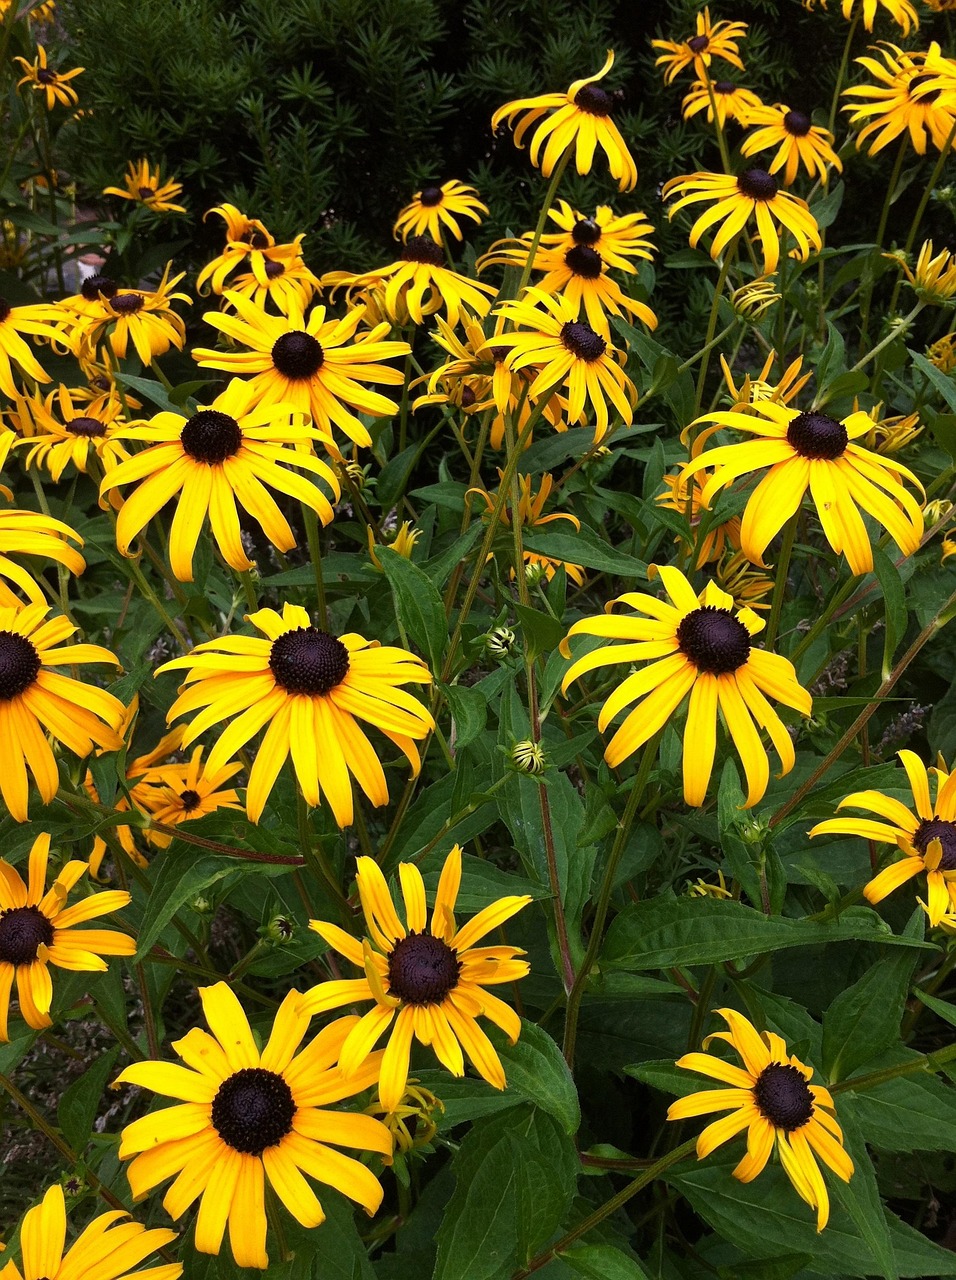
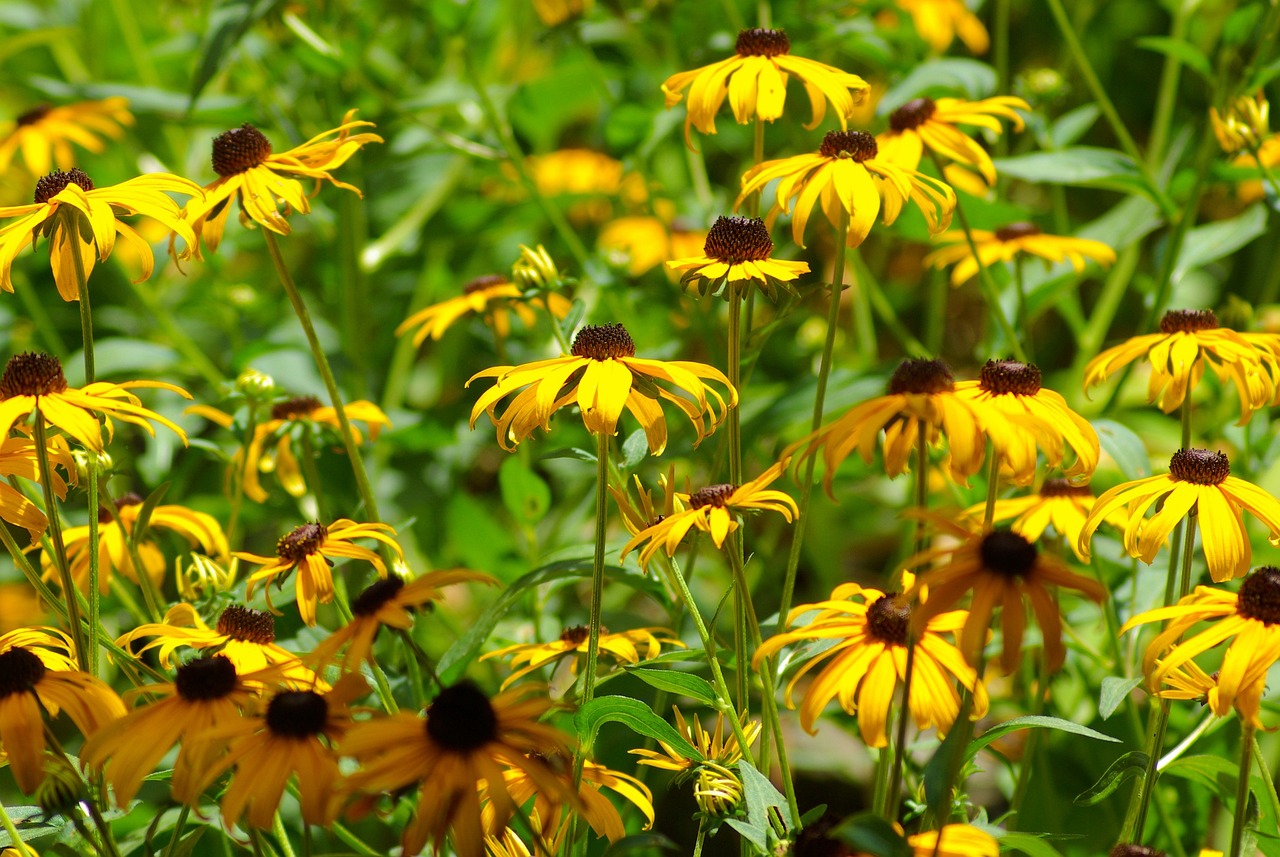
Before diving into the specifics of planting, it’s important to understand what Black Eyed Susans are and their requirements. These perennial plants are native to North America and are generally known for their easy-going nature and resilience. They thrive in a variety of conditions, but they do have preferences that can affect your planting schedule.
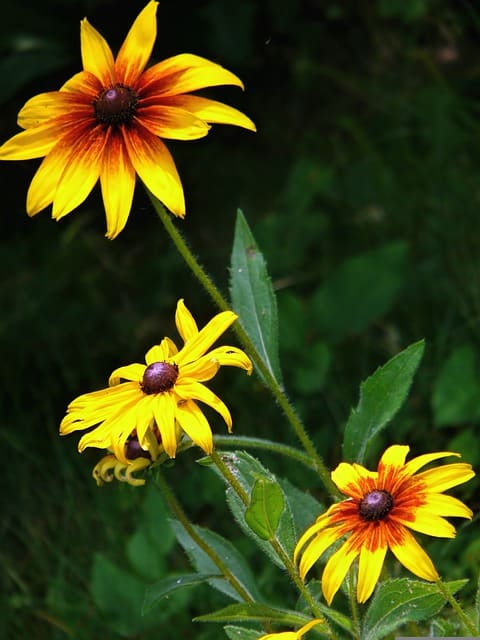
Black Eyed Susans are typically classified as biennials or short-lived perennials. They flower through the summer into early autumn, attracting pollinators like bees and butterflies—important companions that help your garden flourish. Their vibrant flowers can grow to be anywhere from two to three feet tall, standing proudly in borders, cottage gardens, or even meadows.
Let’s explore the ideal timing for planting them to ensure you maximize their beauty.
When to Plant Black Eyed Susans

Spring Planting
For most gardeners in the United States, spring is the best season for planting Black Eyed Susans. As a general rule of thumb, you want to start planting after the last frost date in your area. This is typically around late March to early May, depending on your climate zone. Here are the specifics:
Cool Climate Zones (3-5): For northern regions where winters are longer and harsher, aim to plant Black Eyed Susans in late May. The soil should be consistently warm, around 65°F (18°C) or higher.
Moderate Climate Zones (6-7): In moderate climates, early to mid-April is ideal. The winters are milder, allowing for earlier planting and a longer growing season.
Warm Climate Zones (8-9): If you live in a warmer zone, mid-March is often a good time to plant. However, keep an eye on any lingering frost.
By planting in the spring, you give the plants a full growing season to establish themselves and perform at their best when it comes time to bloom.
Fall Planting
An alternative approach is to plant your Black Eyed Susans in the fall, which can also be successful. This method is particularly beneficial in warmer climates where winters are less harsh. Here are some pointers for fall planting:
Timing: Aim to plant in September or early October, giving your plants enough time to establish roots before the ground freezes.
Mulching: Consider applying mulch after planting to protect the roots from cold temperatures. This also helps retain moisture in the soil.
Fall planting can sometimes lead to an earlier bloom the following season, as the plants will have already established a good root system during the winter months, provided they receive adequate protection from frost.
Preparing Your Planting Site

Regardless of when you choose to plant, site preparation is key to the overall success of your Black Eyed Susans. Here are important steps to consider:
Choosing the Right Location
Black Eyed Susans prefer full sun, meaning they thrive in locations that receive at least six hours of direct sunlight a day. Look for a spot that fits this requirement. Additionally, they do well in a variety of soil types, although well-drained soil rich in organic matter is ideal.
Soil Testing
Conduct a simple soil test to determine nutrient levels and pH. Black Eyed Susans thrive in slightly acidic to neutral soils (pH 6.0-7.0). You can easily improve your soil’s quality by incorporating compost or other organic materials.
Clearing the Area
Prior to planting, clear your chosen site of any weeds, rocks, or debris. This allows your flowers to compete less for resources and establishes a healthier growing environment.
Planting Techniques
Now that your site is ready, it’s time to get your hands dirty. Here’s how to successfully plant your Black Eyed Susans:
Seeds vs. Transplants: You can either start from seeds or purchase young plants from a nursery. If using seeds, start them indoors 6-8 weeks before your last frost date. Alternatively, you can sow seeds directly into the ground as soon as the weather warms up.
Spacing: If planting transplants, space them about 12-18 inches apart. This allows for good air circulation and minimizes disease risk.
Planting Depth: Whether you’re planting seeds or transplants, place seeds about a quarter inch deep and transplants at the same depth they were growing in their pots.
Watering: After planting, water your new Black Eyed Susans well to settle the soil around the roots. Be careful not to overwater, as they prefer well-drained conditions.
Caring for Your Black Eyed Susans

Once you’ve successfully planted your Black Eyed Susans, it’s important to know how to care for them throughout the growing season to achieve those vibrant blooms you’re after.
Watering Requirements
During the first growing season, ensure that your Black Eyed Susans receive consistent moisture, especially during dry spells. Once established, they have some drought tolerance but will benefit from regular watering—particularly during blooming periods.
Fertilization
While Black Eyed Susans are not heavy feeders, an application of a balanced, slow-release fertilizer in early spring can give them a boost. Avoid overly rich fertilizers, as this can lead to excessive foliage at the expense of flowers.
Deadheading and Pruning
To encourage prolonged blooming, deadhead spent flowers regularly. This not only makes your plants look tidy, but it also encourages more flowers to form. Furthermore, pruning back the plants in late fall can help control their size and keep them healthy.
Pest and Disease Management
While generally robust, Black Eyed Susans can be susceptible to certain pests and diseases, including aphids and powdery mildew. Regularly inspect your plants, and use organic pest control methods if necessary. Enhanced air circulation through proper spacing and pruning can minimize the risk of disease.
Companion Planting with Black Eyed Susans
When planning your garden, consider what other plants can thrive alongside your Black Eyed Susans. They make wonderful companions for a variety of perennials and annuals, such as:
Coneflowers: Both species attract similar pollinators and create a stunning visual when planted together.
Daylilies: The contrasting foliage and flowering times harmonize well in a mixed border.
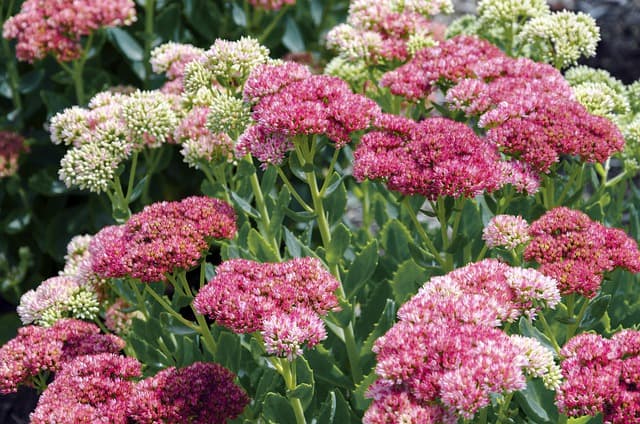
Sedum: Their drought tolerance aligns with Black Eyed Susans, creating a resilient landscape.
Companion planting not only enhances the aesthetic of your garden but also promotes biodiversity and pest control, creating a more vibrant and healthy ecosystem.
Propagation and Division
If you’ve successfully grown Black Eyed Susans and are looking to expand your garden, propagation through division is a simple process. Typically, this is done in the early spring or early fall:
Remove the Plant: Dig up the entire plant, being careful to retain as many roots as possible.
Divide the Root Ball: Use a sharp knife or spade to cut the root ball into smaller sections. Each section should have healthy roots and some foliage.
Replant: Replant the divisions in your garden, spacing them appropriately.
This method not only allows you to expand your garden but can also rejuvenate older plants that may have become crowded.
Conclusion: Embrace the Beauty of Black Eyed Susans
In conclusion, planting Black Eyed Susans is a rewarding endeavor that can greatly enhance any garden or landscape. With their cheerful blooms and adaptability, they offer a beautiful visual that echoes the joy of summer.