In this guide, we will cover all the aspects of planting green beans, covering the ideal timing, the best practices, and tips for successful growth throughout the season.
Understanding Green Beans
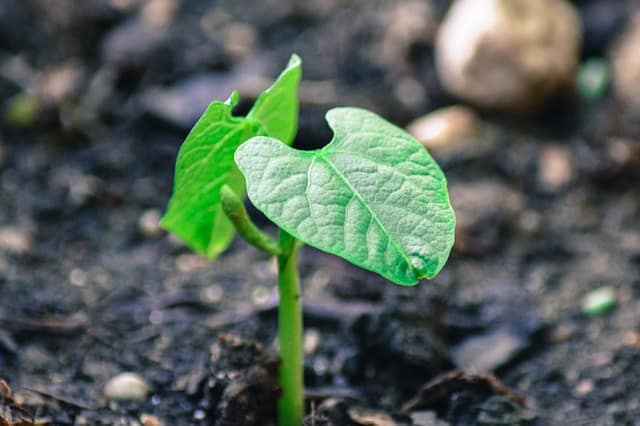
Before we dive into the specifics of when to plant, let’s take a moment to appreciate green beans themselves. Belonging to the Phaseolus vulgaris family, green beans are a warm-season crop that thrives in sunny environments. Depending on the variety, green beans can be bush type, which grows compactly, or pole type, which climbs tall trellises and needs support. Understanding these distinct types will help you better plan your garden layout and planting schedule.
The Importance of Timing
Timing is crucial when it comes to planting green beans. These beans are sensitive to temperature, and their growth can be hindered if they are planted too early or too late in the season. Typically, green beans do best when the soil temperature reaches at least 60°F (15°C). This guideline not only assures healthy germination but also helps protect your plants from unexpected frost, which can stifle growth.
Ideal Planting Dates
Determining the right planting date for your green beans requires taking into account your local climate and the last frost date in your area. Here’s how to figure that out:
1. Know Your Local Climate
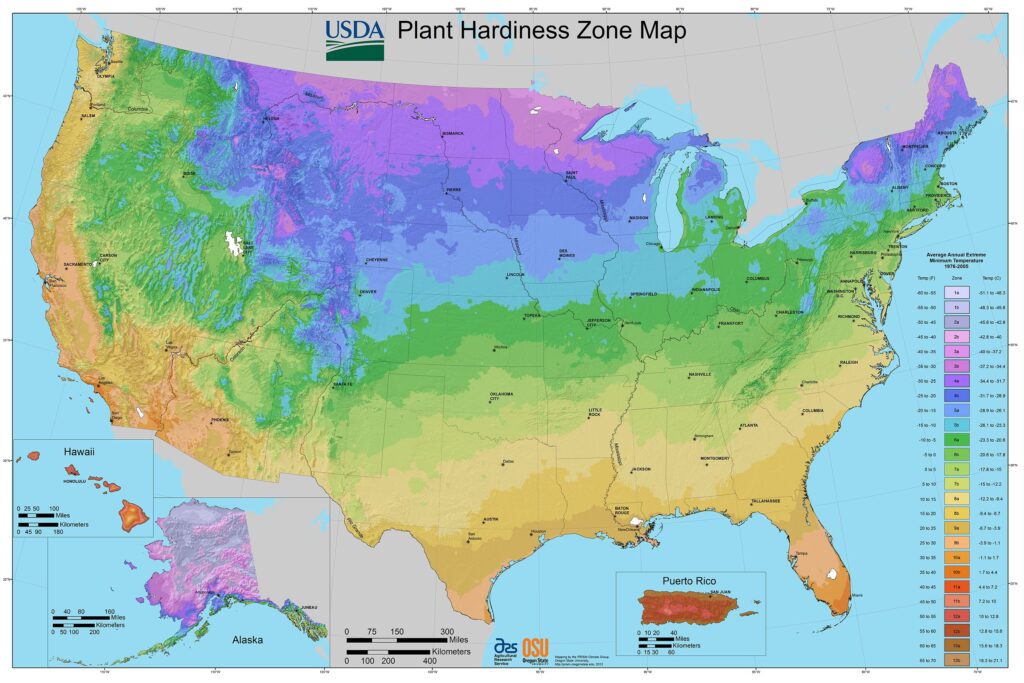
Green beans thrive in warm weather, preferring a consistent temperature range between 70-85°F (21-29°C). In most temperate zones in the United States, the best time to plant green beans is from mid-spring through early summer. For instance, if you live in USDA Hardiness Zones 5-7, you can generally plant your beans from mid-May to mid-June. In warmer climates, like Zones 8-10, you may want to consider planting them as early as late March.
2. Check the Last Frost Date
Knowing the last frost date is pivotal for successful planting. Typically, you can find this information through local agricultural extensions or gardening resources. Once you have this date, you can plan to plant green beans about 1-2 weeks after it. This timing ensures that soil temperatures are adequate for germination and that young plants won’t be damaged by late frosts.
3. Adopt Succession Planting
If you’re looking to enjoy green beans for an extended period, consider succession planting. This approach involves planting new seeds every few weeks throughout the growing season, allowing for a staggered harvest. For example, you might plant your first batch in mid-May, with subsequent sowings every two to three weeks until late June. This method not only maximizes yield but also means you’ll have fresh beans to enjoy all summer long!
Preparing the Soil for Green Beans

Once you’ve determined the right time to plant your green beans, the next step involves preparing the soil to provide optimal growing conditions.
1. Soil Quality and Type
Green beans thrive in well-draining, loamy soil that is rich in organic matter. Aim for a soil pH between 6.0 and 7.0. Testing your soil with a home kit can help you better understand its properties and any amendments you might need to make.
2. Amendments
If your soil is lacking in nutrients or organic content, it’s advisable to amend it with compost or well-rotted manure. Spreading a layer of compost over your garden bed and mixing it into the top few inches of soil will create a nutrient-dense environment for your beans. This helps to encourage robust growth right from the start.
3. Tillage
Before planting, ensure the soil is loose by tilling. This allows for better root penetration and airflow, which is crucial for the growing plants. Aim for a tilled depth of at least 6-8 inches to ensure that the soil is adequately aerated.
Choosing the Right Varieties
To truly optimize your green bean harvest, it’s beneficial to know the varieties that grow best in your region and season. Here are a few popular options:
1. Bush Beans
These varieties are compact and ideal for home gardens. Varieties like ‘Blue Lake’ and ‘Provider’ mature quickly, often in 50-60 days, making them a great choice for early summer. Bush beans do not require support, making them easier to manage in smaller garden spaces.
2. Pole Beans
Pole beans, such as ‘Kentucky Blue’ and ‘Scarlet Runner,’ require vertical supports like trellises. While they take slightly longer to mature—around 60-75 days—they often yield more than bush beans since they can grow upwards. This is ideal for maximizing space and adding vertical interest to your garden.
3. Specialty Varieties
Consider exploring heirloom or specialty varieties if you want to grow something unique. Varieties like ‘Dragon Tongue’ or ‘Pencil Pod Black Wax’ add diversity to your garden both visually and in flavor.
Planting Techniques
Now that you’ve decided on the variety and prepared your soil, it’s time to delve into the planting process itself.
1. Sowing Seeds
Plan to plant green beans about 1-2 inches deep and 3-4 inches apart. For bush varieties, you can sow them in rows spaced about 18 inches apart. If you’re planting pole beans, consider setting up your trellis before planting to avoid disturbing the roots later.
2. Watering
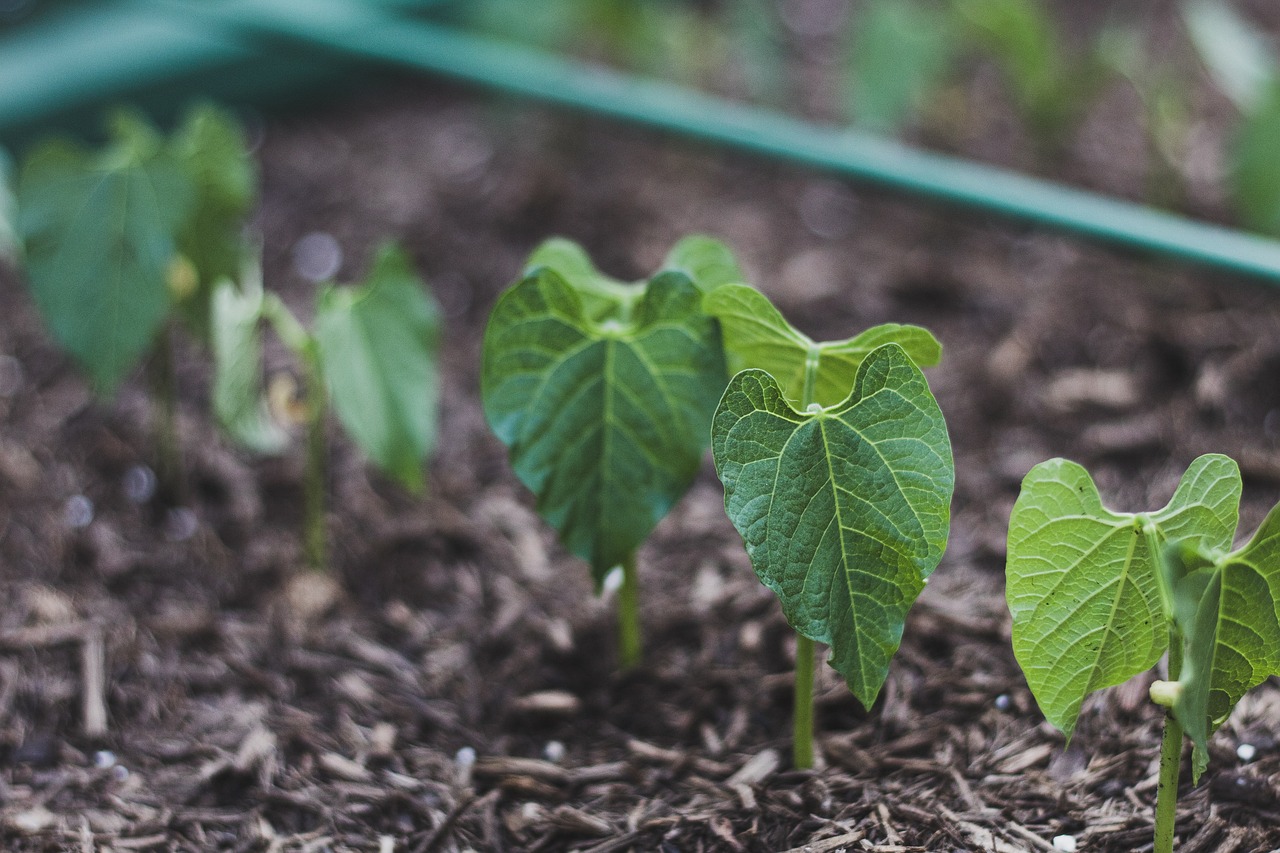
After sowing, water the area gently but thoroughly to ensure the seeds settle in properly. During the germination period (typically 7-14 days), it’s essential to keep the soil consistently moist, but not waterlogged. Once the seedlings emerge, you can decrease frequency but still ensure they receive sufficient water once the top inch of soil becomes dry.
3. Mulching
Applying mulch around the seedlings helps retain soil moisture, suppresses weeds, and maintains an even soil temperature. Organic matter such as straw or grass clippings can work wonders for keeping your beans healthy.
Caring for Your Green Beans
After planting, caring for your green beans becomes paramount for promoting vigorous growth and maximizing yields.
1. Fertilization
Although beans can fix their own nitrogen to some extent through symbiotic relationships with soil bacteria, they still appreciate a little help. A balanced fertilizer with equal ratios of nitrogen, phosphorus, and potassium applied 3-4 weeks after planting can boost growth. However, be cautious with nitrogen-heavy fertilizers as they can lead to lush foliage with fewer beans.
2. Pest Control
Monitor for pests like aphids, spider mites, and bean beetles, which can be detrimental to your plants. Natural predators such as ladybugs can help manage aphid populations. You can also use neem oil sprays or insect soap to control infestations if necessary.
3. Supporting Growth
For pole beans, ensure to train them to climb their trellises. This can be done gently by guiding them towards the support structure as they grow. The more vertical space they have, the more productive they will be.
Harvesting Your Green Beans
After all your hard work, the moment arrives for you to reap the rewards of your labor. But when exactly should you harvest your green beans?
1. Timing the Harvest
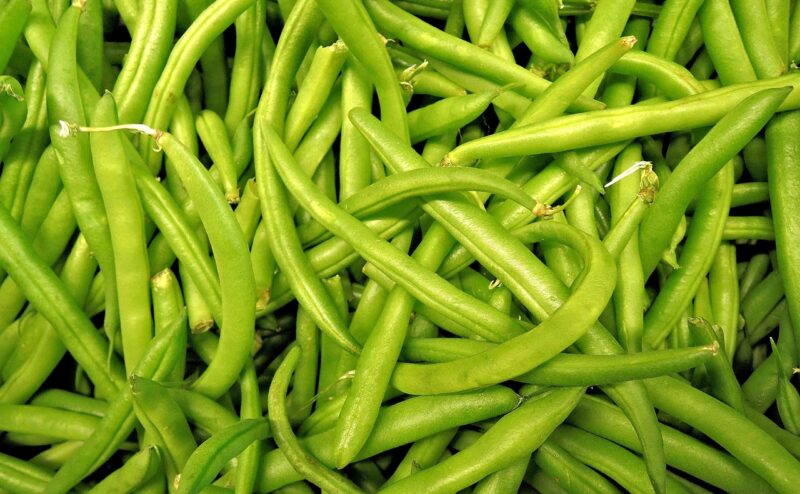
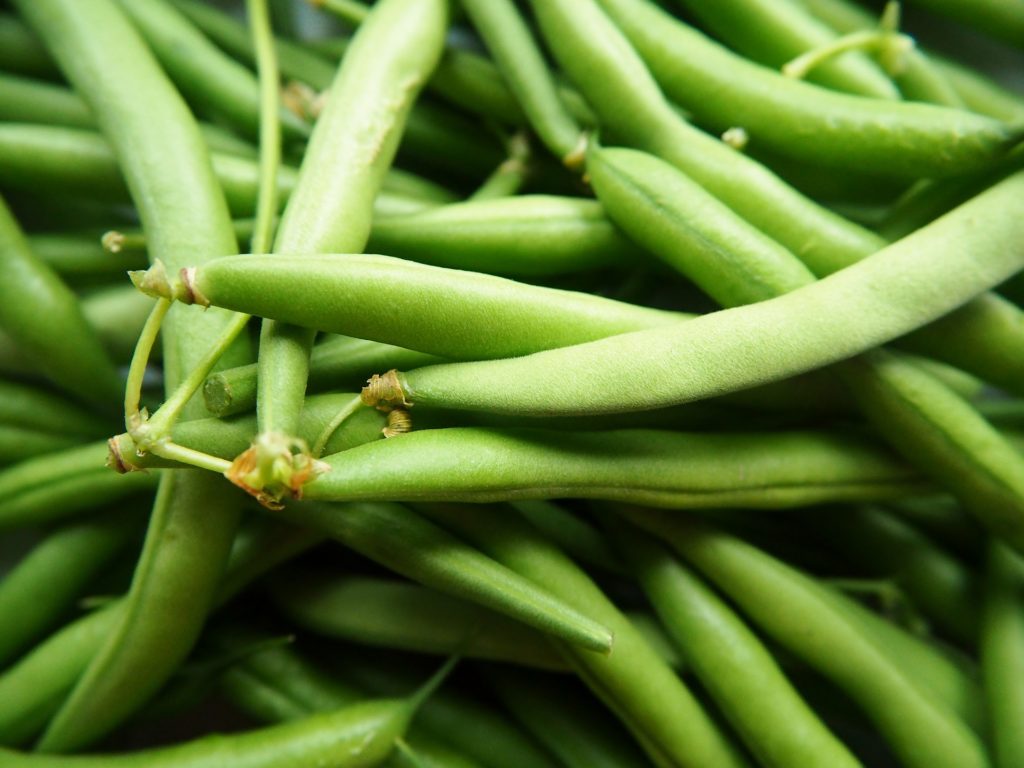
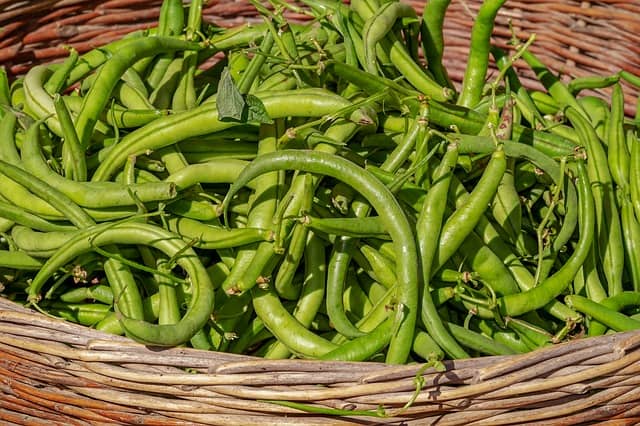
Green beans are best harvested when they are young and tender. This is generally when the pods are firm and have a vibrant green color, usually 4-6 inches in length depending on the variety. At this point, the seeds inside should not be bulging too much, as over-matured beans can become tough and fibrous.
2. Techniques for Harvesting
Use garden scissors or pruners to cut the beans off of the plant, taking care not to damage the branches. Harvesting in the morning when the plants are still hydrated can help ensure crisp beans.
3. Encouraging Continuous Growth
Regular harvesting promotes continued production, encouraging the plants to produce more beans throughout the season. Aim to check your plants every few days, and the more you harvest, the more you will enjoy.
Conclusion: Embracing the Green Bean Journey
Planting green beans can be a rewarding experience, from the anticipation of the seeds sprouting to the joy of harvesting your first batch. By understanding when to plant green beans based on your climate, preparing your soil properly, and providing ongoing care, you can enjoy fresh, crunchy beans all summer long.