In this guide, we’ll cover the timing, techniques, and tips that will help you successfully grow these beauties.
Understanding Hollyhocks: A Brief Overview
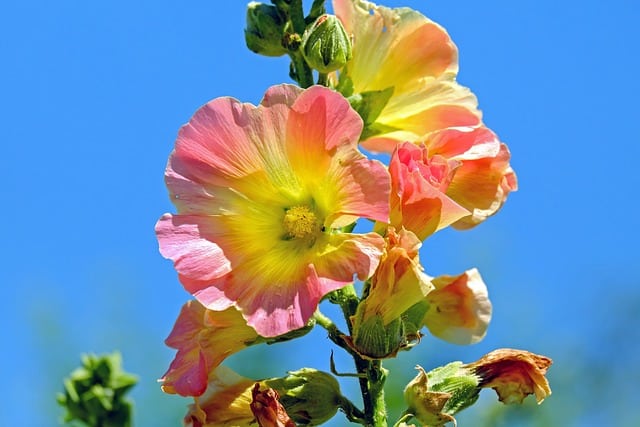
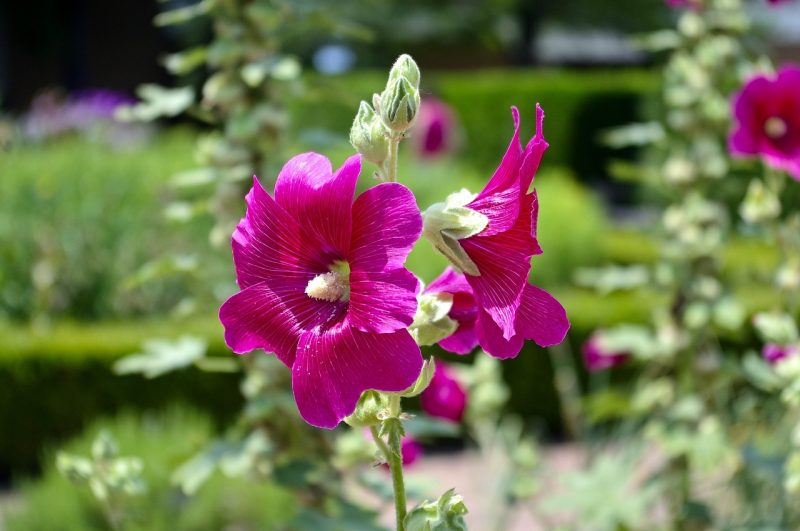
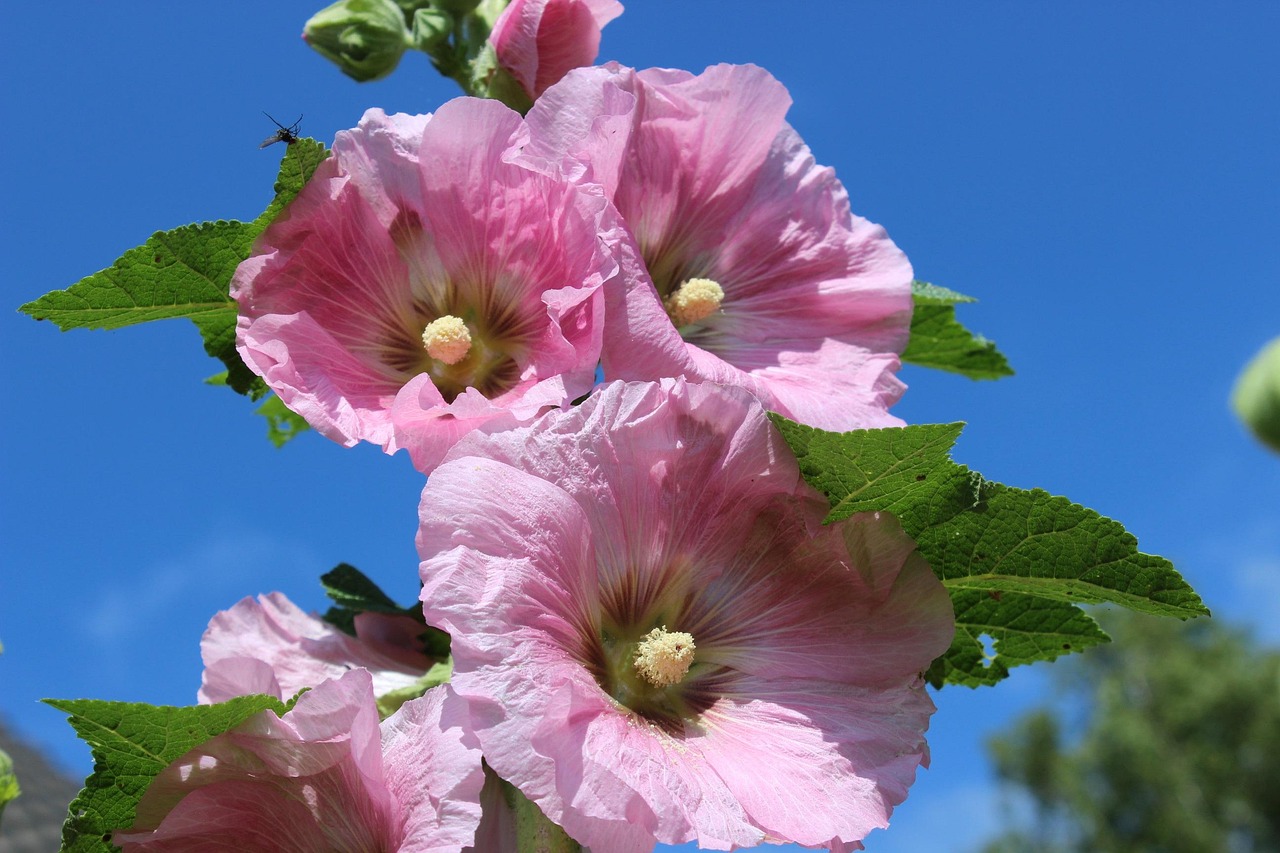
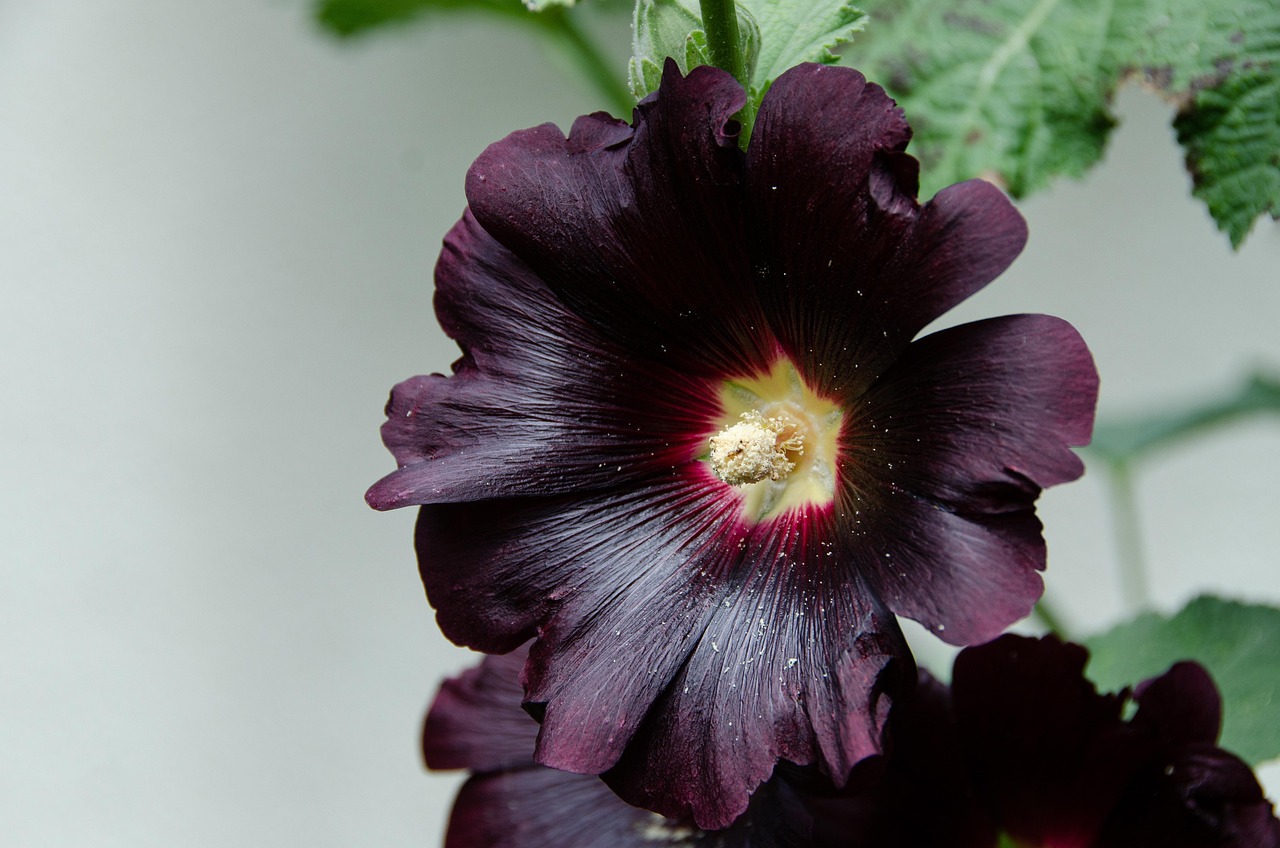
Before diving into the specifics of planting, it’s important to understand what hollyhocks are and why they are loved by gardeners. Hollyhocks (Alcea rosea) are biennials or short-lived perennials that belong to the Malvaceae family. They can reach heights of 6 to 8 feet and are characterized by large, cup-shaped flowers that come in a variety of colors, including pink, white, yellow, red, and purple.
Hollyhocks are typically grown for their ornamental value and can be found in many traditional gardens. They bloom in the summer and provide a striking vertical accent along fences, walls, and borders. The plants also attract pollinators and can enhance biodiversity in your garden.
The Ideal Time to Plant Hollyhock Seeds
Spring Planting
The most common time to plant hollyhock seeds is in the spring, after the last frost has passed. Since hollyhocks are sensitive to frost, it’s crucial to wait until the risk of frost has diminished in your area. In many regions, this means planting seeds from late March to early June.
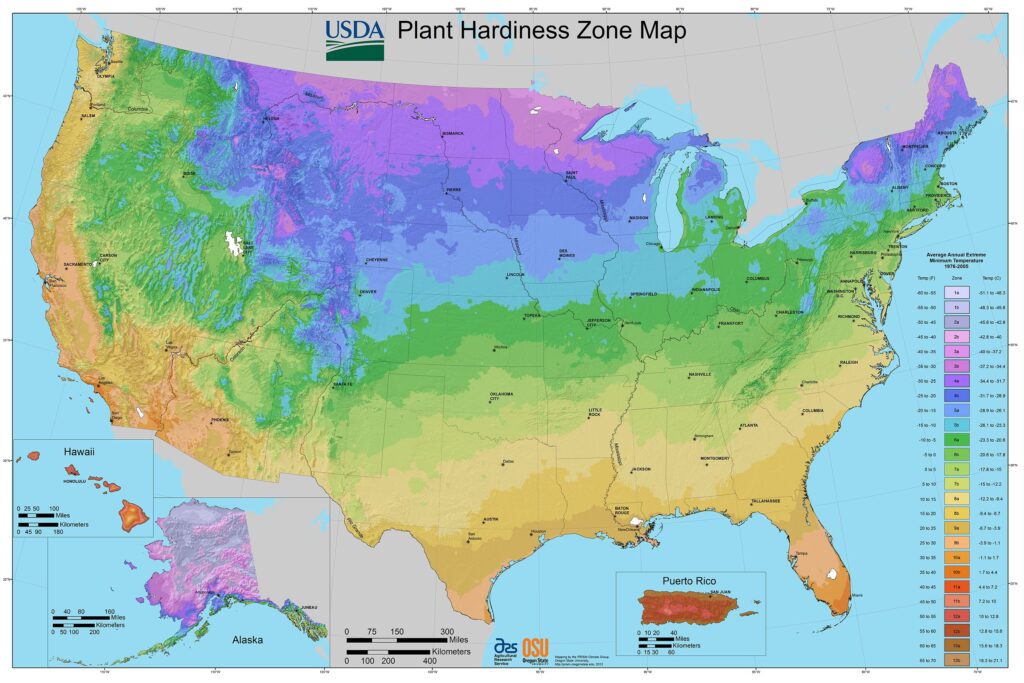
Understanding Your Zone: Before planting, it’s important to check your USDA hardiness zone. This will give you insight into your local climate and the ideal planting window. Generally, if you live in Zones 3 to 7, aim to plant your hollyhock seeds in late April to early June. For Zones 8 and above, you might be able to plant as early as March.
Fall Sowing
While spring is the most popular time to plant hollyhocks, fall planting can also be beneficial in certain climates. Many gardeners choose to sow seeds in the fall (September to early November in most regions) to allow for natural stratification and a head start in spring.
The Benefits of Fall Planting: When you plant hollyhock seeds in the fall, they benefit from the cold winter temperatures, which can help break the seed dormancy. This often leads to more vigorous growth in early spring. However, this method is best suited for warmer zones where winter temperatures won’t destroy the seedlings.
Preparing Your Garden for Hollyhocks

Choosing the Right Location
Selecting the right spot for hollyhocks is critical. They thrive in full sun and require a minimum of 6 hours of direct sunlight each day. Choose a location that is sheltered from strong winds, as hollyhocks can grow tall and may need a supportive structure nearby.
Soil Preparation
Before planting, ensure your soil is well-draining and rich in organic matter. Hollyhocks prefer slightly alkaline soil, ideally with a pH of 6.0 to 7.0.
Soil Testing: Conduct a soil test to determine pH and nutrient levels. Based on the results, you may need to amend your soil with lime to raise the pH or add compost to improve texture and fertility.
Tilling and Fertilizing
Loosen the soil to a depth of at least 12 inches. Incorporate well-rotted compost or organic matter to enhance nutrient levels. Adding a balanced fertilizer can also promote robust seedling development.
How to Sow Hollyhock Seeds
Direct Seeding vs. Indoor Seed Starting
You have two primary methods for sowing hollyhock seeds: direct seeding outdoors or starting seeds indoors.
Direct Seeding Outdoors
Seed Spacing: Once your soil is prepared and the threat of frost has passed, you can sow your seeds directly into the garden. Plant them about ¼ inch deep and space them about 12 to 18 inches apart, as the plants will need room to grow.
Watering: After sowing, water the seeds lightly to ensure good contact with the soil. Be careful not to wash away the seeds.
Mulching: Applying a light mulch layer can help retain soil moisture and suppress weed competition.
Starting Seeds Indoors
Timing: If you choose to start your hollyhock seeds indoors, aim to start them about 6-8 weeks before the last frost date in your area.
Seed Packs or Containers: Fill seed trays or pots with a quality seed-starting mix. Place the seeds about ¼ inch deep into the soil.
Optimal Conditions: Keep the trays in a warm location with bright indirect sunlight or under grow lights. Maintain consistent moisture without over-saturating the soil.
Transplanting: Once the seedlings develop a few true leaves and after the risk of frost has passed, they can be transplanted outdoors.
Caring for Your Hollyhocks After Planting
Watering Requirements
Hollyhocks prefer consistent moisture, especially during dry spells. However, they do not tolerate soggy soil. Water deeply once or twice a week, depending on rainfall, to encourage deep root growth.
Fertilization Tips
Once the seedlings are established, a light application of fertilizer in mid-summer can support blooming. Use a low-nitrogen fertilizer, as too much nitrogen can lead to lush foliage at the expense of flowers.
Pest and Disease Management
Hollyhocks can be susceptible to a few pests, including aphids and Japanese beetles, as well as diseases like rust. Regular monitoring is key.
Natural Remedies: Consider planting companion plants such as marigolds, which can repel pests. If you spot aphids, a strong spray of water or a mixture of soap and water can help control them.
The Lifecycle of Hollyhocks
Understanding the lifecycle of hollyhocks can help you appreciate their beauty as well as anticipate the timing for care:
Year One: Growth Phase
From the moment they germinate, hollyhocks establish a strong root system in their first year. While you may see little if any blooms during the first year, don’t be discouraged. Focus on watering, weed management, and fertilization for healthy growth.
Year Two: Blooming Phase
By the second summer, hollyhocks will typically burst into a flurry of blooms. The flowers open from the bottom of the spike upwards, creating a spectacle that can attract bees and butterflies. Be patient and relish in the reward of your efforts.
Self-Seeding: Ensuring the Future of Your Garden
Hollyhocks are generous self-seeders, which means they can produce seeds that will sprout into new plants the following season. If you choose to let them, you’ll create a recurring cycle of beautiful blooms in your garden.
Climate Considerations
Cool Climates
In cooler regions, focus on spring planting and ensure that any young hollyhocks are protected from frost with floating row covers if necessary.
Hot Climates
In hotter climates, the heat can be intense in mid-summer, causing flowers to wilt. Providing afternoon shade or ensuring adequate watering can help hollyhocks thrive in extreme temperatures.
Troubleshooting Common Issues
Poor Germination
If your seeds don’t seem to be germinating, check the following:
Ensure seeds were sown at the correct depth.
Check soil moisture; it should be moist but not overly wet.
Verify that the seeds haven’t been damaged by wildlife or pests.
Growth Problems
If your hollyhocks are growing poorly, it could be due to nutrient deficiency. Yellowing leaves can signal a lack of nitrogen, while stunted growth may indicate a need for phosphorus.
Conclusion: The Perennial Favorite
Hollyhocks bring an old-world charm and vibrant beauty to any gardening space. By understanding when to plant hollyhock seeds and the essential aspects of their care, you’ll cultivate these stunning blooms with ease. With the right preparation, patience, and attention, your garden can flourish with these towering perennial favorites, giving you joy for seasons to come.