In this guide, we’ll explore the details of planting hostas, including the optimal timing, methods for preparing your garden, and tips for ensuring their health and vibrancy.
Understanding Hostas: The Basics
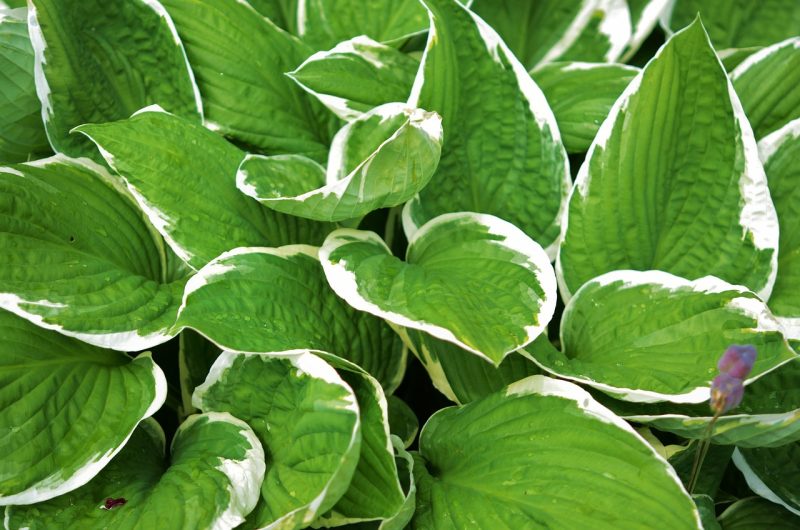
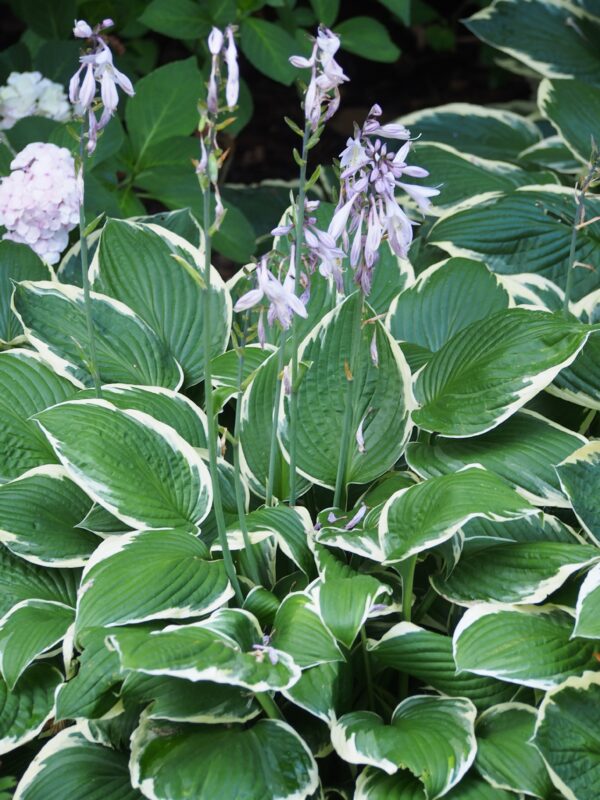
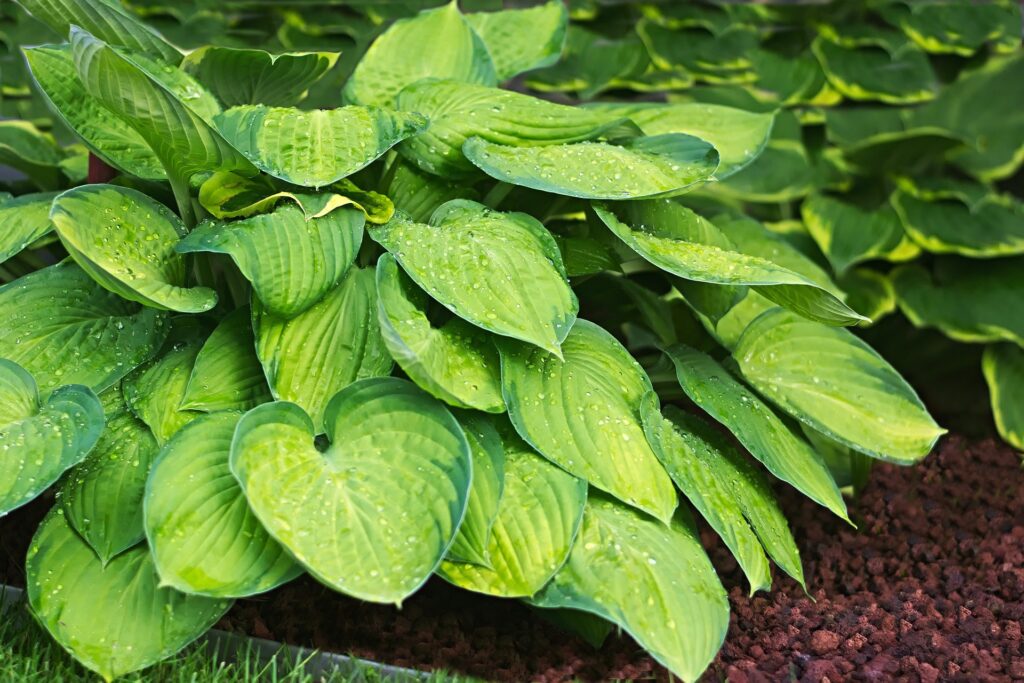
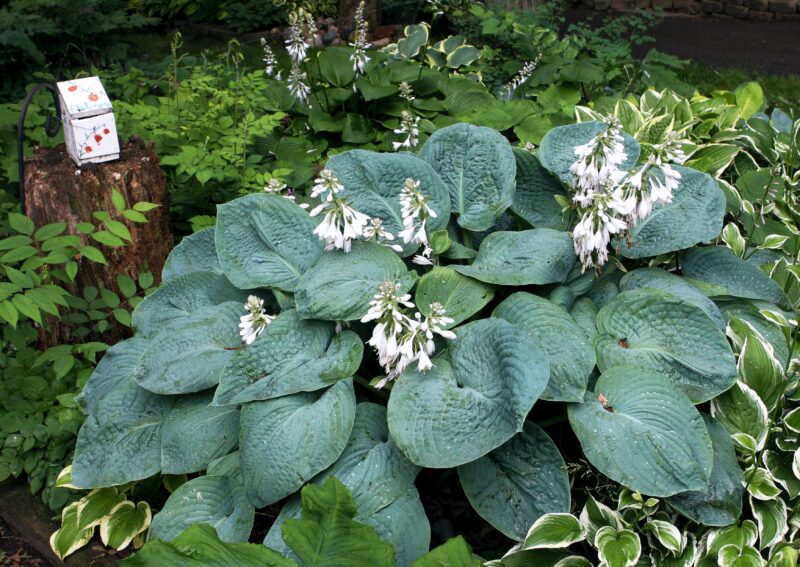
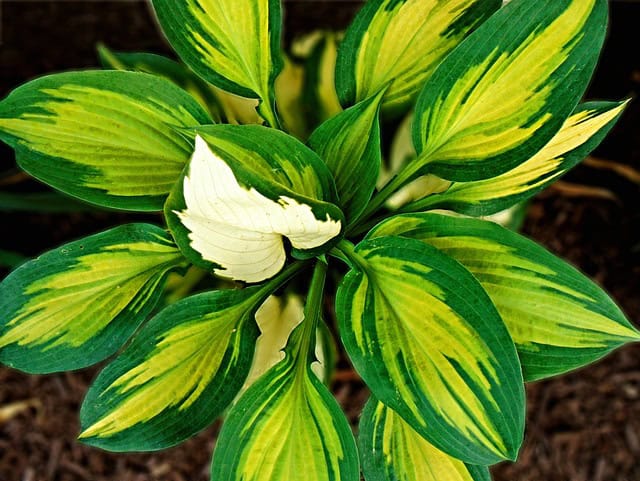
Before we delve into the specifics of planting timing, let’s take a moment to appreciate what makes hostas such prized additions to gardens. Known scientifically as Hosta spp., these plants are native to the lush, shadowy forest floors of East Asia. They come in a stunning array of sizes, colors, and leaf textures, ranging from deep greens to variegated shades of cream, yellow, and blue.
Hostas are particularly valued for their resilience and adaptability. They can handle a range of light conditions but prefer partial to full shade, making them ideal for areas that receive dappled sunlight or are completely shaded by trees and buildings. As perennials, hostas die back in the winter and re-emerge in the spring, showcasing their foliage throughout the growing season.
The Ideal Time to Plant Hostas
Spring Planting: A Fresh Start
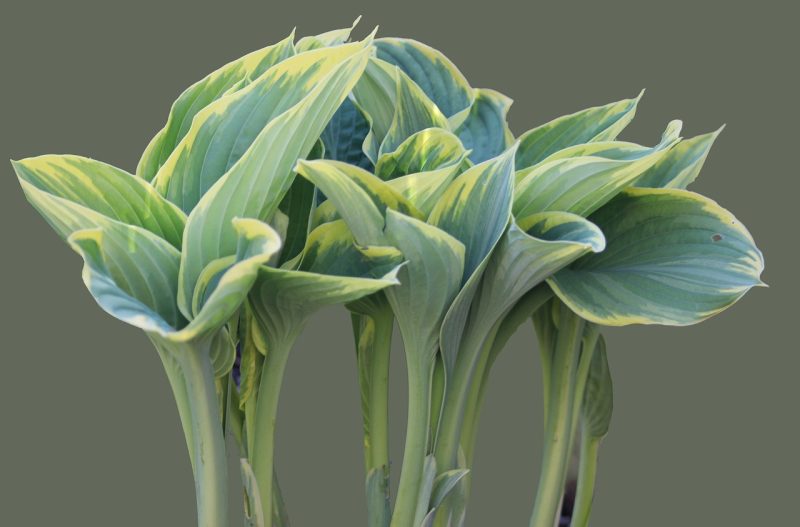
For many gardeners, the best time to plant hostas is in the spring, typically between late April and early June. This time frame allows the plants to establish their roots before the heat of summer arrives. When the soil temperature consistently reaches around 60°F (15.5°C), it’s an excellent signal that hostas can be safely planted.
Transplanting in spring gives gardens the chance to flourish, as spring rains and mild temperatures encourage robust growth. Additionally, planting during this period allows the hostas to settle in before the onset of warmer weather, helping them adapt to their new environment.
Timing Considerations: Planting During Fall
While spring is the most common planting season, fall also presents a unique opportunity to introduce hostas into your garden. Late summer to early fall — particularly September to mid-October — is another ideal timeframe. The reason for this lies in the cooling temperatures that promote root development without the stress of high heat.
When planting in the fall, it’s essential to do so before the ground freezes. This allows the hostas to establish a healthy root system that will support their growth in the following spring. The key is to time your planting a few weeks before the first expected frost to give your hostas the best chance to survive.
Regional Variations
Timing can vary significantly based on your geographical location. For instance, in warmer climates, hostas might emerge earlier in spring, while in cooler regions, waiting until May might be more appropriate. Knowing your hardiness zone helps immensely. Research local first and last frost dates to tailor your planting schedule accordingly.
Preparing for Planting Hostas
Selecting the Right Location
Choosing the right site for your hostas is essential for their success. As we mentioned earlier, these plants thrive in shady conditions, preferably with protection from harsh afternoon sun. When scouting for the perfect spot, consider areas under trees or along north-facing walls where the soil remains moist and cool.
Soil Requirements
Hostas flourish in rich, well-draining soil with a significant amount of organic matter. Before planting, prepare your bed by amending the soil with compost or well-rotted manure to boost nutrient levels. Hostas prefer a slightly acidic to neutral pH (between 6.0 and 7.5). Conducting a soil test can provide insightful information about its current state and any necessary amendments.
Site Preparation Steps
Clear the Area: Remove any weeds, rocks, and debris from the spot you’ve chosen.
Loosen the Soil: Use a spade or garden fork to loosen the soil to a depth of at least 12 inches. This promotes root development.
Mix in Organic Matter: Incorporate compost or peat moss into the soil. This will enhance moisture retention and provide essential nutrients.
Level the Surface: Rake the area smooth, ensuring no large clumps of soil remain.
Planting Hostas: Step-by-Step Guide
1. Choosing Healthy Plants
When selecting hostas, prioritize quality. Purchase from reputable nurseries or garden centers that have a good reputation for healthy plants. Look for strong, vibrant leaves with no signs of disease or damage.
2. Digging the Holes
For planting, dig holes that are twice the width and roughly the same depth as the root ball of the hosta. If you’re planting multiple hostas, space them according to their mature size — typically 2 to 3 feet apart, depending on the variety.
3. Placing the Plants
Gently ease the hosta out of its container. If the roots are tightly bound, loosen them slightly to encourage outward growth. Position the plant in the hole so that the crown (the area where the leaves emerge from the roots) is level with the soil surface. Avoid planting too deep, as this can cause rot.
4. Filling In and Watering
Backfill the hole with soil, gently pressing down to eliminate air pockets. Once settled, give the plant a thorough watering to help it settle in. A deep watering will promote root growth and help the plant acclimate to its new environment.
5. Mulching
Applying a layer of mulch around the base of the plant will help suppress weeds, conserve moisture, and regulate soil temperature. Organic mulch, such as shredded bark or straw, can also enhance the soil as it decomposes.
Caring for Newly Planted Hostas
Watering Practices
After planting, consistent watering is crucial. Hostas prefer consistent moisture, especially during their first growing season. Water deeply at least once a week, and monitor for signs of dryness or wilting, particularly during hot spells. Always aim to keep the soil consistently moist but not soggy.
Fertilization Tips
While hostas are not heavy feeders, they will benefit from a balanced, slow-release fertilizer during the growing season. Apply a fertilizer high in potassium and phosphorus in spring, right around the time the leaves begin to unfurl. Avoid excessive nitrogen, which can lead to lush foliage but weak plants.
Watching for Pests and Diseases
Monitoring is essential to maintain the health of your hostas. Keep an eye out for common pests like slugs, snails, and aphids. Slugs are particularly notorious for chewing holes in hosta leaves; using organic slug bait or setting out traps can help you manage them.
Fungal diseases, such as leaf spot and crown rot, can also affect hostas. Good air circulation, adequate spacing, and avoiding overhead watering can reduce the risk of fungal infections. If you notice diseased leaves, remove them promptly to prevent spreading.
Propagating Hostas: Expanding Your Collection
An exciting aspect of growing hostas is their ability to multiply. Dividing hostas is best done in spring when the plants begin to emerge. It can also be done in the fall but be mindful of the timing relative to the first frost.
Steps for Division
Prepare for Division: Water your hostas well a day before you plan to divide them. This helps reduce shock to the plants.
Digging Up the Plant: Use a spade to carefully lift the entire clump of hostas from the ground. Gently shake off excess soil to expose the root structure.
Dividing the Root Ball: Identify the growing points or crowns on the roots. With a sharp spade or knife, cut the clump into sections, ensuring each division has at least one healthy crown and roots.
Replanting: Hostas can be replanted immediately into prepared soil or temporarily placed in a shaded spot with moist conditions until you’re ready.
Seasonal Care and Maintenance
Hostas require minimal intervention, but a few seasonal care tips can keep your plants looking their best. As summer transitions to fall, you might consider trimming the foliage once it begins to decline. Cut back the leaves to just above the ground level. This helps prevent pests and diseases from overwintering.
In the fall, a layer of mulch can provide protection against fluctuating temperatures. During winter months, especially in colder regions, you might also consider covering your hostas with leaves or burlap to shield them from harsh conditions.
Conclusion: Timing is Everything
Understanding when to plant hostas can significantly influence their growth and overall health. By choosing the right time — whether in spring or fall — and preparing adequately, you can create an environment where hostas thrive and showcase their beautiful leaves.