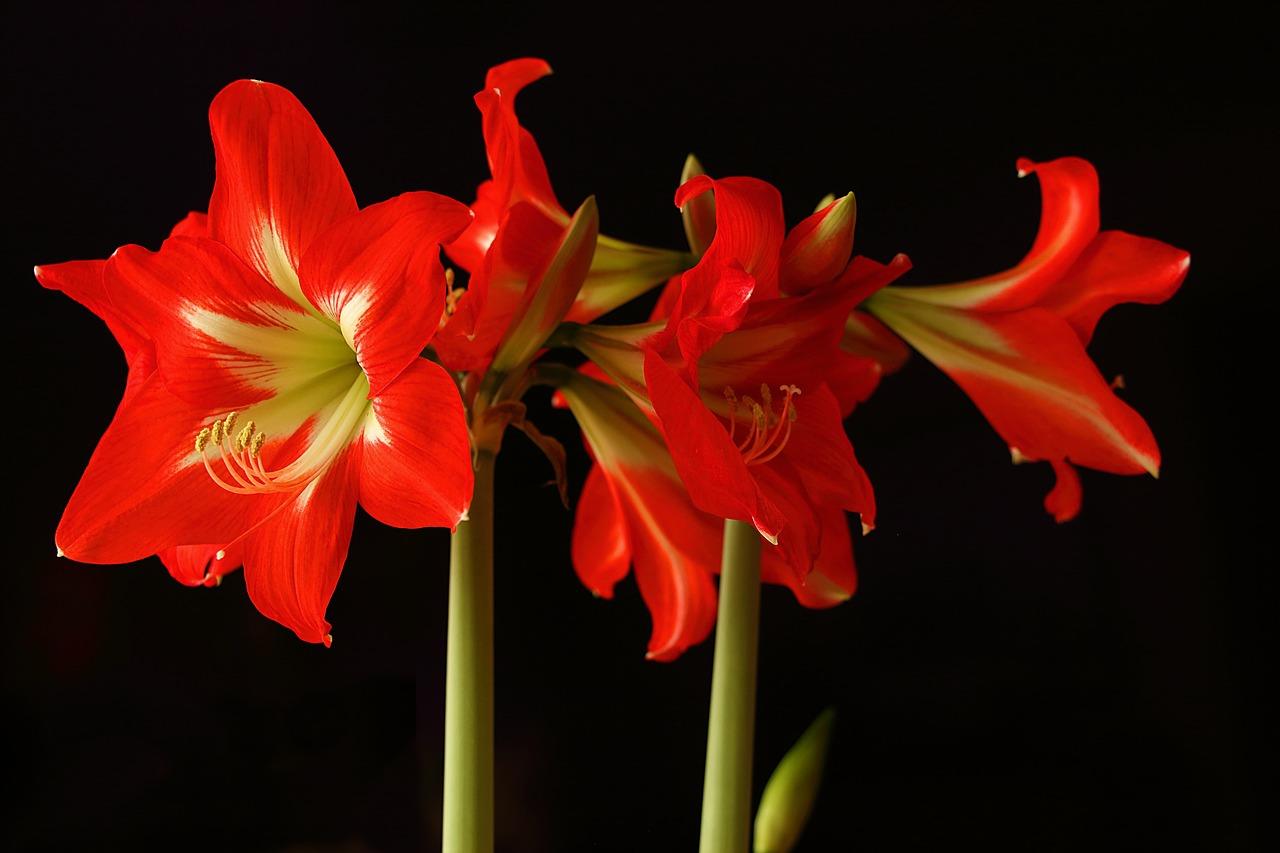
In this comprehensive guide, we will explore the life cycle of the amaryllis, discuss how to care for it after blooming, and provide tips for encouraging future blooms. By the end of this post, you will have a deeper understanding of this popular flowering plant and the knowledge to help it thrive year after year.
The Life Cycle of Amaryllis
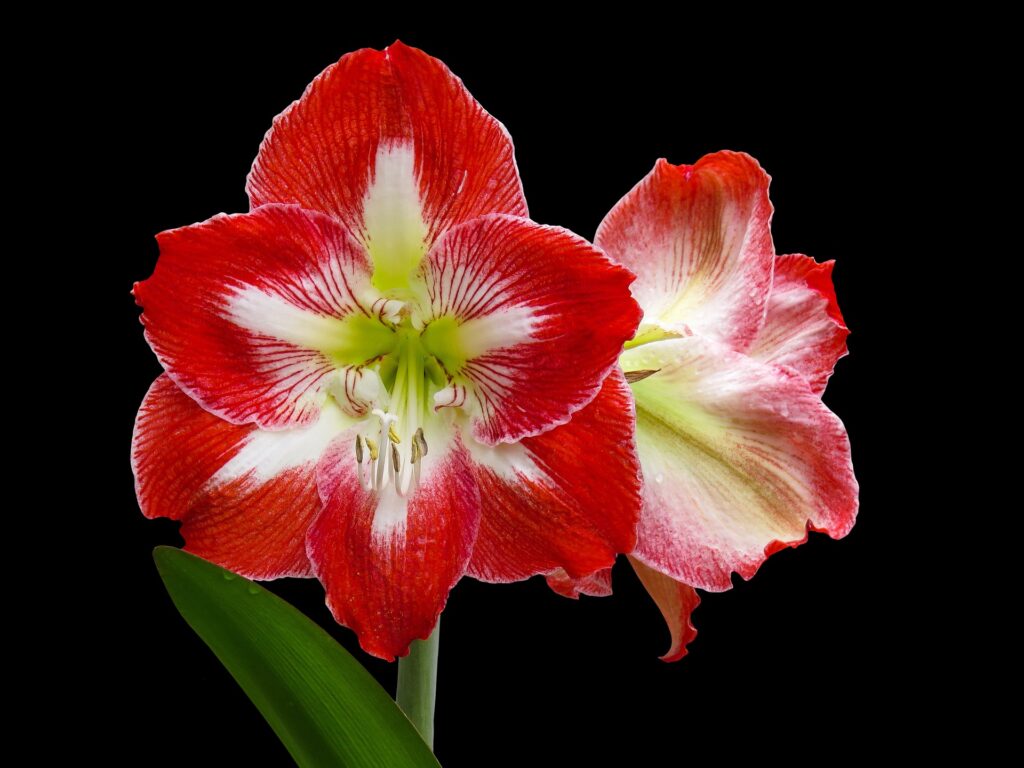
Before we delve into care tips and reblooming techniques, it’s essential to understand the life cycle of the amaryllis. Native to South America, amaryllis typically goes through the following stages:
Bulb Formation: The initial phase begins with the amaryllis bulb, which stores nutrients and energy. Quality bulbs will produce the most vigorous plants.
Growth Phase: When planted, the bulb begins to sprout and put forth foliage followed by a flower stalk. This phase is often encouraged by proper watering and sunlight.
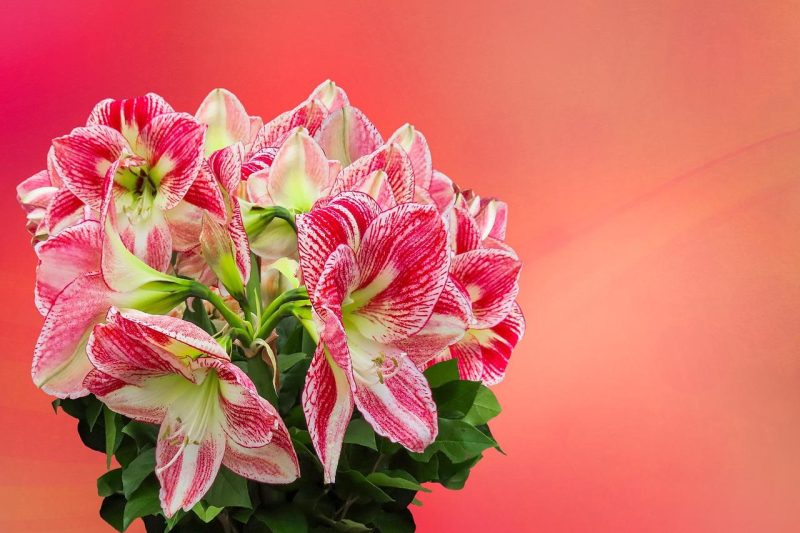
Blooming Phase: This is the most celebrated phase, where the tall flower stems emerge, culminating in large, trumpet-shaped flowers that can be red, pink, white, or even multicolored.
Post-Bloom Stage: After the vibrant flowers fade, many gardeners are left pondering the fate of their amaryllis—will it bloom again?
Understanding the Amaryllis Blooming Cycle
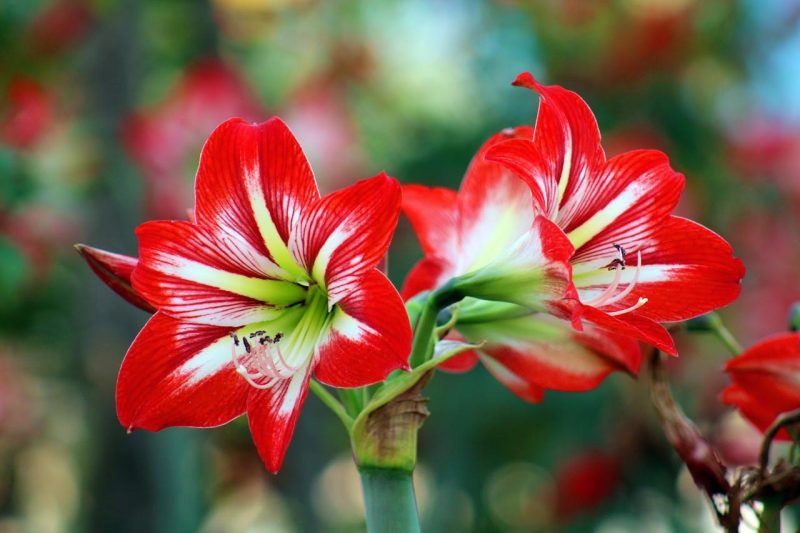
Amaryllis blooms typically last for several weeks, with conditions of light and temperature influencing the duration. Once the flowering has ceased, it’s crucial to recognize that the plant is simply entering a dormant stage rather than dying. During dormancy, the bulb’s energy is conserved, preparing for its next growth cycle.
Factors That Affect Blooming
Several factors influence whether your amaryllis will rebloom:
Bulb Health: Only healthy, well-cared-for bulbs will rebloom. Look for signs of decay or disease.
Light: Amaryllis requires bright, indirect sunlight during its active growing phase and minimal light during dormancy.
Temperature: A cooler temperature environment (around 50 to 60 degrees Fahrenheit) during dormancy is often beneficial.
Watering: Adequate watering practices throughout the growing season but reduced to none during dormancy is crucial.
Proper Care After Blooming to Encourage Reblooming
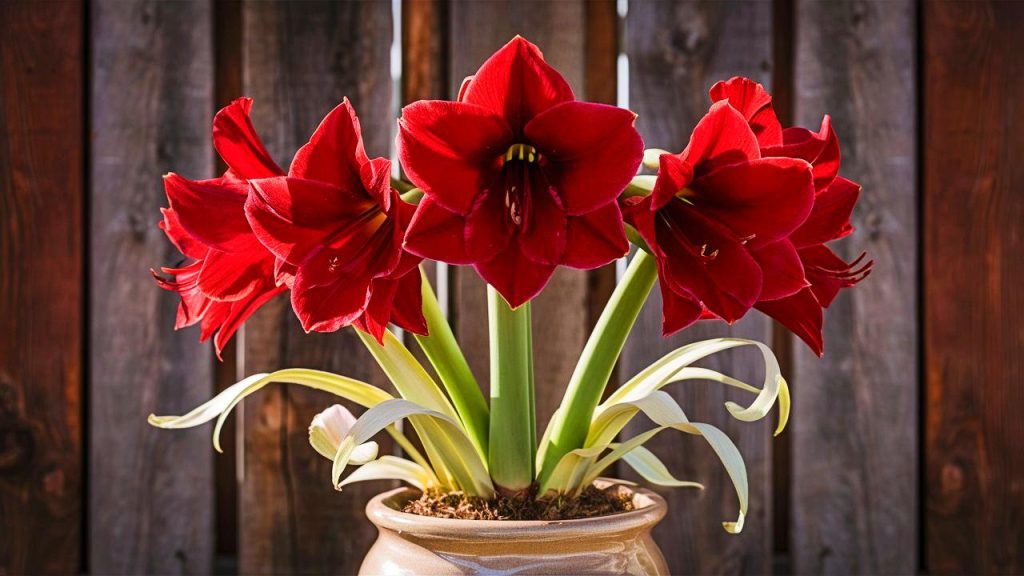
After your amaryllis has finished blooming, take the following steps to care for it:
1. Allow the Leaves to Remain
After the flowers fade, do not cut the leaves. Instead, allow the leaves to remain on the plant and continue to grow. The leaves are essential for photosynthesis, which helps the bulb store energy for the next blooming cycle. Ideally, you should keep the plant in an area where it can receive bright, indirect sunlight.
2. Watering Practices
During active growth, keep the soil consistently moist but avoid waterlogging, as this can lead to bulb rot. Once blooming has finished, gradually reduce watering:
Post-Blooming: Water less frequently, allowing the top inch of soil to dry out before adding more water.
Entering Dormancy: When the foliage begins to yellow and die back, reduce watering significantly until you can stop entirely.
3. Fertilization
During the growing season (typically from spring through summer), a high-quality, water-soluble fertilizer can be beneficial. Look for fertilizers with a higher phosphorus content to promote blooming (like a 5-10-10 ratio). Apply every two weeks until active growth wanes post-blooming.
4. Preparing for Dormancy
Once the leaves have died back, cut them at the base, and allow the bulb to rest. Follow these steps:
Storage: Store your amaryllis bulb in a cool, dark place (about 50-60°F) for about 8-12 weeks. This period of dormancy is essential for the bulb to recharge.
No Watering: Do not water the bulb during this resting period. The bulb will thrive on its stored nutrients.
Preparing for Reblooming
After the dormancy period, it’s time to wake your amaryllis:
1. Replanting
In late winter to early spring (around late February to March), remove your bulb from storage:
Inspect the Bulb: Check for rot or decay. If part of the bulb is mushy or discolored, trim away the affected area.
Repotting: If you’re repotting, use a well-draining potting mix, and choose a pot that is only a couple of inches larger in diameter than the bulb itself. This helps prevent excess water retention, which can lead to rot.
Positioning: Place the bulb in the pot with the top one-third exposed, as amaryllises do not like to be buried too deeply. The bulbs prefer to be snug in their pots, which allows for better moisture and nutrient absorption.
2. Watering After Dormancy
Once you have replanted your bulb, it’s time to reintroduce water:
Initial Watering: Water the bulb lightly to help settle the soil. Then, keep the soil moist but not soggy.
Regular Care: Water thoroughly when the top inch of the soil feels dry. As the plant begins to grow again, you can gradually increase the watering frequency as needed.
3. Light and Temperature Considerations
Light Exposure: After replanting, give the bulb plenty of indirect sunlight to stimulate growth. If sunlight is limited, consider supplementing with grow lights.
Temperature Environment: Aim to keep your amaryllis in an environment that’s around 70-75°F. This warmth, combined with adequate light, will encourage the flower spikes to emerge.
4. Fertilization Revisited
Once growth begins again—typically after a few weeks of rewatering—resume fertilization:
Balanced Fertilizer: Switch to a balanced fertilizer, applying as per the instructions on the label every two to four weeks. This will ensure your plant has access to essential nutrients as it begins to grow new stalks and leaves.
What to Expect
After properly caring for your amaryllis, it can take anywhere from 6 to 10 weeks for new flower spikes to emerge. During this time, you may notice:
Emergence of Foliage: Soon after rewatering, you should see green leaves begin to sprout. Enjoy the lush greenery, which is a good sign of a healthy bulb.
Development of Flower Stalks: As your amaryllis continues to grow, long, sturdy flower stalks will appear from the bulb. Be patient, and provide support if the stalks start leaning.
Flowering Timeline: Once flower spikes emerge, they typically take another 4 to 6 weeks to bloom, yielding a spectacular display to brighten your home.
Potential Issues and Troubleshooting
While caring for your amaryllis, you may encounter some common issues. Here’s how to address them:
1. No Blooming
If your amaryllis does not bloom after a dormancy period, check the following:
Insufficient Dormancy: Ensure they were dormant for about 8-12 weeks.
Poor Light Quality: Confirm that the plant is receiving adequate indirect sunlight once it’s time to grow again.
Nutrient Deficiency: Ensure you’re providing enough balanced nutrition during the growing phase.
2. Pests and Diseases
Watch out for signs of pests such as aphids or mealybugs, which can attack during the growing phase. If you notice any:
Treatment: Use insecticidal soap or neem oil to treat infestations.
Rot: If the bulb feels mushy, it may have rot from overwatering. To combat this, let the soil dry out and remove any affected parts.
3. Yellowing Leaves
Yellow leaves often indicate overwatering, insufficient light, or nutrient deficiencies. To help remedy this:
Adjust Watering: Ensure the plant is neither too moist nor too dry.
Brighten Up: If light is lacking, consider moving it to a brighter spot.
Conclusion
With the right care and attention, your amaryllis can truly shine again after its blooming phase. By understanding its life cycle, following proper post-bloom care routines, and preparing for a successful reblooming phase, you can enjoy the beauty of amaryllis flowers year after year.
To summarize, the key stages to encourage reblooming are:
Post-Bloom Care: Allow foliage to remain, reduce watering, and provide photogenic conditions.
Dormancy: Store the bulb correctly, eliminate watering, and maintain a cool temperature.
Reawakening: Replant in fresh soil, resume watering and fertilizing, and provide ample light.
Remember, gardening is as much about patience and observation as it is about action. By nurturing your amaryllis with the understanding that it’s embarking on a cyclical journey, you’ll not only witness beautiful blooms but also foster a deeper connection with your plant. So nurture that bulb, and look forward to the spectacular show it will put on once again!


