Embrace these winter preparations tips and watch your garden flourish with renewed vigor as the new season unfolds.
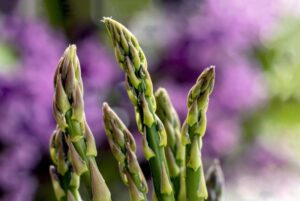
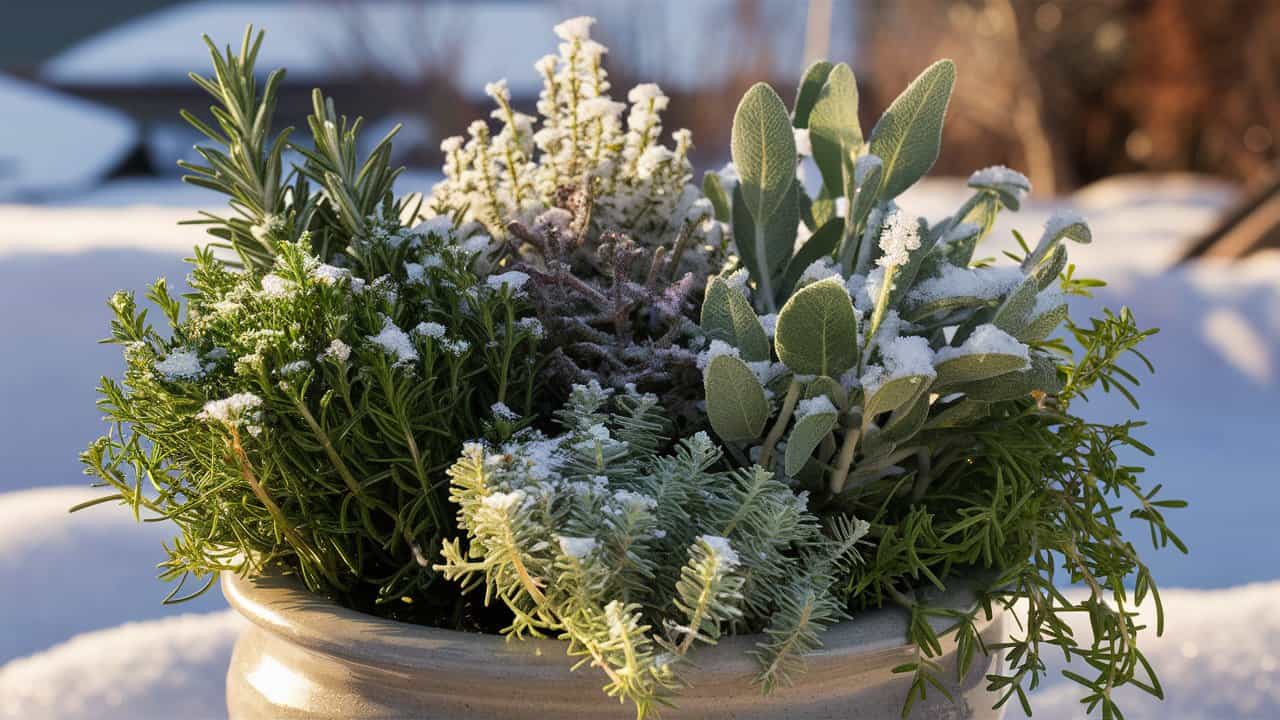
Prepare Herbs for Winter
In many gardens, herbs are the heart and soul of the garden’s culinary offerings. As you transition to winter, it’s important to prepare these flavorful plants for the colder months. Begin by harvesting any herbs that are ready for use—cutting back encourages new growth before frost hits but be careful not to deplete the plant excessively.
For perennial herbs like thyme, oregano, and chives, a gentle pruning can help prevent disease and encourage robust regrowth in spring. After cutting back, consider applying a layer of mulch around the base of the herbs. Mulch helps regulate soil temperature, retains moisture, and protects the roots from freeze-thaw cycles.
If you have potted herbs, bring them indoors — ideally to a bright, sunny window. Indoor environments can be drier than outdoor conditions, so you might need to increase humidity by misting them or placing a tray of water nearby. Some herbs, such as basil, may not survive indoors, so you could try propagating cuttings in water as a contingency plan.
For herbs that may not be as hardy in your zone, like rosemary and bay laurel, consider wrapping them in burlap or using a cold frame to shield them from harsh winter elements. Also, if the ground is not frozen, you can plant some herbs in pots that will be moved indoors during extreme weather, fostering a microclimate that’s more forgiving.
Cover Up the Garden Beds
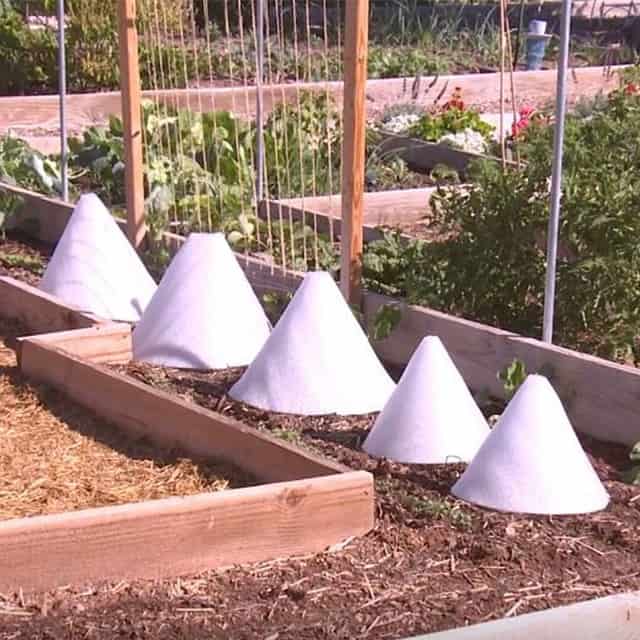
As temperatures drop and potential frost appears on the horizon, covering your garden beds becomes essential for protecting your plants. This practice not only shields delicate seedlings from frostbite but also helps maintain soil health throughout the winter months.
Begin by testing your soil pH and adding organic amendments like compost or well-rotted manure before winter sets in; this boosts soil fertility and enhances microbial activity that can pen for nutritious growth in spring. To create a protective barrier for your soil, you may use row covers, tarps, or frost cloth. These materials allow light and moisture to penetrate while providing insulation against harsh winter winds and temperatures.
Mulching your garden beds is another effective method. A thick layer of organic mulch, such as straw, shredded leaves, or wood chips, can help prevent soil erosion, suppress weeds, and provide a habitat for beneficial insects during the winter. Moreover, as the mulch decomposes, it will enrich the soil, preparing it for spring planting.
It’s also an opportunity to clear away any dead plant materials that can encourage pests or diseases—remove them to minimize risks. If you use cover crops, now is the time to seed them as they protect and improve soil structure through the winter.
Prepare Perennials for Winter
Perennials provide beauty and resilience to our gardens, but they require careful preparation to withstand winter’s icy grip. Begin by cutting back any perennials that have gone dormant, typically leaving about 6 to 12 inches of stem. This practice reduces the risk of disease and minimizes the chances of pests overwintering in the garden debris.
Next, consider the specific needs of different perennials. For example, tender perennials like hibiscus and fuchsia require a little more protection. Entomb them in mulch or leaves for insulation. In contrast, hardy varieties such as sedum and echinacea can often be left in place, as their stems provide habitat and aesthetic interest during the winter months.
It’s also the perfect time to divide and transplant perennials if necessary. This is especially true for overcrowded plants. Transplanting can give them more space and energy for next spring’s growth. After replanting, ensuring that their roots are well-covered and insulated with mulch will help them thrive through winter.
Lastly, don’t forget to water any perennial beds thoroughly before the first freeze. Moist soil can help insulate roots and discourages more extreme cold damage. A well-prepared perennial garden will not only survive the winter but set the stage for a spectacular rebloom in the upcoming warmer seasons.
Turn Off the Watering System

As temperatures drop, it’s vital to protect your irrigation systems from winter damage. The first step in this phase of winter garden prep is to turn off the watering system. This involves not only shutting off the water supply but also draining the entire system to prevent pipes from freezing and bursting.
Begin by locating the main shut-off valve for your irrigation system. Once turned off, open all the valves and sprinkler heads to allow any remaining water to drain out. For underground systems, use a compressor to blow out any residual water that might be trapped, particularly in areas prone to freezing. If you don’t have access to a compressor, consider hiring a professional irrigation service to ensure the job is done correctly.
For drip irrigation systems, ensure that the emitters are cleared of any debris to prevent clogging when reactivated in spring. Additionally, it’s a good time to inspect the entire irrigation system for any signs of wear or damage. This proactive approach means your watering system will be ready to go the moment the growing season returns, saving you precious time and resources.
Bring Houseplants Inside

As winter sets in, bringing your houseplants indoors becomes a necessary task to preserve their health and vitality. Although many houseplants can withstand cooler temperatures, the sudden change in climate can stress them. Transitioning them to an indoor environment should be done gradually, allowing plants to adjust for optimal health.
Begin by assessing which plants need to come inside. Tropical plants, succulents, and any annuals that you want to keep should be moved before the frost hits. Aim to inspect each plant for pests or diseases before they cross your threshold; the last thing you want is to introduce unwelcome guests into your home. A quick rinse or treatment with insecticidal soap can help prevent any infestations.
Once indoors, place your plants in a location that receives ample, indirect sunlight. Many houseplants require bright light, but direct sunlight through glass can be too harsh for some. Monitor humidity levels; indoor environments can be drier in winter, so occasional misting or using a pebble tray with water can boost moisture levels. Keeping an eye on watering needs is equally important, as indoor plants often need less water during the darker months.
In addition, consider rotating your plants every few weeks to ensure even exposure to light. Regular pruning and removing any dead leaves can help your plants thrive during their indoor stay and prepare for their return outdoors when spring arrives.
Sow a Cover Crop

A powerful yet often overlooked aspect of winter garden prep is sowing a cover crop. This practice enriches your soil, prevents erosion, and suppresses weeds during the winter months. Cover crops are especially beneficial for gardeners looking to improve the structure and fertility of their soil before they enter the growing season.
Begin by selecting a suitable cover crop for your climate and soil type. Popular options include winter rye, vetch, clover, and field peas. These crops grow quickly, establish well, and can handle the onset of colder weather. They not only cover your soil, reducing bare patches that can lead to erosion but also improve soil health by fixing nitrogen, enhancing organic matter, and fostering beneficial microbial activity.
Before sowing, prepare your garden beds by removing any last-minute debris and loosening the soil. Once the conditions are right, sow the seeds according to package instructions. Depending on the climate, some cover crops can germinate quickly, even in cooler temperatures, providing a green cover well into late winter or early spring.
In the spring, once the cover crops are established, they can either be left in the ground to decompose and contribute nutrients or be turned under as “green manure.” This process enriches the soil and prepares it for planting. A thriving cover crop system ensures your garden has a head start by boosting soil quality and providing sustainable practices that enhance overall garden health for the following growing season.
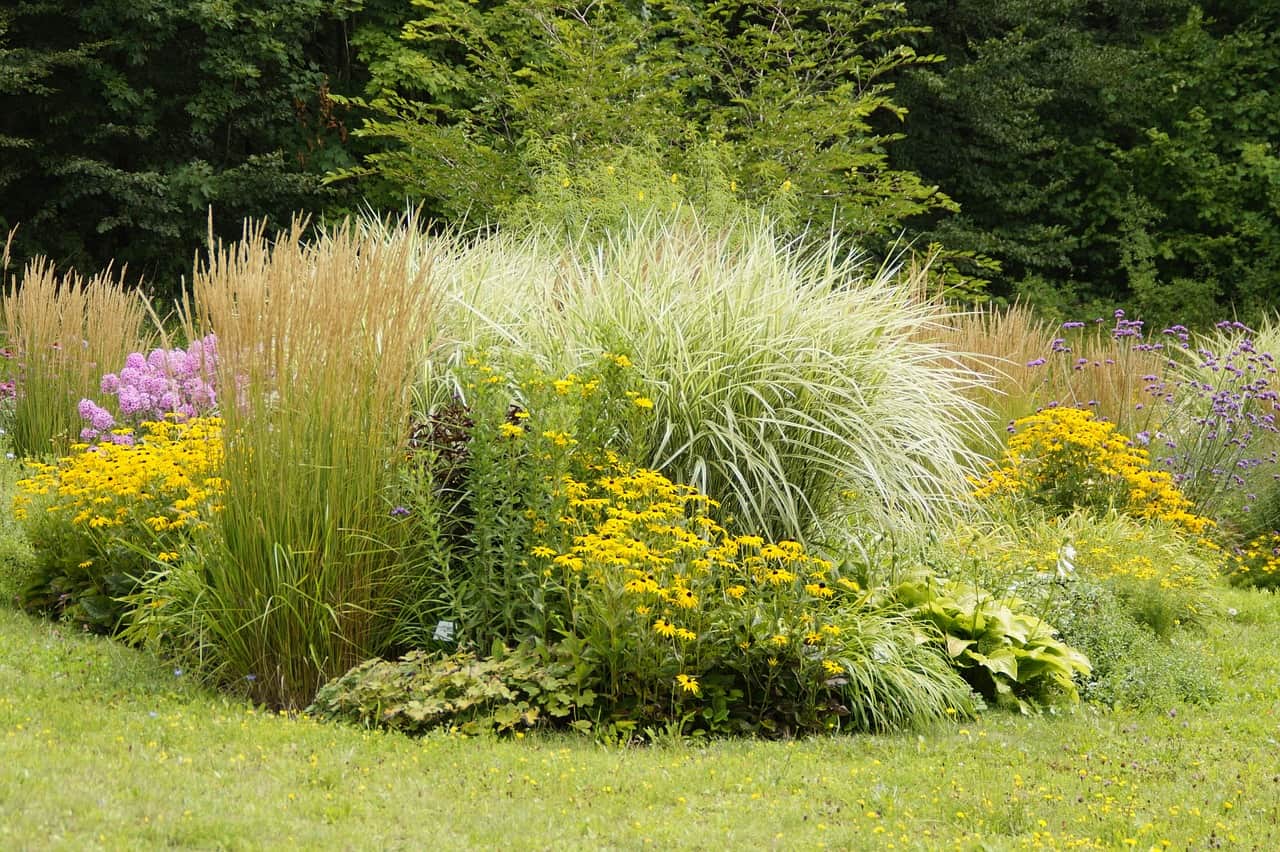
Cut Back Perennials
While some perennials thrive best when left standing during winter, others benefit from a timely cut-back before freezing temperatures set in. Cutting back certain perennials protects them from the harsh effects of winter while also preventing diseases caused by winter moisture.
Identify which perennials in your garden benefit from this treatment; plants like sedum, coneflowers, and daylilies often do well when cut back. By trimming them down to 4 to 6 inches above ground level, you reduce the likelihood of rot and fungal infections that can develop in their decaying foliage. Additionally, this practice encourages healthier regrowth in the spring.
However, remember to leave some perennials, like ornamental grasses and echinacea, untrimmed. Their tall stems create winter interest and offer protective habitats for wildlife, especially birds looking for seeds or shelter from the cold. Taking the time to assess the specific needs of each type of perennial aids you in creating a balanced garden ecosystem.
After cutting back, it’s beneficial to apply a layer of mulch around the base of these plants. This not only provides insulation but also protects the roots from temperature extremes, ensuring a smoother transition when the growing season arrives.
Protect Tender Annuals
As the frost nears, it’s imperative to take measures to protect tender annuals that may not withstand the cold. Plants like petunias, begonias, and certain varieties of geraniums can suffer significant damage or even perish when exposed to frost.
For those wanting to extend the life of these beautiful annuals, consider moving pots and container plants into a sheltered area such as a garage, shed, or covered porch. If you have garden beds of these tender annuals, covering them with lightweight fabric or frost cloth can create a microclimate that helps to maintain slightly warmer temperatures while protecting them from frost damage.
If you anticipate a hard frost or extreme temperatures, another option is to harvest these annuals and bring them indoors. You can repot them in a fresh substrate to help them thrive inside, or you might also consider propagating cuttings before winter sets in. Many annuals respond well to cuttings, allowing you to grow fresh plants for next season without needing to purchase new seeds or plants.
Always keep an eye on the weather forecasts, as knowing when cold fronts are expected helps in planning protective measures for your delicate plants. Proactive care now not only safeguards your annuals but can also enhance the beauty of your garden as you transition into spring.
Mulch Your Plants
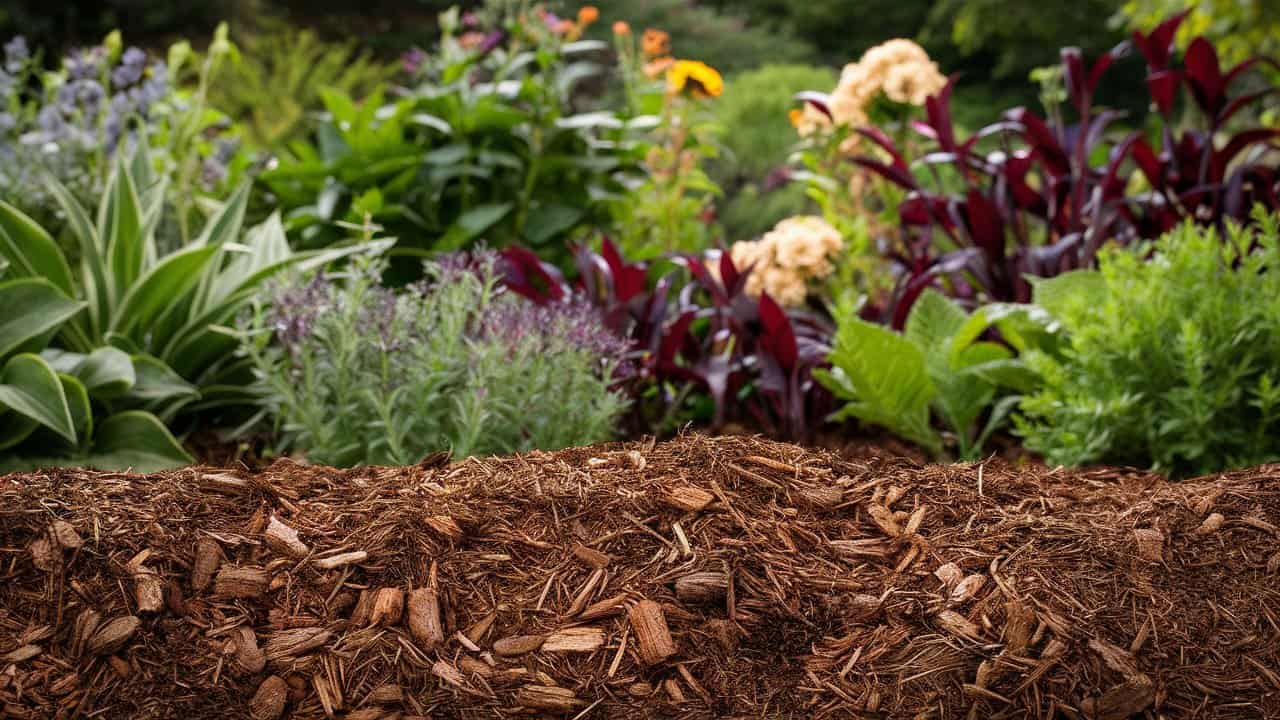
Mulching is one of the most effective methods to protect your garden during winter. It acts as both a blanket and a barrier, offering numerous benefits to your plants. By applying mulch, you can preserve soil moisture, regulate temperature, and suppress weed growth, all while adding essential nutrients as it decomposes throughout the colder months.
When selecting mulch, opt for organic materials such as straw, wood chips, or shredded leaves, as they not only protect your plants but enhance soil quality over time. A 2- to 4-inch layer is generally recommended to provide adequate insulation without smothering the plants. Be careful to keep mulch a few inches away from the plant stems to prevent rot and discourage pests.
Additionally, consider incorporating shredded bark or compost into your mulch mix for enhanced nutrients. These options not only improve soil structure but also facilitate beneficial microbial activity in the soil—something that can lead to a healthier environment for your plants come spring.
Mulching not only protects perennial flower beds but can be beneficial in vegetable gardens as well. In these spaces, mulch helps regulate soil temperature and moisture levels, ensuring that hardy winter vegetables continue to thrive. Also, when the soil warms in early spring, the mulch can act as a shield against late frosts.
Protect Roses From Cold Weather

Roses are often the crown jewels of any garden, known for their stunning blooms and captivating fragrances. However, they can be particularly vulnerable to frost and cold temperatures. Properly preparing roses for winter is critical to their survival and successful flowering in the spring.
Start by assessing the specific variety of rose you have, as some types are hardier than others. For hybrid teas and other sensitive varieties, begin by cutting back any dead or diseased wood to promote healthy growth. After pruning, carefully mulch around the base of the plant to insulate the roots. Use organic mulch materials like shredded bark, straw, or leaves, and apply a layer approximately 3 to 4 inches thick.
In regions with extremely cold winters, consider creating a protective mound around the base of the rose bush. This can be done using soil mixed with mulch, which helps to shield the plant during heavy frosts. Additionally, wrapping the bushes with burlap or covering them with frost cloth can provide an extra layer of warmth. Be sure to leave the top open for ventilation to prevent moisture buildup, which could lead to mold or stem rot.
Finally, for climbing roses, tie canes to a trellis or fence and cover them with mulch or burlap if they’re not particularly hardy. These measures will help your roses weather the winter and bloom beautifully when spring arrives.
Dig Up Tender Bulbs

While many bulbs are capable of withstanding cold temperatures, some tender varieties require special care to ensure they don’t succumb to frost and rot. Tender bulbs such as dahlias, glads (gladiolus), and calla lilies must be dug up before the ground freezes to preserve their health.
To start this process, wait until the foliage has turned brown and died back, signaling that the plant’s energy has returned to the bulb. Using a fork or spade, gently lift the bulbs from the soil, taking care not to damage them in the process. Once removed, shake off any excess soil and allow the bulbs to dry for a few hours in a shaded, ventilated area.
After drying, store the bulbs in a suitable environment. Use breathable bags made from burlap or mesh, or place them in a cardboard box. Ensure you store them in a cool, dry place, ideally at temperatures between 50-60°F (10-15°C). You can also sprinkle a layer of wood shavings or peat moss around the bulbs to help absorb excess moisture and prevent rot.
Don’t forget to check on your stored bulbs occasionally through the winter. If you notice any bulbs beginning to rot, remove them promptly to prevent them from affecting the others. Taking the time to dig up and store your tender bulbs can yield a bountiful display of blooms when you replant them in the spring.
Protect Trees and Shrubs

Trees and shrubs form the backbone of most gardens, providing structure, beauty, and habitat for wildlife. They can be susceptible to winter damage from harsh winds, frost, and heavy snow accumulation. Implementing protective measures is vital to safeguarding these plants during the winter months.
Begin by inspecting trees and shrubs for any signs of weakness, disease, or dead branches. Prune away any damaged limbs, which can serve as entry points for pests and disease. For trees, particularly young specimens, wrapping trunks with tree wrap or burlap can help prevent sunscald and provide protection from rodent damage.
Use mulch generously around the base of your trees and shrubs. A 2- to 4-inch layer of organic mulch will help retain soil moisture, regulate temperature, and protect the root zone. Be careful to keep the mulch away from the trunk to prevent rot.
Another practice is to stake or brace any trees that are particularly thin or top-heavy, ensuring they remain upright under the weight of snow. Consider placing burlap or windbreak fabric around any shrubs that are prone to wind damage to help reduce the risk of breakage.
Finally, remember to check the soil moisture level periodically throughout winter, especially during thaw periods when trees and shrubs can take up moisture. A dry winter can stress your plants, so watering during dry spells ensures they remain healthy.
Remove Diseased Plants
One of the key components of winter garden prep is identifying and removing any diseased plants within your garden. These plants can harbor pests and diseases that could spread and impact healthier plants during the warmer months. Early intervention is the best strategy for maintaining a thriving garden.
Begin by conducting a thorough inspection of your garden and looking for any signs of disease: wilting, discoloration, or unusual spots on leaves are telltale signs. If you identify any affected plants, carefully remove them, making sure to wear gloves to prevent any transfer of pathogens. It’s crucial to dispose of these plants properly; do not compost them, as this can lead to the reintroduction of pathogens into your garden.
Once removed, clean up the surrounding area by raking up fallen leaves or plant debris, which can harbor disease spores. Sanitizing your gardening tools and equipment after working with diseased plants further minimizes the risk of infection spreading to healthy flora.
Additionally, consider rotating your crops in different areas of your garden each year. This practice not only helps prevent diseases from taking hold but also promotes a diverse ecosystem, allowing beneficial organisms to thrive and enriching the soil.
Remove Invasive Weeds
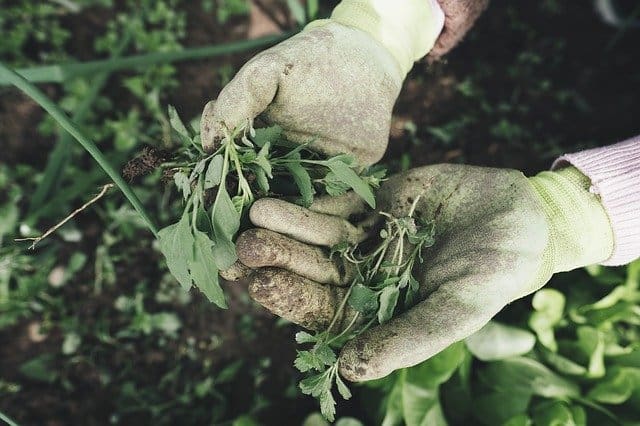
Invasive weeds can be a gardener’s worst nightmare, as they outcompete native plants for resources, often leading to a decline in overall biodiversity and garden health. Winter is the perfect time to tackle these persistent invaders, preventing them from establishing deep roots before spring’s growing season.
Start by identifying the types of invasive weeds in your garden. Some common offenders include bindweed, creeping Charlie, and garlic mustard. Once identified, remove them by hand or use a hoe to uproot their extensive root systems. Ensure you remove as much of the root as possible, as many invasive species can regenerate even from small fragments left in the soil.
It’s also beneficial to turn these weeds into a useful resource; instead of composting them, use them as nutrient-rich mulch in less visible areas of your garden if they are not seeding—this adds organic matter back into the soil while reducing their spread.
In addition to manual removal, consider implementing winter cover crops that can suppress weeds. Planting a dense cover crop will not only help to outcompete the weeds but will also improve soil health and structure when turned under in the spring. As you maintain vigilance over invasive weeds during winter prep, you’ll be able to enjoy a garden where desirable plants can flourish without interference.
Amend Your Soil For Spring
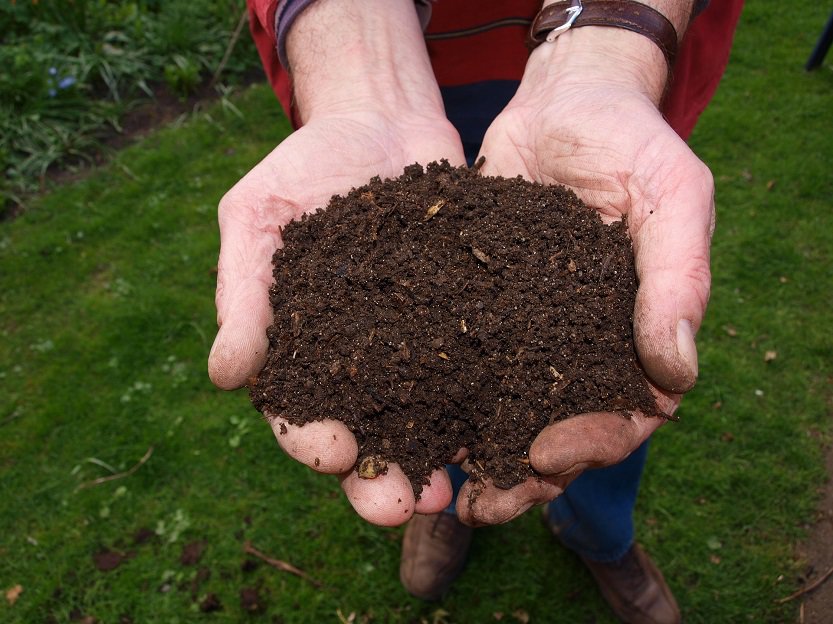
Preparing your soil for the spring is an essential part of winter garden prep that cannot be overlooked. Proper soil amendment sets the foundation for healthy, productive growth when the weather warms up again. The key to achieving nutrient-rich soil is knowing your soil’s current condition and addressing any deficiencies.
Start by testing your soil to identify its pH and nutrient levels. Home testing kits are widely available and can help you assess whether your soil is too acidic or alkaline, and what specific nutrients may be lacking. Based on the results, you can amend your soil accordingly.
For soils that are deficient in nutrients, consider adding organic matter such as compost, well-rotted manure, or leaf mold. These materials not only enrich your soil with vital nutrients but also improve aeration, drainage, and moisture retention. Incorporating organic matter increases microbial activity, which in turn promotes better nutrient absorption by your plants.
Additionally, if your soil test reflects low pH levels, adding lime can help balance the acidity. Conversely, if your soil is alkaline, elemental sulfur or specific acidifying compost materials like pine needles can help mitigate this.
Applying mulch over your amended soil during winter can also provide insulation and prevent erosion while further encouraging the breakdown of organic matter.
Harvest And Add To Your Compost
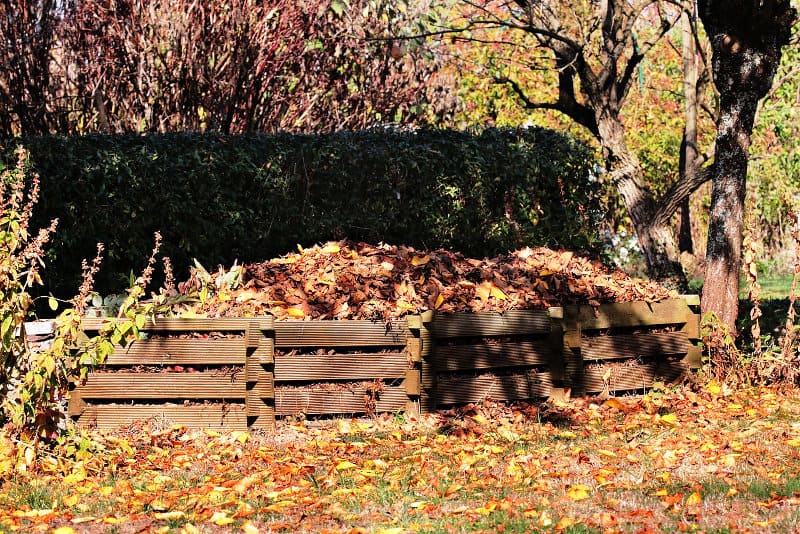
Winter garden prep is an excellent time to focus on your composting efforts. Rather than letting fallen leaves, spent vegetable plants, and other garden debris go to waste, you can transform them into nutrient-rich compost that will enrich your garden soil come spring.
Begin by assessing what materials are available in your garden. Dried leaves, spent vegetable and fruit scraps, and any healthy plant material you’ve removed during your winter cleanup can all be composted. It’s important to avoid adding any diseased plants to the compost pile, as this can lead to problems in your garden when you use the finished compost.
When adding to your compost, aim for a balanced mix of green materials (such as fruit scraps, vegetable peels, and fresh grass clippings) and brown materials (like dried leaves and branches). This creates the ideal conditions for composting, promoting microbial activity while ensuring adequate aeration and moisture levels.
Using a compost thermometer can help you monitor the internal temperature of your compost pile, ensuring it reaches the recommended 130-160°F (54-71°C) to kill any weed seeds and pathogens. If you have access to warm bedding materials, like shredded cardboard or paper, consider incorporating those as they help maintain moisture and balance the carbon/nitrogen ratio.
By actively adding organic matter to your compost, you will create a robust soil amendment to enrich your garden in the spring, ultimately fostering healthier and more productive plants.
Replenish Mulch

As an essential element of winter garden prep, replenishing mulch is crucial for maintaining optimal soil health and protecting plant roots. Over time, mulch can break down, becoming less effective in providing insulation, moisture retention, and weed suppression. A fresh layer can significantly benefit your garden during the colder months.
Start by assessing the current state of your existing mulch. If the mulch layer is thin (less than 2 inches) or is showing signs of decomposition, it’s time to replenish it. Organic mulch options, such as shredded bark, wood chips, straw, or pine needles, are excellent choices, as they not only insulate plants but also improve soil quality as they break down.
When applying new mulch, aim to create a layer that is 2-4 inches thick around your garden beds, while keeping it away from the stems and trunks of plants to prevent rot. This layer of mulch acts as a protective barrier against extreme temperature fluctuations, helping to moderate soil temperature and reduce moisture loss during winter.
Furthermore, mulch aids in controlling winter weeds, ensuring that when spring arrives, your plants have less competition for nutrients and water. This diligent maintenance of mulch ultimately sets your garden up for success as it prepares to come alive in the warmer months.
Clean And Sharpen Tools
Winter represents the perfect time to give your gardening tools the attention they deserve. Properly cleaning and sharpening tools not only extends their lifespan but also prepares them for the demands of the upcoming planting season. Taking the time to care for your tools shows respect for the hard work they facilitate in the garden.
Start by cleaning all your tools with warm, soapy water to remove soil, sap, and plant residue. After cleaning, rinse thoroughly to ensure no soap residue remains, then dry them completely to prevent rust. A citrus-based cleaner can be an effective choice for stubborn residue.
Once your tools are clean, focus on sharpening the blades of pruners, hoes, and shovels. Using a sharpening stone or file, carefully grind edges to ensure a clean cut. Sharp tools not only make tasks easier but also promote healthier cuts on plants, reducing the risk of disease when pruning.
After sharpening, consider applying a light coat of oil, such as vegetable, mineral, or motor oil, to metal parts to prevent rust and maintain their integrity throughout the winter months. Store tools in a dry, secure location, ideally hanging to keep them organized and easily accessible.
This winter tool maintenance ritual not only prepares your equipment for efficient use but also contributes to a more enjoyable gardening experience come spring. When your tools are in top shape, you’ll find that your gardening tasks become smoother and more rewarding, setting the tone for a successful growing season.