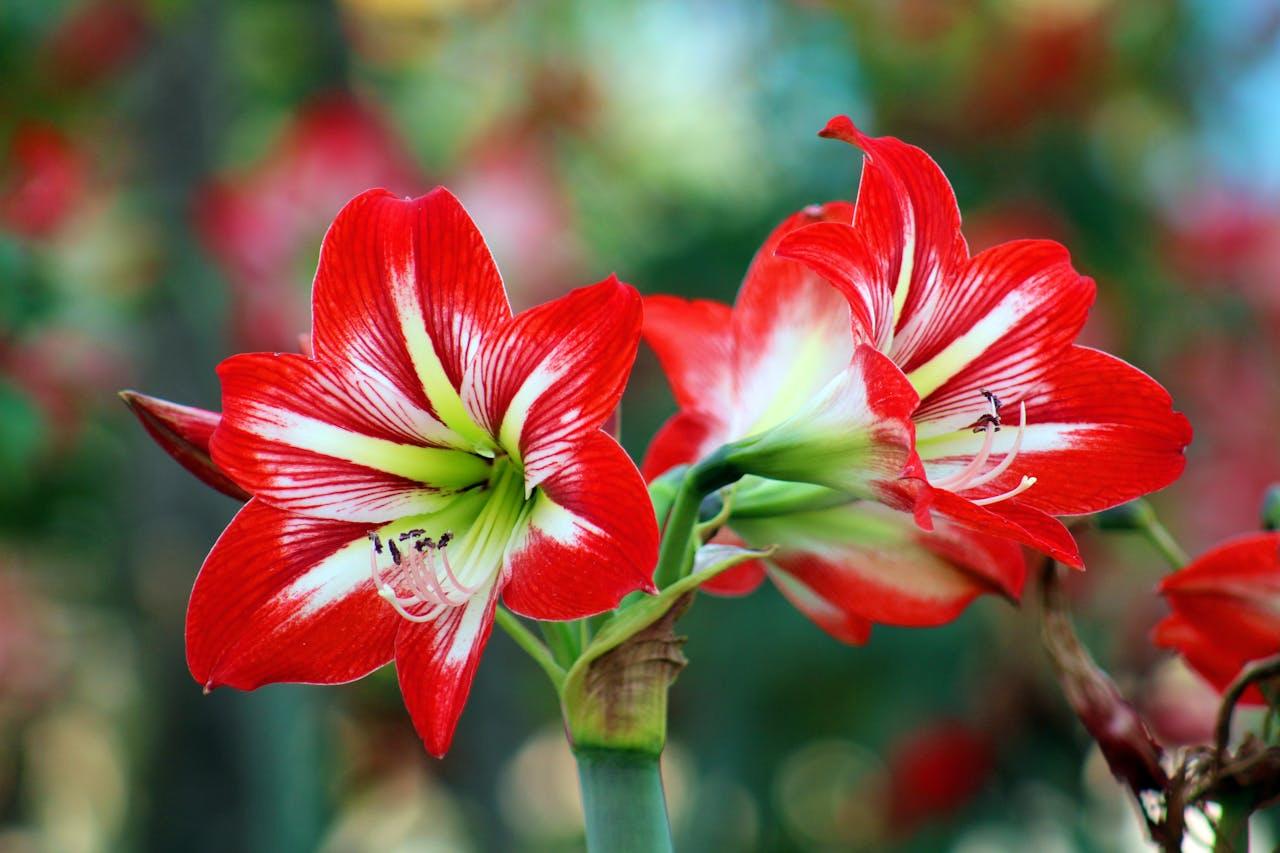
On this page, we’ll explore the ideal times to plant amaryllis, the factors to consider, and tips for ensuring a successful bloom. Whether you’re a seasoned gardener or a beginner, you’ll find all the information you need to cultivate these magnificent flowers.
Understanding Amaryllis
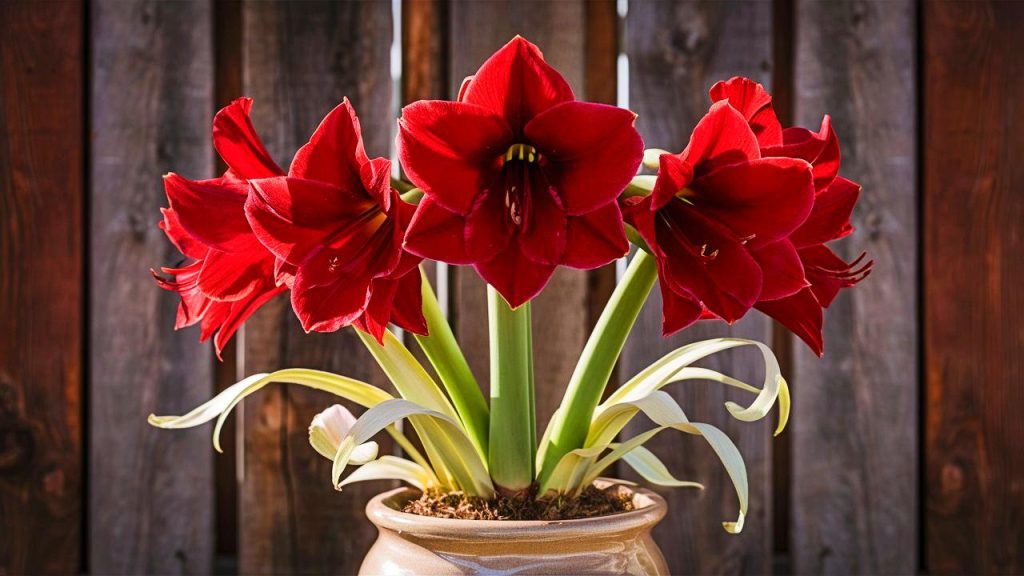
The most common amaryllis you will find in stores, especially during the holiday season, belongs to the Hippeastrum genus.
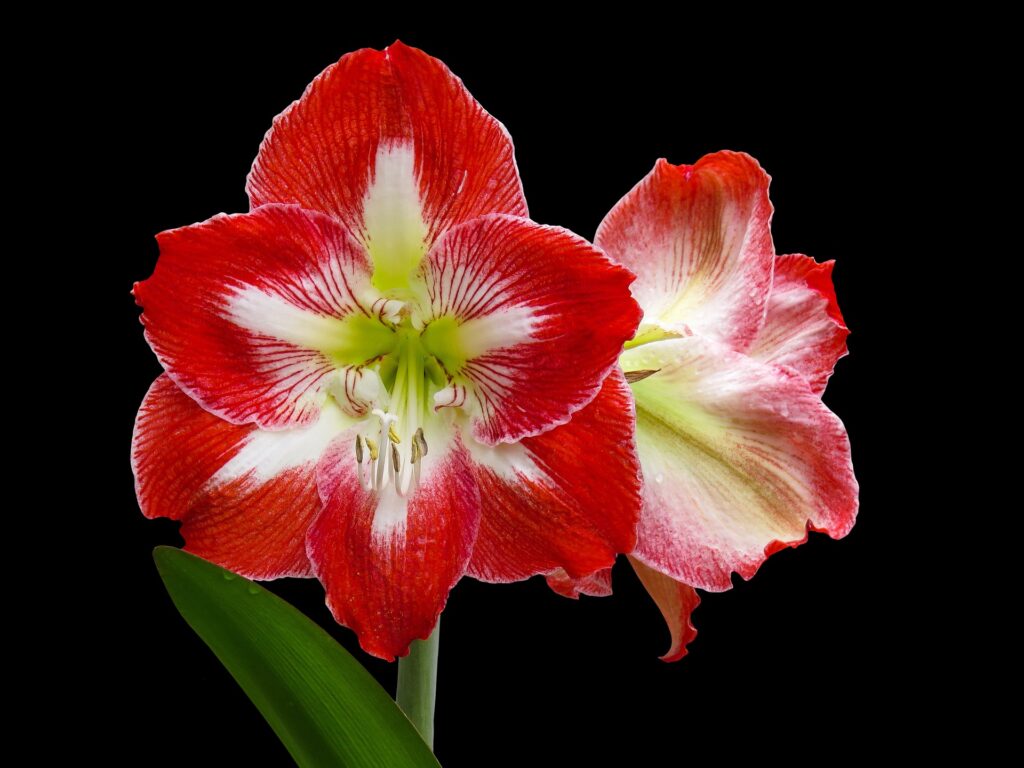
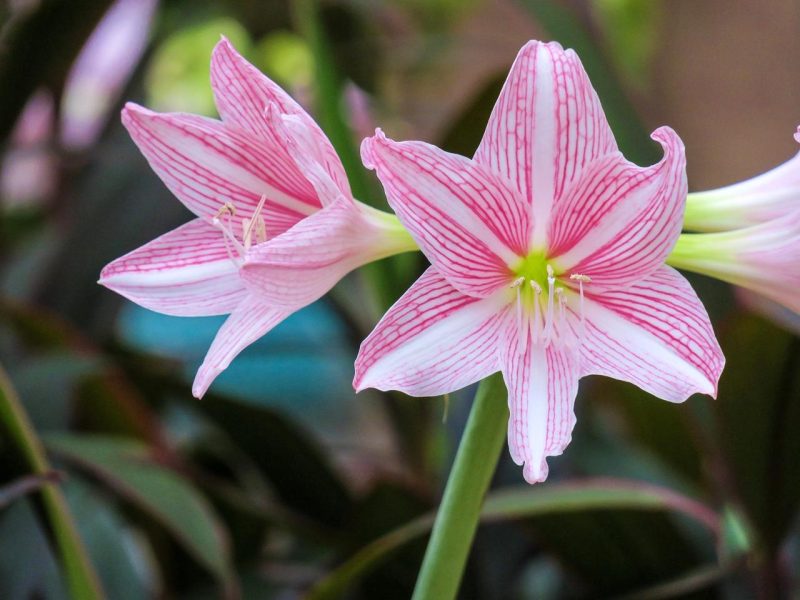
These plants are native to tropical regions of South America, particularly Brazil, which means they thrive in warm climates. Amaryllis bulbs are popular for their large blooms, which can reach up to six inches in diameter and can be found in shades of red, pink, white, and even striped varieties.
Ideal Planting Seasons
When to plant amaryllis mainly depends on the desired blooming period. Here’s a breakdown of the key planting times based on both indoor and outdoor cultivation:
Indoor Planting
Late Fall to Early Winter (November to December):
Holiday Blooms: If you want your amaryllis to bloom during the holiday season, plant bulbs in late November or early December. This allows time for them to grow and produce blooms by Christmas or New Year’s.
Temperature and Environment: Ensure you keep the plant in a warm area (around 70°F or 21°C) to encourage quick growth.
Spring and Summer:
After the Holiday Bloom: After the holiday season, if you want to continue enjoying these plants, you can pull the amaryllis bulbs from dormancy in late winter or early spring.
Continuous Blooms: Planting during this season can yield additional blooms by the late spring or early summer months.
Outdoor Planting
Spring (March to May):
If you live in a region where amaryllis can be planted outdoors (USDA Hardiness Zones 8-11), spring is the best time to plant them. This timing ensures that the plants grow during the warmer months and can thrive in the sunlight and warmth.
Soil Preparation: Ensure the soil is well-draining and enriched with organic matter.
Post-Bloom Care:
If you are planting outdoor amaryllis bulbs after they’ve bloomed indoors, wait until the frost has passed. This usually means waiting until late spring to replant your healthy bulbs outside.
Additional Factors to Consider
While seasonality is crucial, several other factors influence the ideal planting time for amaryllis:
Climate:
The local climate will significantly affect planting times. For instance, in tropical regions, amaryllis can be planted outside almost any time, as long as the ground is warm.
Light Conditions:
Amaryllis prefers bright, indirect sunlight, especially when indoors. If you’re planting your bulbs outdoors, choose a location that receives at least six hours of sunlight daily.
Bulb Treatment:
Before planting, inspect the bulbs for any signs of rot or disease. Healthy bulbs are firm and heavy; discarding any that feel soft or look diseased will lead to better success rates.
How to Plant Amaryllis
The specific steps for planting amaryllis will set you up for success, whether indoors or outdoors:
Indoor Planting Steps
Choose Your Bulbs: Select healthy bulbs from a reputable source. Aim for larger bulbs, as they tend to produce bigger flowers.
Select the Right Pot: Choose a pot that is about 1-2 inches wider than the bulb and at least 6-8 inches deep. Ensure it has good drainage holes.
Soil Preparation: Use a well-draining potting mix, ideally a soil mix designed for bulbs. This mix typically contains components like peat moss, perlite, and vermiculite to provide excellent drainage while retaining some moisture.
Planting the Bulb:
Fill the pot about halfway with the potting mix.
Place the amaryllis bulb on top of the soil, ensuring that the neck of the bulb (where it meets the leaves) is above the soil surface. About one-third of the bulb should be exposed above the soil line.
After positioning the bulb, fill in around it with additional soil, gently pressing down to eliminate any air pockets.
Watering:
After planting, water the bulb lightly. Make sure not to overwater; the soil should be moist but not soggy. Overwatering can lead to bulb rot.
Placement:
Place the pot in a warm, dimly lit area initially. This will encourage the bulb to develop roots. Once the leaves start to emerge, you can move the pot to a brighter location.
Care:
Water the plant regularly but ensure that the top inch of soil dries out between waterings. Amaryllis does not like to sit in waterlogged soil.
Fertilize every 4-6 weeks with a balanced fertilizer once growth begins.
Outdoor Planting Steps
Choosing Location:
Find a spot in your garden that has well-drained soil and plenty of sunlight. Avoid areas where water tends to collect.
Soil Preparation:
Turn the soil and mix in compost or well-rotted manure to enrich it. Amaryllis bulbs thrive in nutrient-rich environments.
Planting:
Dig a hole that’s about 6-8 inches deep. Place the bulb in the hole with the neck of the bulb just above the soil line, similar to indoor planting.
Space bulbs about 10-12 inches apart for optimal growth, considering their mature size.
Watering:
After planting, water the bulbs well to help settle the soil around them. After that, maintain a regular watering schedule during the growing season.
Mulching:
Apply a layer of mulch to help retain moisture, suppress weeds, and regulate soil temperature.
Care:
During the growing season, fertilize the bulbs every 4-6 weeks to promote healthy foliage and blooms.
Monitor for pests such as aphids and spider mites, and manage them as needed.
Caring for Amaryllis After Blooming
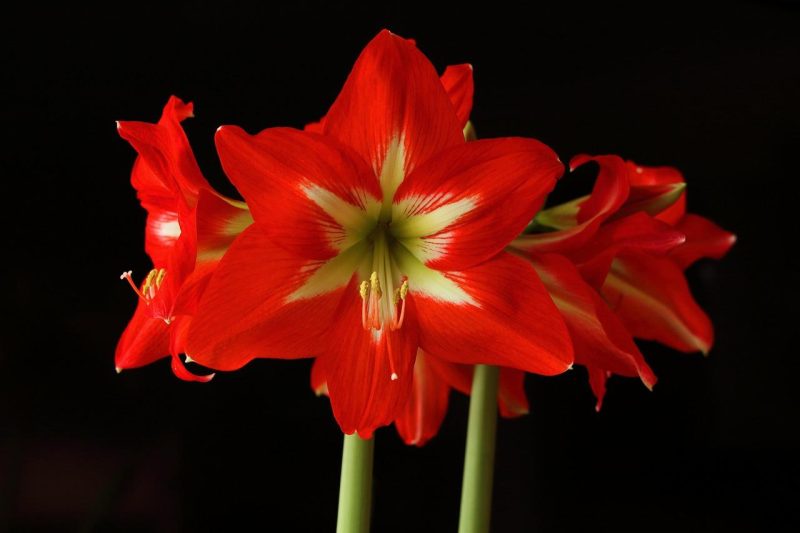
Once your amaryllis has finished blooming, it enters a dormant phase, during which it requires special care:
Cutting Back:
After the blooms fade and turn brown, cut the spent flower stalk to prevent the plant from putting energy into seed production. Allow the leaves to remain as they help the bulb store energy for the next year’s growth.
Leaf Care:
Continue to care for the plant while the leaves remain green. Water and fertilize as you did before the blooming period, allowing the leaves to photosynthesize and feed the bulb.
Dormancy:
After the leaves yellow and die back (usually in late summer), stop watering and allow the bulb to enter dormancy.
For indoor bulbs, you can either leave them in their pots or carefully remove them and store them in a cool, dark place until it’s time to plant again (typically around late fall).
Storage:
Store the bulbs in a paper bag in a dry area with good air circulation. Avoid storing them in plastic bags, as this can trap moisture and lead to rot.
Common Mistakes to Avoid
To maximize your success with amaryllis, be aware of some common pitfalls:
Overwatering: Allow the top layer of soil to dry out between waterings. Excess moisture can lead to bulb rot.
Using Too Large a Pot: A pot that’s too large can hold excessive moisture, which can destabilize the bulb. Stick to containers that are appropriately sized.
Ignoring Light Conditions: Amaryllis needs plenty of bright, indirect light for optimal growth. If indoor plants aren’t thriving, consider relocating them.
Skipping Fertilization: Fertilizing is essential to helping your bulbs store energy for future blooms. Don’t forget to feed your amaryllis during the growing season.
Conclusion
Planting amaryllis can be a rewarding experience that yields beautiful blooms in a variety of settings. By understanding the best times to plant and following proper care techniques, you can enjoy these vibrant flowers during their peak times—whether for the holidays or throughout the growing season.
Whether you’re planting outdoors for spring shows of color or preparing a stunning display for the winter holidays, knowledge of the timing and care specifics can make all the difference.


