In this guide, we will cover everything you need to know about propagating English Ivy successfully.
Understanding English Ivy
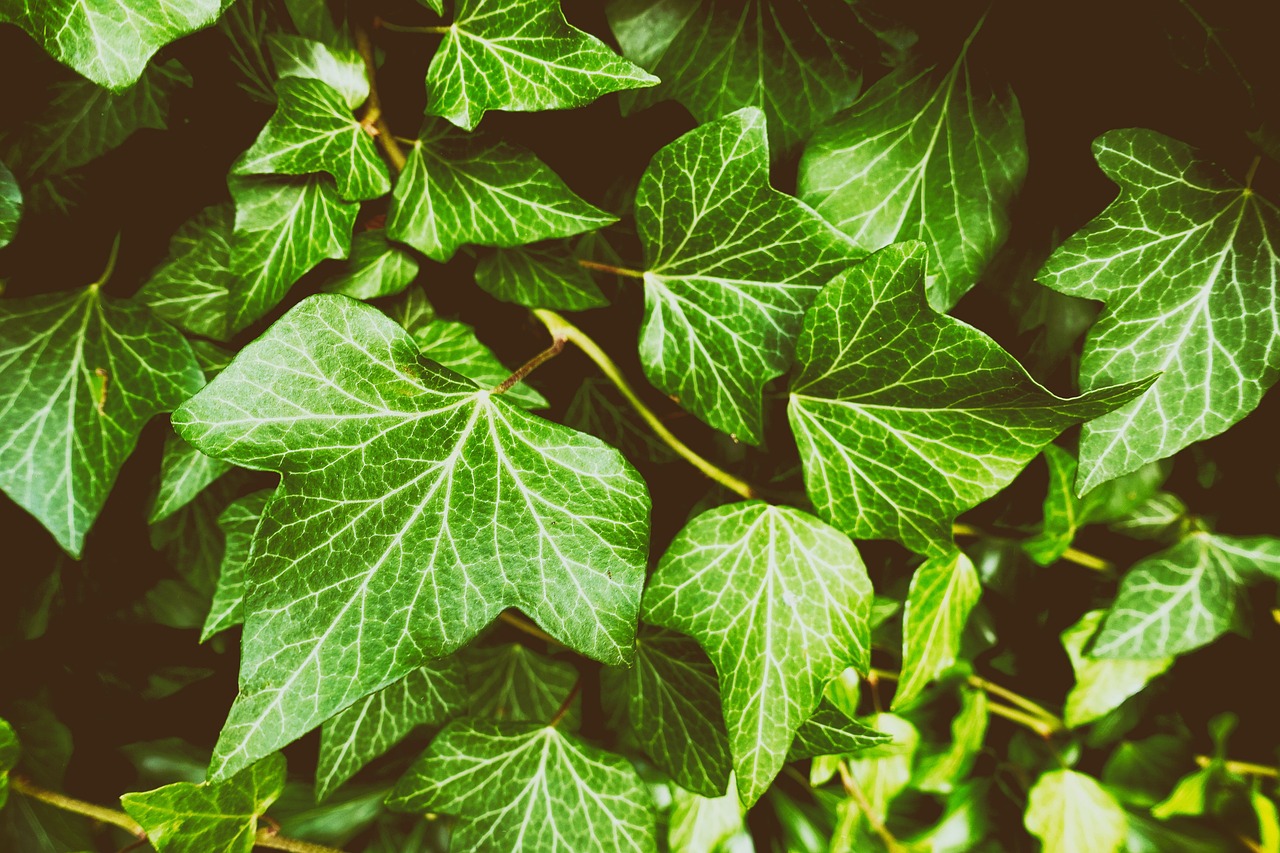
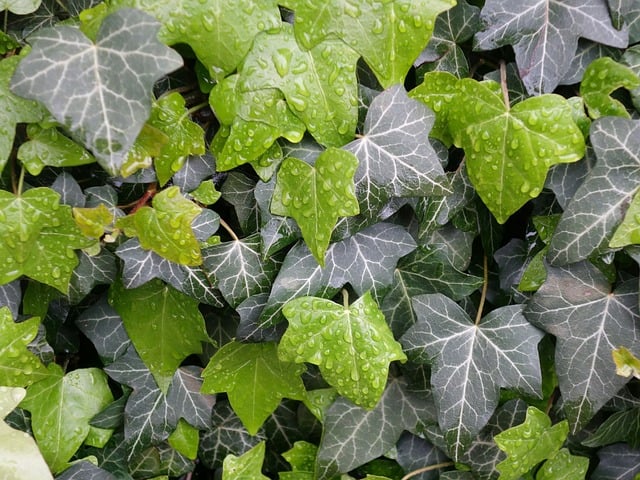
Before getting started with propagation, it’s helpful to understand what makes English Ivy special. This climber is appreciated for its heart-shaped leaves that can range in color from deep green to variegated shades of cream and yellow. Ivy is not only aesthetically pleasing but also serves a practical purpose: it can help purify the air in your home and provide excellent ground cover in gardens.
Benefits of Propagating English Ivy
Cost-Effective: Instead of purchasing new plants, you can create an entire collection from just a few cuttings.
Control Over Growth: By propagating your own ivy, you can manage the growth and ensure the health of your plants.
Sharing: If you enjoy gardening, propagating Ivy allows you to share your plants with friends and family.
The Best Time to Propagate English Ivy
The ideal time to propagate English Ivy is during the spring or early summer when the plant is actively growing. This season allows for optimal growth and root development, leading to a higher success rate.
Methods of Propagation
There are two primary methods to propagate English Ivy: water propagation and soil propagation. Below, we will detail both methods, so you can choose the one that best suits your needs.
Water Propagation
Select a Healthy Stem: Look for a healthy stem that has several leaves and at least one node (a small bump on the stem where leaves grow).
Take Cuttings: Using clean, sharp scissors or pruning shears, cut a 4 to 6-inch section of the stem just below a node.
Remove Lower Leaves: Strip off the leaves from the lower half of the cutting. This step helps the cutting focus its energy on root development without leaves decaying in the water.
Place in Water: Submerge the cutting in a glass of water, ensuring the node is fully submerged while the leaves remain above the waterline. Place the glass in a bright, indirect light location.
Change the Water Regularly: To prevent bacteria buildup, change the water every few days. In about 2 to 4 weeks, you should see roots beginning to sprout from the node.
Transfer to Soil: Once your cutting has developed roots that are a few inches long, you can transplant it into a pot filled with quality potting soil.
Soil Propagation
Choose a Healthy Stem: Similar to water propagation, select a healthy stem with several leaves and a node.
Prepare the Cutting: Cut a section of the stem (4 to 6 inches) just below a node.
Remove Lower Leaves: Again, strip the lower leaves from the cutting.
Plant the Cutting: Immediately stick the cutting into a container filled with moist potting soil, burying the node completely.
Create a Humid Environment: Cover the pot with a plastic bag or a clear plastic dome to create a greenhouse effect, which maintains humidity. Ensure the plastic doesn’t touch the cutting.
Provide Light: Place the container in a spot with bright, indirect light. Keep the soil moist but not soggy.
Check for Roots: In about 3 to 4 weeks, gently tug on the cutting to see if there is resistance, which indicates root development.
Care for New Ivy Plants
Once your cutting has successfully rooted, whether in water or soil, it’s essential to provide proper care to ensure healthy growth.
Light: New Ivy plants thrive in bright, indirect sunlight. Avoid direct sunlight, as it can scorch the leaves.
Watering: Allow the top inch of soil to dry out before watering again. Overwatering can lead to root rot.
Fertilization: Once established, feed your Ivy with a balanced, water-soluble fertilizer every four to six weeks during the growing season (spring and summer).
Troubleshooting Common Issues
Yellow Leaves: This may indicate overwatering or inadequate lighting. Adjust the watering schedule and assess the light conditions.
Wilting: This usually signifies underwatering or extreme temperature changes. Check soil moisture and find a stable environment for your plant.