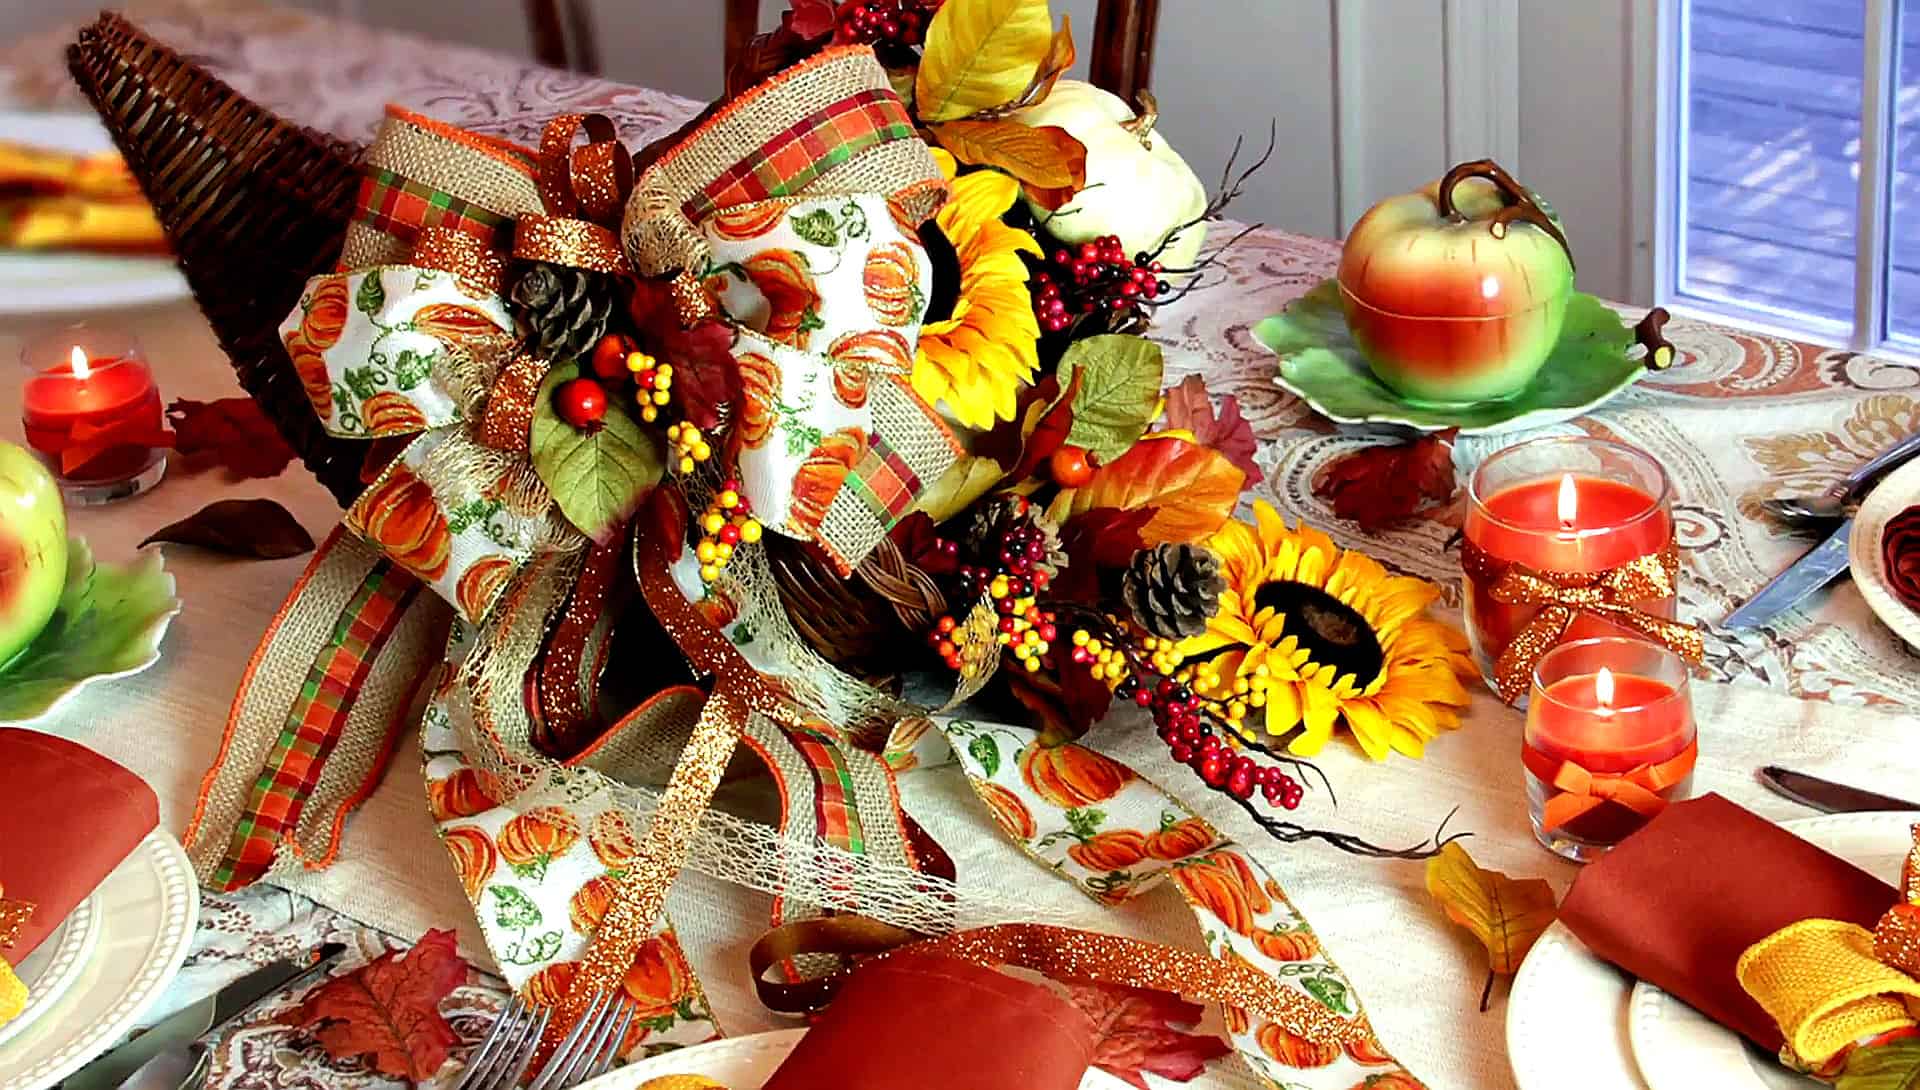
Hi, in this tutorial we will be making a handmade bow for a DIY Cornucopia Centerpiece. This Thanksgiving centerpiece is the perfect DIY decoration for beginners, so let’s get ready to create a festive fall centerpiece.
DIY Cornucopia Centerpiece
DIY Fall Centerpiece
In this DIY arts and crafts project, we will be making an elegant 20-loop bow for an autumn thanksgiving table setting.
Bow Genius
To make things easier will be using the Bow Genius Bow Maker (Buy Online).
Rustic Plaid Fall Ribbon
Start with a 2.5-inch Rustic Plaid Burlap Ribbon (Buy Online) that you can get in a wide range of fall colors.
Loop Plaid Ribbon
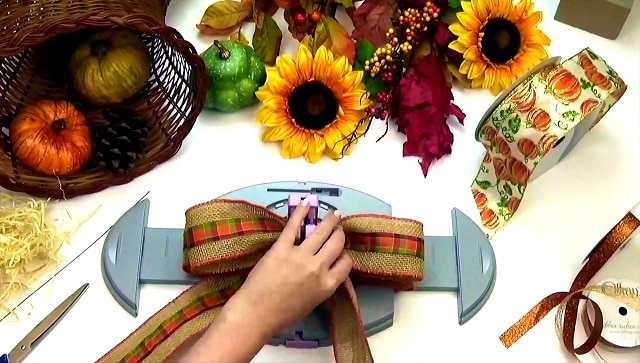
Twist the ribbon and push down on the spring-loaded center and make four loops. Each loop should be about five inches wide, and make sure to leave a twelve-inch tail.
Pumpkin Ribbon
Next, we’ll use a Pumpkin Ribbon (Buy Online) on top of the burlap ribbon.
Loop Pumpkin Ribbon
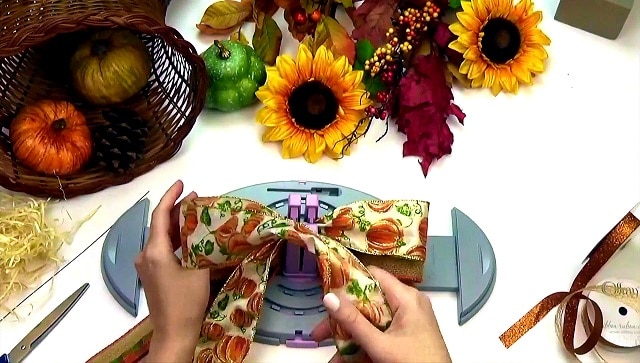
Repeat the same steps that you did earlier with the pumpkin ribbon making four loops approximately five inches wide.
Narrow Lace Ribbon
At this point, we’ll use a narrow Lace Ribbon (Buy Online) to accent the larger ribbons.
Loop Lace Ribbon
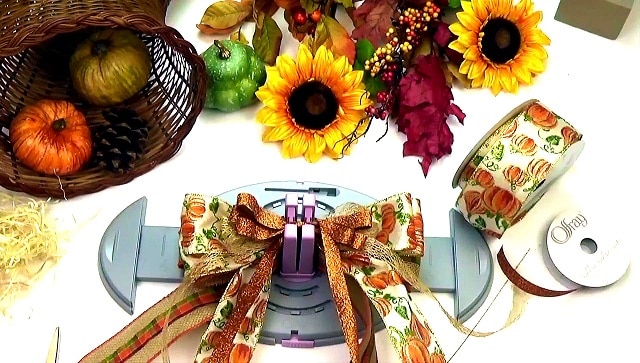
Follow the same steps you did earlier, but this time we’re going to make a total of six 4-inch loops.
Finish Bow
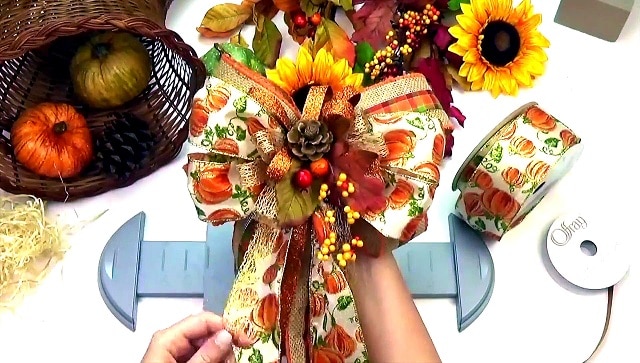
You should have a total of 20 loops, and now you can lift the bow and secure it with wire. Then you can hot glue some fall-inspired decorations to the center of the bow.
Cornucopia Basket
We made this bow to accent a Cornucopia Basket (Buy Online)
Cornucopia Decor
You can fill the cornucopia with Cornucopia Decorations (Buy Online) like sunflowers, leaves, acorns, berries, and gourds.
Attaching the Bow To Cornucopia Basket
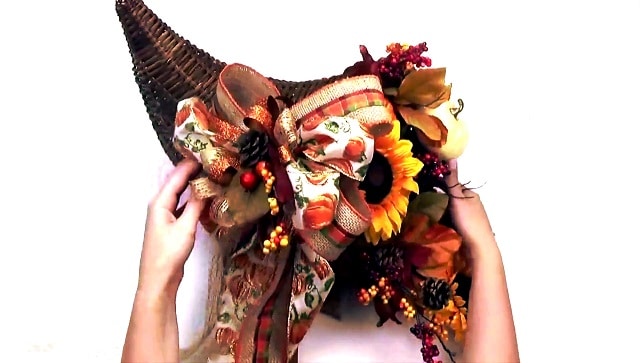
Now you can attach the bow to the cornucopia using wire or hot glue to ensure it stays securely in place.
Finished Fall Centerpiece
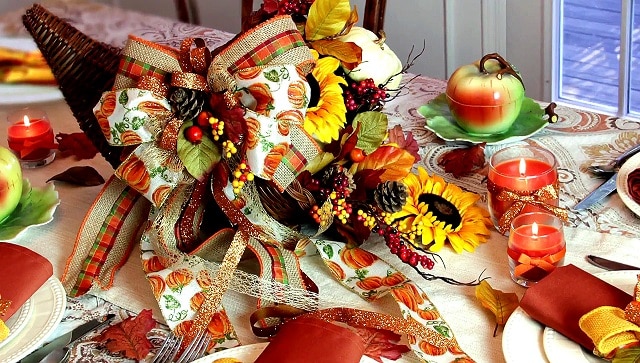
Your guests will love your fall centerpiece and you might even get some compliments about your beautiful DIY cornucopia centerpiece.


