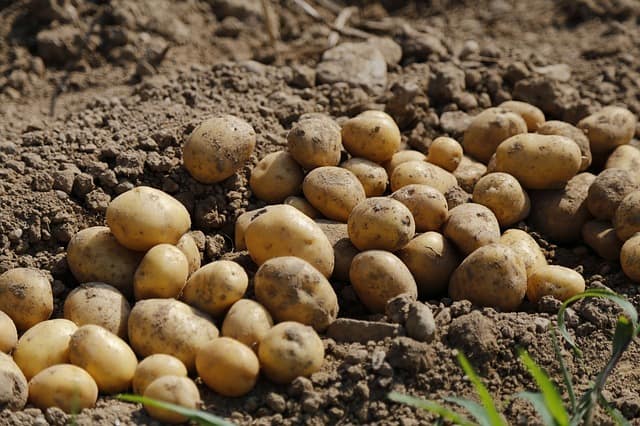
In this blog post, we’ll cover everything you need to know about harvesting potatoes, including timing, methods, storage, and common pitfalls to avoid.
Why Harvesting Time Matters
The timing of your potato harvest can significantly affect the quality and quantity of your yield. Potatoes can be classified into two categories: early and late varieties. Early potatoes are typically harvested a few weeks after flowering, while late varieties can stay in the ground longer, developing a thicker skin for better storage.
Signs That Potatoes Are Ready for Harvest
Flowering: Most potato plants will begin to flower when the tubers have developed, but this isn’t always a foolproof indication of readiness.
Foliage Changes: As the potatoes mature, the foliage will start to yellow and die back. This is a key sign that the potatoes are ready for harvest. Typically, wait 2-3 weeks after the leaves have died back before harvesting late varieties.
Storage Needs: If you intend to store your potatoes for long periods, allow them to mature fully until their skins are firmly set.
Preparing for Harvest
Before you start the harvest, gather the following tools:
Garden Fork or Trowel: A garden fork is ideal for larger patches, while a trowel works well for smaller gardens.
Gloves: Protects your hands from dirt and sharp edges.
Container/Bag: A basket, bucket, or burlap sack is great for collecting your potatoes.
Trenching Tool (optional): For those with larger potato beds, you might consider a trenching tool for more efficient harvesting.
Weather Conditions
Choose a dry day for harvesting. Excessive moisture can make the soil sticky, leading to damage to the tubers. If the soil is too wet, the potatoes can become muddy and more prone to bruising.
Harvesting Techniques
Step-by-Step Harvesting Process
Start at the Edge: If you grew your potatoes in a row, begin harvesting at one end. This helps you systematically check the rows without disturbing nearby plants.
Loosen the Soil: Gently insert your garden fork or spade into the ground about 12 inches from the base of the plant. Loosen the soil without piercing the potatoes. Work your way towards the plant base.
Lift the Tubers: Carefully lift the plant and the attached tubers from the soil. Use your hands to dig out any remaining potatoes, being cautious not to puncture them.
Inspect Your Harvest: Look for any signs of rot or damage. Discard those tubers to prevent spoilage of the good potatoes.
Clean Carefully: Brush off excess dirt but avoid rinsing them with water, as moisture can cause rot during storage.
Storing Your Harvest
Proper storage is key to enjoying your potatoes well into the winter months. Here are some guidelines:
Curing: Allow potatoes to cure in a dark, well-ventilated area for 1-2 weeks. This helps to thicken their skins and prepare them for storage.
Ideal Storage Conditions: Store potatoes in a cool, dark place with temperatures around 45-50°F (7-10°C). Avoid light exposure, as this can lead to greening and solanine production.
Containers: Use breathable containers such as burlap sacks, paper bags, or wooden crates. Avoid plastic bags as they trap moisture and lead to rot.
Check Regularly: Periodically check your stored potatoes for signs of spoilage, and remove any that start to go bad.
Common Pitfalls to Avoid
Harvesting Too Early: Early harvesting can result in smaller yields with immature tubers.
Not Waiting After Foliage Die-Back: Harvesting too soon after the plants have died back can lead to thin-skinned, less durable potatoes.
Ignoring Soil Conditions: Wet soil can lead to bruising or cuts on tubers. Always choose a dry day if possible.
Improper Storage: Failing to cure potatoes or storing them in the wrong conditions can lead to spoilage.
Final Thoughts
Harvesting potatoes can be a satisfying and enjoyable experience, turning your hard work in the garden into delicious meals for your family. With some patience and proper techniques, you can ensure a bountiful harvest. So, grab your tools, check the weather, and get ready to dig up your garden’s hidden treasure!


