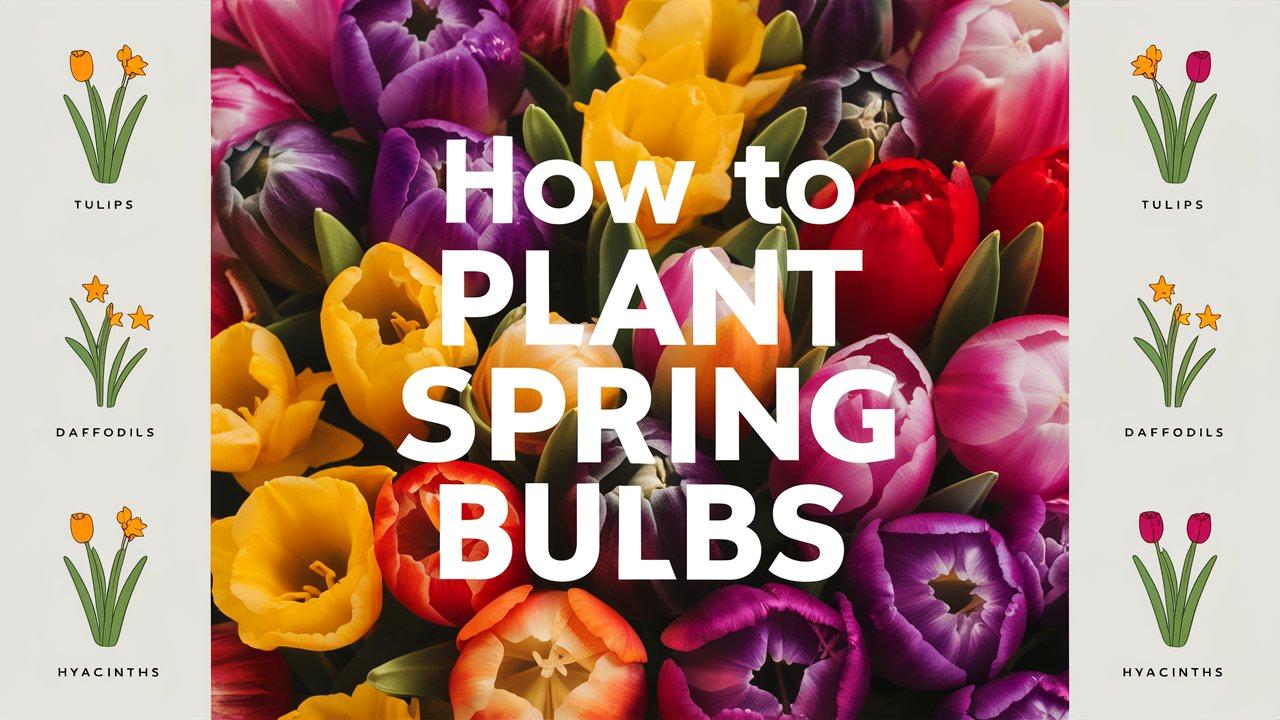
Planting spring bulbs can be one of the most rewarding gardening activities. Dreaming of a burst of colorful blooms that herald the arrival of spring is not just a fantasy; it can be a reality with careful planning and execution.
In this extensive guide, we will explore how to plant spring bulbs effectively, covering the types of bulbs to consider, ideal planting times, soil preparation, planting techniques, watering and care, and maintenance through the seasons.
Fall-Planted Spring Bulbs
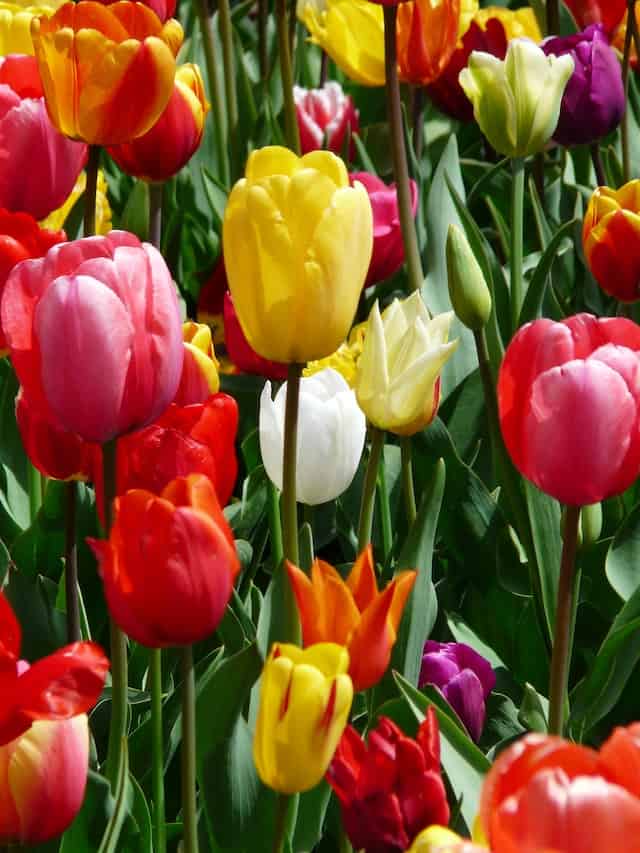
Tulips: These classic favorites come in various colors and shapes, and they bloom in early to late spring, depending on the variety. They’re easy to grow and can thrive in many soil types.
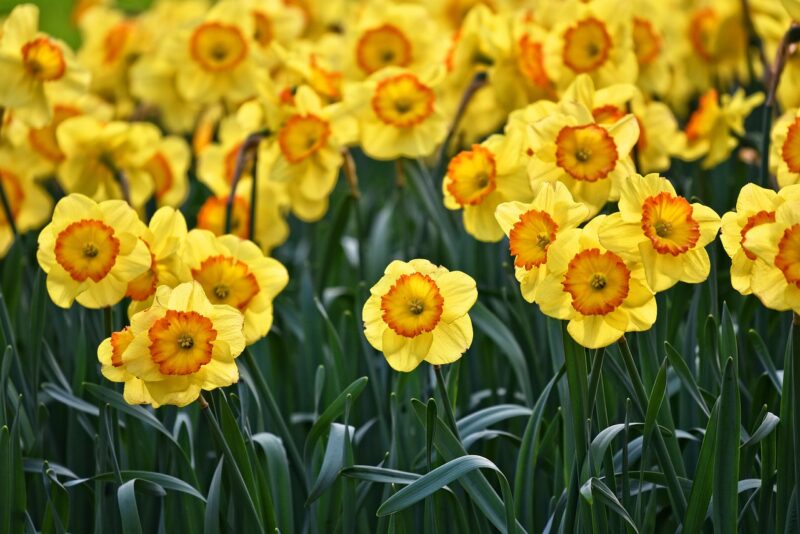
Daffodils (Narcissus): Known for their cheerful yellow and white blooms, daffodils are hardy and naturalize well in gardens. Their toxicity to animals also makes them pest-resistant.
Hyacinths: Offering a strong fragrance, hyacinths bloom in clusters and come in rich, vibrant colors. They’re perfect for borders or containers.
Crocus: These early bloomers often peek through the snow, signaling the end of winter. They are small and work well in rock gardens or as ground cover.
Spring-Planted Summer and Fall-Blooming Bulbs
Lilies (Lilium): If you plant lily bulbs in spring, you can expect stunning, tall flowers that bloom in summer. They come in a range of colors and styles, from Asiatic to Oriental lilies.
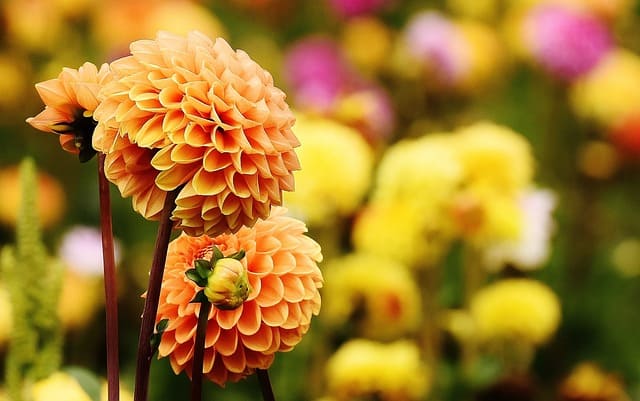
Dahlia: These bulbs are categorized as tubers and need to be planted in late spring. They bloom from mid-summer into fall, producing magnificent, showy flowers.
Gladiolus: Known for their tall flower spikes, gladiolus are typically planted after the frost has passed. They can bloom from summer into fall, making great cut flowers.
Understanding these bulbs and their characteristics is crucial for effective planting and care.
Choosing the Right Location
Light Requirements
Most spring bulbs thrive in sunny locations with at least six hours of sunlight per day. However, some bulbs, like daffodils and crocus, can tolerate partial shade. Always check the light requirements for the specific bulbs you choose to ensure they flourish.
Soil Conditions

Spring bulbs prefer well-drained soil; excessive moisture can lead to rot. Conduct a soil test to determine pH and nutrient levels. Ideally, the pH should be slightly acidic to neutral (6.0 to 7.0). Amend your soil with organic matter, such as compost, to enhance drainage and fertility.
Space Considerations
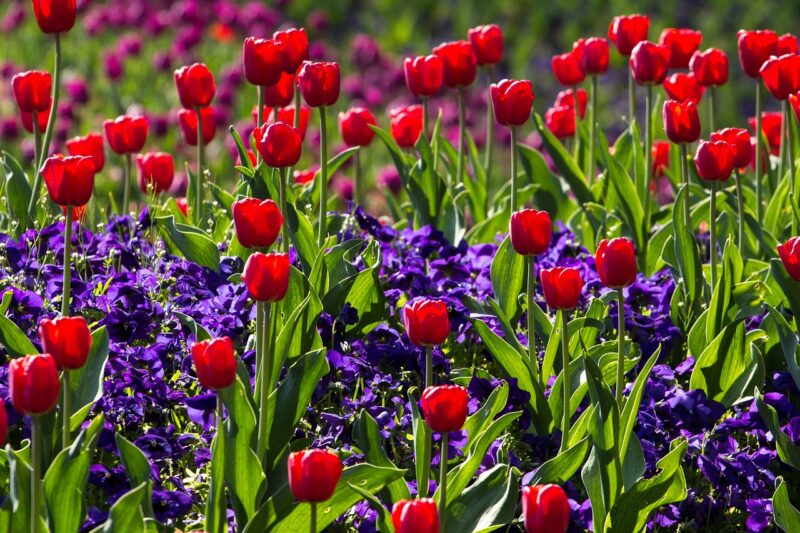
When planting bulbs, consider the mature size of the plant to avoid overcrowding. Larger bulbs should be spaced further apart than smaller ones. Plan your planting layout, keeping in mind how the flowers will complement each other in color, height, and bloom time.
Planning for Planting
Timing is Everything
For most spring-flowering bulbs, the ideal planting time is in the fall, about six to eight weeks before the ground freezes. This allows the bulbs to root before winter, ensuring a dazzling display in spring. Conversely, summer-flowering bulbs should be planted in late spring after the danger of frost has passed.
Selecting Quality Bulbs
When choosing bulbs, look for firm, plump specimens free from mold and soft spots. The size of the bulb often correlates with the size of the flower: larger bulbs typically produce larger blooms. Purchasing from reputable sources can ensure quality.
Preparing for Planting
Soil Preparation
Before planting, prepare your garden bed by tilling the soil to a depth of about 12 inches. Remove debris, rocks, and weeds that could hinder bulb growth. Mix in organic compost to improve soil structure and fertility, ensuring that the soil remains well-draining.
Testing Drainage
Perform a simple drainage test by digging a hole about 12 inches deep and filling it with water. If it drains within an hour, the soil is well-drained. If not, consider raised beds or amending with sand and organic material to improve drainage.
Planting Techniques
Planting Depth
The general rule for planting bulbs is to place them at a depth of three times their height. For instance, a tulip bulb (about 2 inches tall) should be planted around 6 inches deep. These depths help protect the bulbs from temperature fluctuations and encourage healthy root development.
Orientation Matters
When planting bulbs, it’s vital to position them correctly. Place the bulb with the pointed end facing upwards. If unsure, you can place bulbs on their sides; they will still orient themselves correctly as they grow.
Watering After Planting
Once planted, water bulbs thoroughly. The moisture is crucial for initiating the rooting process. However, avoid waterlogging, as this could lead to bulb rot. If it rains regularly, supplemental watering may not be necessary until the spring growth emerges.
Mulching
Applying a layer of mulch after planting helps retain moisture, suppress weeds, and regulate soil temperature. Use organic mulch like bark or straw, but ensure it’s not too thick, as this might suffocate the bulbs.
Maintaining Your Bulbs
Watering and Fertilization
After planting, consistent watering is essential. Keep the soil moist but not soggy. For bulbs planted in spring for summer blooms, fertilizing with a balanced fertilizer during the growing season can promote robust growth and flowering.
Supporting Tall Blooms
Some bulbs, especially tall varieties like lilies and gladiolus, may need support to stand upright as they grow. Use plant stakes or cages, placing them in the ground before the plants become top-heavy.
Deadheading and Care After Blooming
Once your bulbs have blossomed, remove spent flowers to prevent the plants from expending energy on seed production. Allow the foliage to remain until it turns yellow and withers, as this is essential for the bulbs’ energy storage for the next blooming cycle.
Troubleshooting Issues
Addressing Pests and Diseases
Spring bulbs can be prone to pests such as aphids and fungal diseases. Regularly inspect plants for signs of infestations or disease. Neem oil or insecticidal soap can deter pests, while good air circulation helps prevent fungal issues. Always ensure you plant healthy bulbs to avoid introducing diseases into your garden.
Dividing Bulbs
Over time, some bulbs can become crowded or produce fewer blooms. Dividing them every few years helps rejuvenate their growth. This is typically done after the foliage has fully withered in the summer. Carefully dig up the bulbs, separate them, and replant them while following the aforementioned planting guidelines.
Seasonal Considerations
Spring Care
As spring approaches, monitor your bulbs for new shoots and emerging flowers. Regularly check for weeds and any signs of disease or pest damage. A light application of fertilizer in early spring can also provide a nutrient boost.
Summer Bulb Care
For bulbs that bloom in summer, this is the time for regular watering and monitoring for pests. Ensure that plants are staked if necessary, and continue deadheading to promote ongoing blooms.
Fall Preparation
Once summer blooms fade, begin preparing for the fall planting of spring bulbs. Clean up any debris and plan your layout for new bulbs. Evaluate areas that may need more sun or improved drainage.
Conclusion
In conclusion, planting spring bulbs can be a straightforward yet fulfilling gardening task that rewards you with breathtaking blooms. By understanding the types of bulbs, choosing the right location, preparing the soil, and following proper planting techniques, you can ensure a vibrant display every spring. Seasonal care, pest management, and proper maintenance will keep your bulb garden flourishing for years to come.
Armed with this knowledge, you are now equipped to tackle the planting of spring bulbs with confidence. Watch as your garden transforms into a colorful haven filled with life and beauty as the seasons change!


