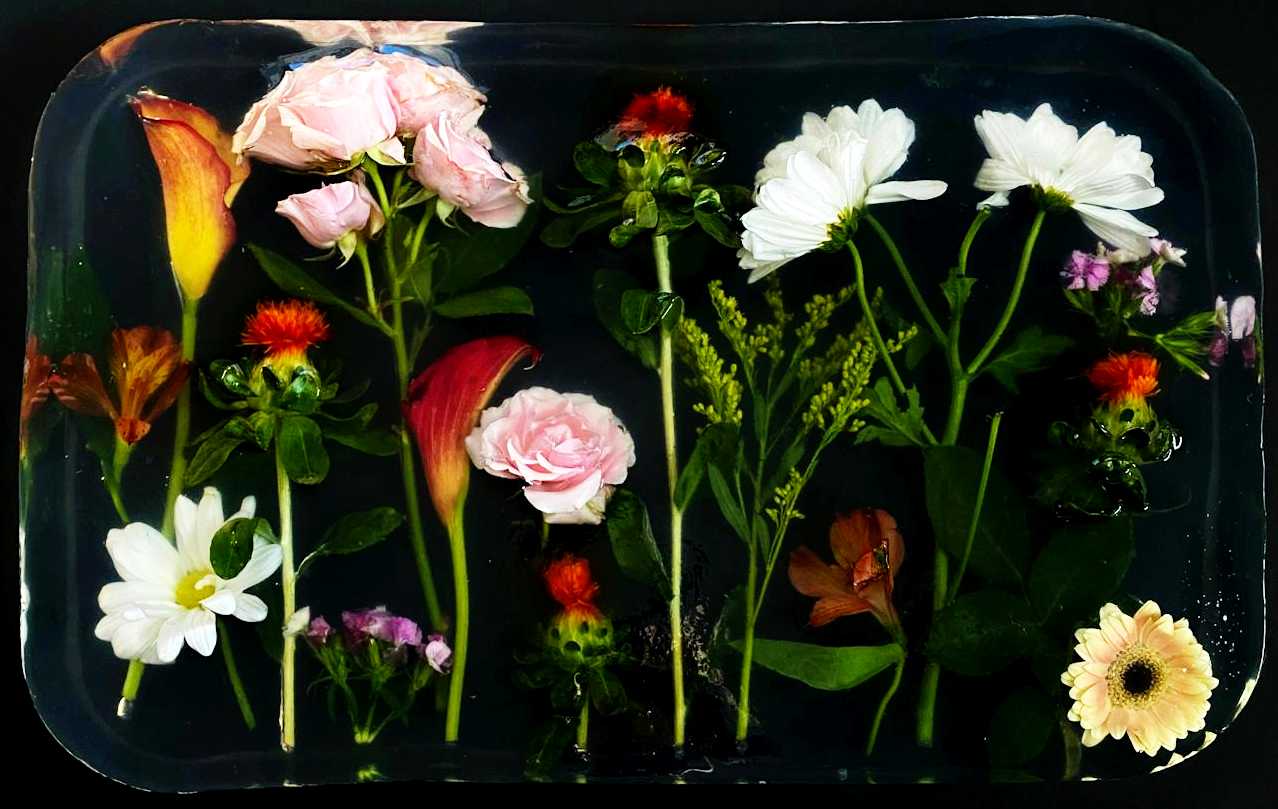
Flowers are a beautiful reminder of special moments, but their fleeting beauty often fades too quickly. Resin casting offers a stunning and long-lasting solution to preserving floral memories. In this blog post, we’ll break down the process of creating beautiful resin flower castings, guided by the following insightful video.
Resin Flower Preservation DIY
Step1: Prepare and Dry Your Flowers
Begin by carefully selecting your flowers. Choose blooms that are in good condition and free from damage.
Select your flowers: Consider the size and type of flower you want to preserve. The video uses a rose, but you can experiment with other blooms.
Trim the stem: Gently trim the stem at a 45-degree angle, maximizing the surface area for moisture removal. This will help the flower dry more evenly.
Choose a drying method: The video uses silica gel crystals for drying, which is a quick and effective method. However, you can also use other methods like air drying or press drying.4 6
Prepare the drying container: Select an airtight container that can accommodate your flower without crushing it.
Submerge the flower: Partially fill the container with silica gel crystals, then carefully place the flower stem down into them. Gradually pour more crystals around the flower until it’s completely submerged.
Seal the container: Seal the container airtight and let the crystals work their magic for a few days.
Check for dryness: After a few days, check the flower’s dryness. The petals should feel crunchy and brittle, similar to an autumn leaf.If the flower isn’t completely dry, return it to the crystals for a few more days.
Step 2: Secure Your Flower in the Mold
Once your flower is completely dry, you can position it in your chosen mold.
Select a mold: Choose a mold that complements your flower. The video uses a cube mold, but you can find molds in various shapes and sizes.
Prepare the flower: Remove any damaged or broken petals before securing your flower in the mold.These can become transparent in the resin, affecting the overall look.
Create a clamp: Use two lollipop sticks taped together at both ends as a base for your clamp.Pierce a cocktail stick through the center of your flower, being careful not to go all the way through the stem.Insert the other end of the cocktail stick between the lollipop sticks.
Position the flower: Adjust the clamp and flower in the mold to achieve the desired position.
Secure the flower: Once you’re satisfied with the placement, gently press the flower into the mold, making sure it’s secure and stable.
Step 3: Mix and Pour Your Resin
The video uses GlassCast 50 resin, a two-part epoxy system. Always refer to the safety and technical data sheets for your chosen resin system before working with it.
Read safety instructions: Always review the safety and technical data sheets for your chosen resin system before working with it.This will ensure you understand the proper handling and safety precautions.
Measure and mix: Carefully measure and mix the resin and hardener according to the manufacturer’s instructions. Thorough mixing is crucial for a successful casting.
Double potting: Double potting (mixing the resin twice in separate cups) is recommended to ensure no unmixed resin ends up in your project. This will help achieve a smooth and consistent finish.
Remove air bubbles: Allow the resin to stand for a minute or two after mixing to allow any bubbles to rise to the top and pop.You can use a heat gun or a hairdryer to gently pop any remaining bubbles, but avoid using too much heat, as it can damage the flower.
Pour the resin: Pour the resin slowly and carefully into the mold, aiming for the base of the mold and avoiding direct contact with the flower. Allow the resin to settle and firm up before adding additional layers.
Step 4: Cure and Demold
The resin will need time to cure completely. The exact curing time will vary depending on the resin type, temperature, and humidity. Check the manufacturer’s instructions for specific curing times.
Once the resin is fully cured, carefully demold your casting. Be cautious as the cured resin can be sharp and fragile.
Step 5: Flatten and Polish
The top surface of your casting may have a sharp meniscus, a curved edge where the resin met the mold. To create a smooth, polished finish, use the sandpaper and polishing compound provided in the starter kit. Sand the surface in alternating directions, gradually increasing the grit level until you reach a smooth finish. Finally, polish the surface to a high gloss using the polishing compound.
Conclusion
Resin flower casting is a beautiful and rewarding craft that allows you to preserve the beauty of your favorite blooms. By following the steps outlined in this blog post, you can create stunning and unique floral pieces that will last for years to come. Don’t be afraid to experiment and explore different flower types, molds, and resin colors to create your own unique floral masterpieces!