Ginger, known scientifically as Zingiber officinale, is a versatile and aromatic plant that offers both culinary delights and a multitude of health benefits. Its growth process is remarkably fulfilling and can be successfully achieved even in the confines of your home.
Whether you are a seasoned gardener or a curious beginner looking to experiment with indoor gardening, this comprehensive guide will provide you with everything you need to know about growing ginger indoors, from its planting and care to harvesting and culinary applications.
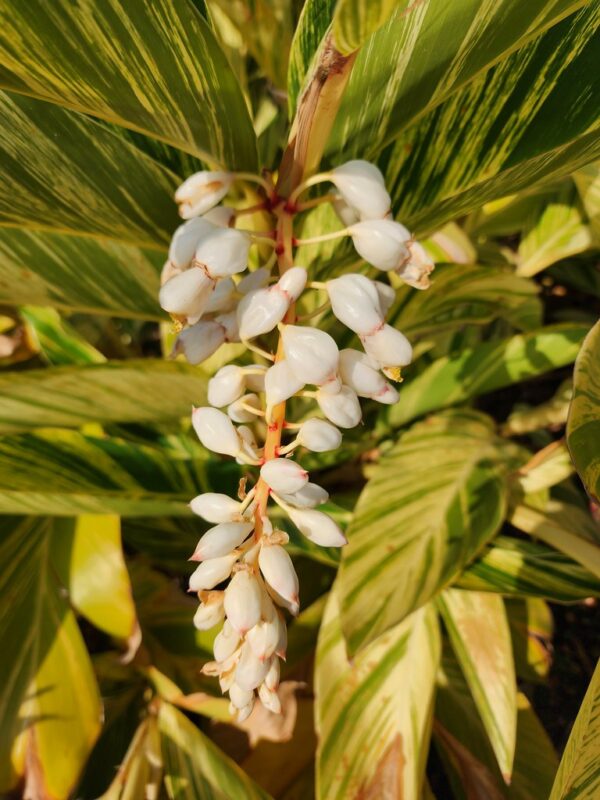
The Allure of Ginger
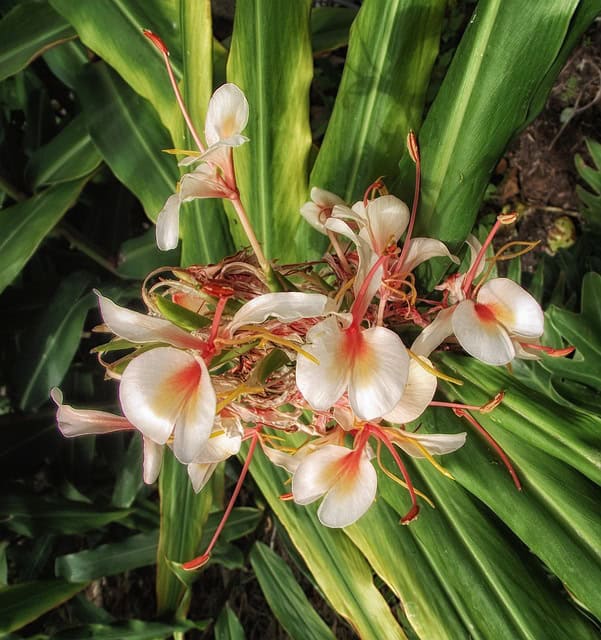
Before we delve into the nitty-gritty of growing ginger indoors, let’s take a moment to appreciate what makes this spice so beloved around the world. With a history dating back thousands of years, ginger has been cherished not just for its bold flavor but also for its medicinal properties. From soothing digestive issues to providing anti-inflammatory benefits, ginger’s potential is vast and intriguing.
Moreover, the thrill of nurturing an exotic plant within your living space can be deeply satisfying. Imagine plucking fresh ginger from your own indoor garden to enhance a stir-fry or brew a comforting ginger tea on a cool evening. This connection to the earth, even within the walls of your home, cultivates a sense of purpose and achievement.
Selecting the Right Ginger Rhizome
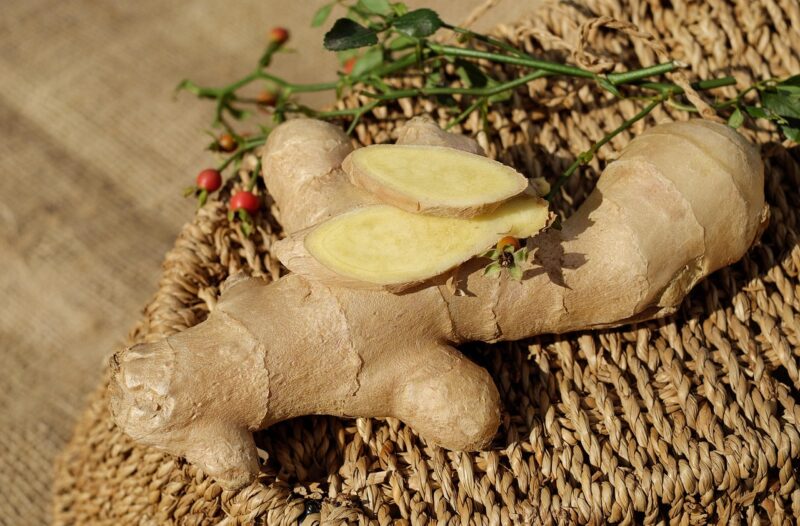
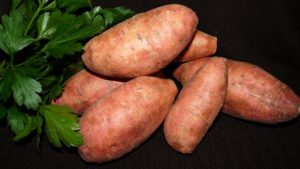
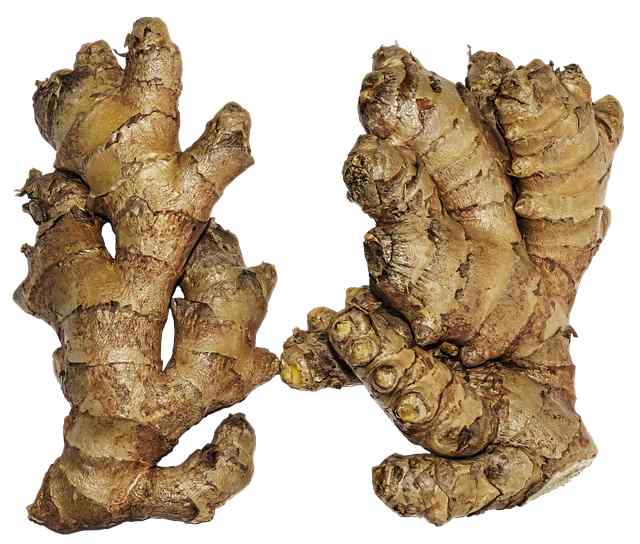
To embark on your ginger-growing journey, the first step is acquiring the right planting material. The most suitable choice is a fresh ginger rhizome, characterized by its firm texture and vibrant, plump appearance. When selecting your rhizome, look for:
Health: Choose organic roots whenever possible, as they are less likely to be treated with growth inhibitors. Check for signs of mold, soft spots, or shriveling.
Eyes: Much like potatoes, ginger has “eyes” from which new shoots will grow. A rhizome with several healthy eyes will yield a better harvest.
Size: A root that is around 4-6 inches long is typically ideal for planting.
You can often find ginger rhizomes at local grocery stores, farmers’ markets, or specialty herb shops. If you have friends in the gardening community who grow ginger, consider asking them for a piece of rhizome to start your journey.
Preparing the Rhizome for Planting
Once you’ve sourced your ginger rhizome, it’s essential to prepare it adequately to stimulate growth. To kickstart the process, follow these steps:
Soaking: Immerse the rhizome in warm water overnight. This hydration helps awaken the dormant eyes and encourages sprouting.
Cutting: If the rhizome is large, you can cut it into pieces, ensuring that each section contains at least one eye. Let the cut edges sit and dry for a day or two, allowing a protective shell to form, which helps prevent rot when planted.
Sprouting: After curing the pieces, place them in a warm, humid environment to allow sprouting. You can create this ambiance by enclosing the rhizome in a damp paper towel, inside a plastic bag, and keeping it in a warmth-optimizing location.
Choosing the Right Container
Selecting a pot for your ginger is equally important. Ginger thrives in a spacious environment and prefers to be somewhat root-bound. For optimal growth, consider using:
Size: A wide planter with a depth of at least 12 inches should suffice. A larger pot allows the roots room to expand while making it easier for you to manage moisture levels in the soil.
Material: Terracotta pots allow moisture to escape, reducing the risk of overwatering, while plastic containers retain moisture but can lead to rot if drainage is not sufficient.
Drainage: Regardless of the container, ensure it has drainage holes at the bottom. Amending a pot with pebbles or adding extra holes can further promote proper drainage.
Selecting the Ideal Soil
Ginger prefers rich, well-draining soil that retains moisture without becoming soggy. To create the ideal blend, consider the following components:
Base Soil: A high-quality potting mix provides a good start. Look for one that contains organic matter for nutrients.
Amendments: You can incorporate compost, which adds both nutrients and increases the soil’s drainage capability.
Aeration: To improve aeration, adding perlite or sand helps create a looser texture, promoting healthy root growth. A general rule is to mix one part potting soil with one part compost and one part perlite.
Planting Your Ginger
After preparing the soil and container, it’s time to plant your ginger. The planting process is simple:
Fill the pot with your prepared soil mix, leaving about an inch of space at the top.
Position the rhizome with the eye pointing upward, ensuring it’s approximately 2-3 inches below the soil’s surface.
Cover it gently with soil, and water lightly to settle the soil around the rhizome.
Providing Optimal Growing Conditions
Ginger is a tropical plant at heart, and replicating its native environment will greatly influence its growth. Consider the following conditions:
Light: Ginger thrives in bright, indirect sunlight. Placing your pot near a window that receives filtered light provides the perfect conditions. If you notice the leaves stretching or turning yellow, it may indicate insufficient light.
Temperature: Ginger grows best in temperatures between 70-85°F (21-29°C). If your home tends to be cooler, consider using a heat mat to maintain warmth to the roots. Protect the plant from cold drafts and exposure to temperatures below 50°F (10°C).
Humidity: High humidity is essential for healthy ginger. Pinch of leaves or misting your ginger regularly increases the humidity level around the plant. You can place a small humidifier nearby or set the pot on a tray filled with pebbles and water to create a humid microclimate.
Watering Essentials
Watering ginger requires a delicate balance. The plant enjoys consistent moisture but is susceptible to root rot. Here are watering tips:
Initial Care: In the first few weeks after planting, ensure that the soil remains continually moist but not soaked.
Routine: Once the plant establishes itself, water when the top inch of soil feels dry. During hotter months, ginger may require more frequent watering.
Signs of Overwatering: Yellowing leaves, wilting, or a mushy rhizome are indicators of overwatering. Always water your ginger in the morning to allow excess moisture to evaporate throughout the day.
Fertilizing for Robust Growth
Ginger is a nutrient-hungry plant that benefits from regular feeding. Incorporating the right fertilizers can help you achieve a lush and bountiful harvest:
Organic Options: During the growing season, you can apply a balanced organic fertilizer, such as fish emulsion or seaweed extract, every four to six weeks.
Nutrient Ratios: A balanced N-P-K (Nitrogen-Phosphorus-Potassium) fertilizer promotes leafy growth and healthy root development. Focus on a fertilizer with higher potassium for promoting rhizome growth, possibly using a ratio of 5-1-2 or similar.
Transitioning: As the growing season wanes and you approach harvest, reduce fertilizer application to focus the plant’s energy on mature rhizome growth.
Pests and Diseases
Despite ginger’s hardiness, it can be susceptible to certain pests and diseases, especially when grown indoors. Keeping a vigilant eye on your plant can prevent larger issues:
Common Pests: Aphids, spider mites, and mealybugs can plague indoor ginger. You can manage these using insecticidal soap or a homemade spray with neem oil.
Diseases: Fungal infections can crop up, particularly if overwatered. Early signs like blotchy leaves or mold can be treated with a disinfectant and reducing watering frequency.
Preventative Measures: Maintain good airflow around your plant and always use clean tools when handling or pruning.
The Excitement of Harvesting Ginger
One of the most gratifying moments in the ginger cultivation journey is the harvest. After several months of nurture, your patience finally pays off. Here’s how to know when to harvest and how to do it:
Timing: Generally, ginger can be harvested roughly 8-10 months after planting. The leaves will begin to yellow and die back, indicating it’s time to dig.
Harvesting Technique: Carefully remove the entire rhizome from the pot. Use a spade or your hands, taking care not to damage the roots. You can harvest part of the rhizome by slicing off a piece without uprooting the entire plant, which allows for continued growth.
Preserving and Storing Fresh Ginger
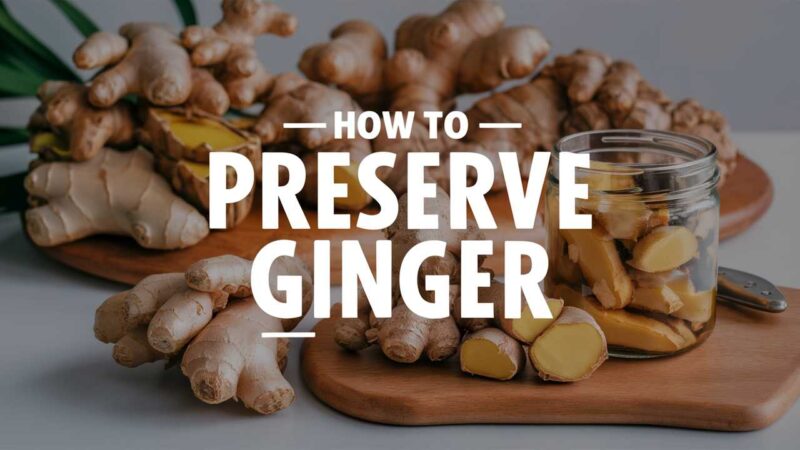
Having harvested your ginger, it’s crucial to know how to store and use it effectively. Fresh ginger retains its robust flavor and beneficial properties when handled correctly:
Refrigeration: Store harvested ginger in a paper towel within a sealed plastic bag in the refrigerator’s crisper draw. This method can keep it fresh for several weeks.
Freezing: For longer storage, consider peeling and freezing the ginger in chunks or grating it and freezing it in ice cube trays. This allows you to easily use portions in your cooking.
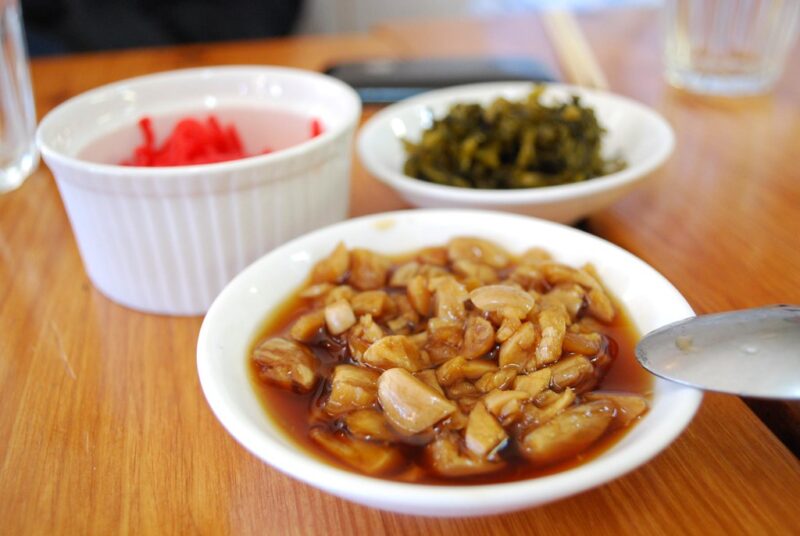
Drying: Alternatively, you can dehydrate ginger slices and store them in an airtight container for use in teas, soups, or spice blends.
Culinary Adventures with Ginger
Now that you’ve successfully grown, harvested, and stored your ginger, the possibilities in the kitchen are endless. Here are a few culinary adventures to embark on:
Ginger Tea: Steep fresh ginger slices in boiling water for a soothing herbal tea, adding honey or lemon to taste.
Stir-fries: Fresh ginger adds a brilliant kick to any stir-fried dish, enhancing not just the flavor but also the aroma.
Baking: Incorporate grated ginger into baked goods, such as cookies and cakes, for a warm spice that complements sweet flavors.
Health Elixirs: Blend ginger into smoothies or juices for a refreshing and health-boosting drink.
The Joy of Indoor Gardening
Growing ginger indoors transcends merely planting a spice; it encapsulates the beauty of nurturing life and cultivating connection with the natural world. The satisfaction derived from watching a rhizome morph into a flourishing plant serves as a powerful reminder of the rewards of patience and dedication.
Moreover, your indoor ginger garden can inspire you to explore other types of plants. Consider trying to grow herbs such as basil, mint, or cilantro. Indoor gardening fosters creativity and bolsters a sense of tranquility amidst our busy lives, connecting us to our food sources and our health in profound ways.
Conclusion
Embarking on the journey of growing ginger indoors is not only an engaging activity but also an avenue to explore the rich world of gardening, culinary pleasures, and health benefits. From selecting the right rhizome to mastering the care and attention required for its growth, each step reveals the inherent rewards in nurturing this splendid plant.