In this extensive guide, we’ll explore every facet of growing irises—from their rich history and diverse species to planting, care, troubleshooting, and even artistic uses in your home and garden. Let’s embark on this journey together, fostering not just a garden but a sanctuary where these exquisite blooms can thrive.
The Fascinating History of Irises
To understand how to grow iris successfully, we must first explore their legacy. The genus Iris was named after the Greek goddess of the rainbow, and it’s easy to see why. With over 300 species, irises are found in a plethora of colors, ranging from soft pastels to vibrant jewel tones, each contributing to their mythological association with beauty and hope.
Ancient Egyptians revered the iris for its significance in art and as a symbol of protection. Frescoes, paintings, and artifacts adorned with these flowers demonstrate not only their aesthetic value but also their cultural importance. The iris was also a prominent symbol in heraldry, representing the French monarchy.
As garden enthusiasts, we are fortunate to inherit this marvelous tapestry of history. By growing iris in our gardens, we continue a legacy steeped in admiration, symbolism, and natural beauty.
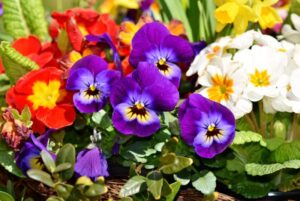
Understanding the Diversity of Iris
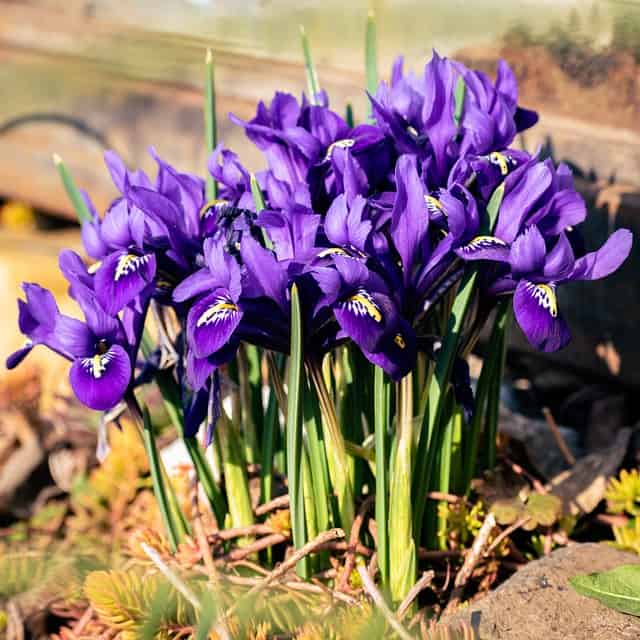
Getting to know the various types of iris is essential for ensuring you select the right ones for your garden. The most common types include:
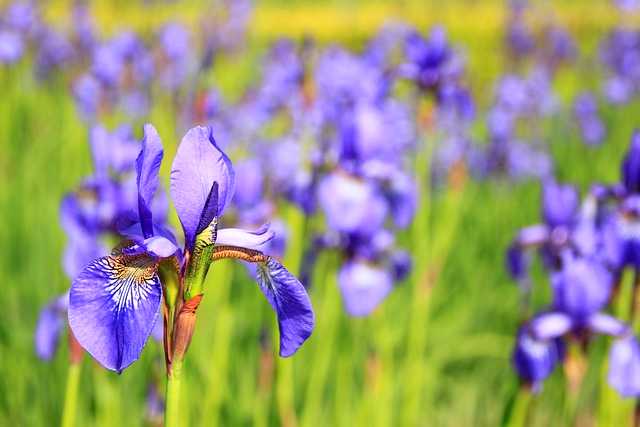
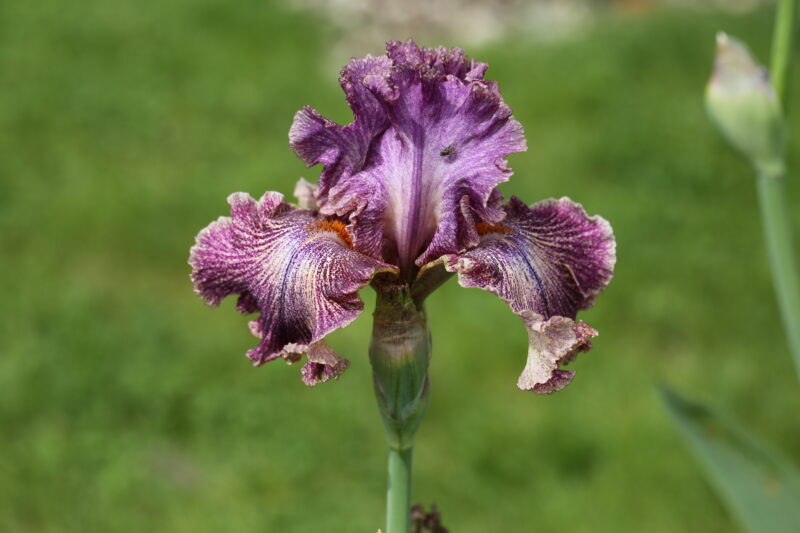
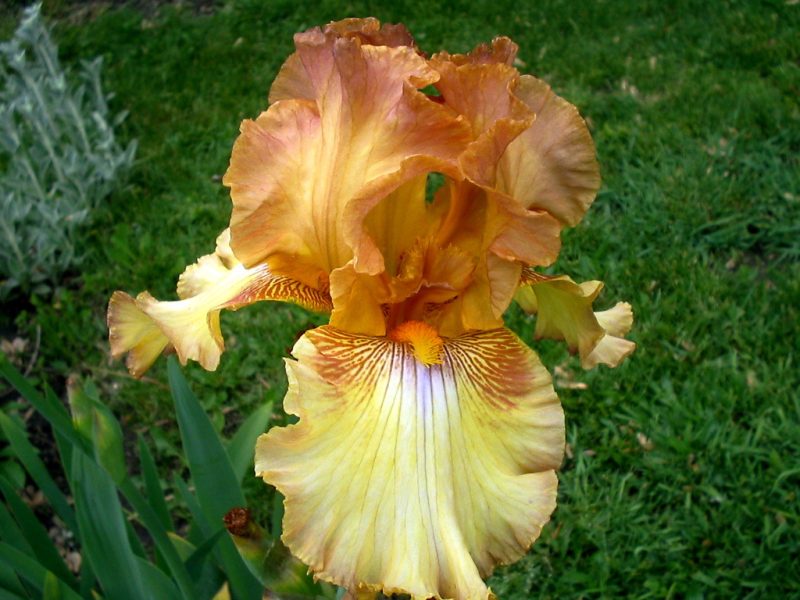
Bearded Iris: Characterized by their fuzzy beards and vibrant colors, bearded iris are the most popular among gardeners. They thrive in well-drained soil and full sun, blooming in late spring to early summer.
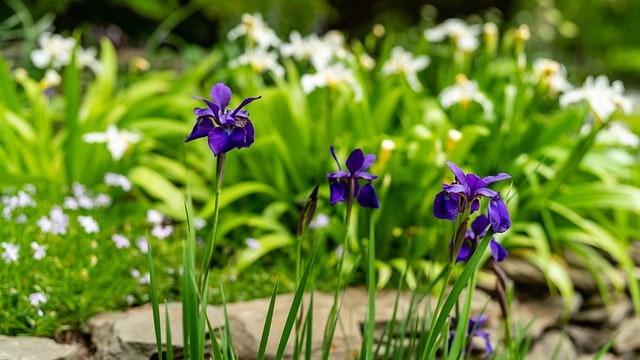
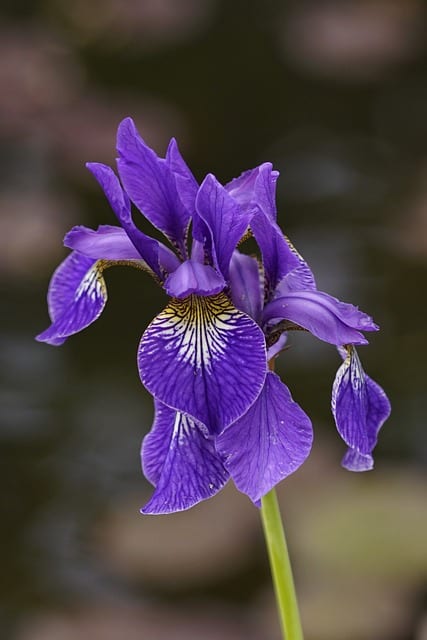
Siberian Iris: More tolerant of wet conditions than other varieties, Siberian irises boast slender leaves and delicate flowers. Their longer blooming period extends through summer, making them a valued addition to many gardens.
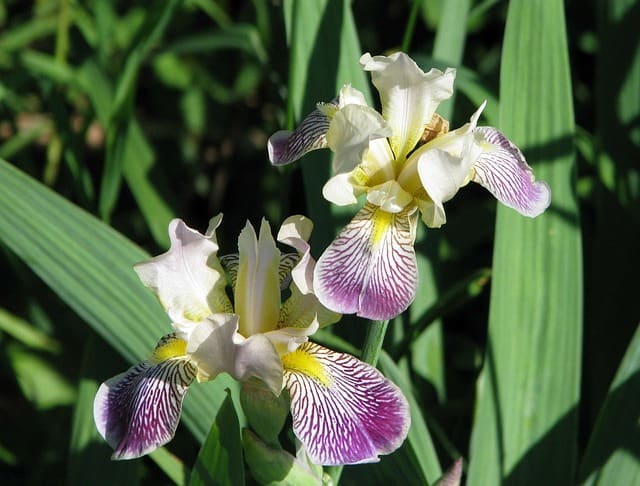
Japanese Iris: Known for their large, flat blooms and excellent tolerance for moist conditions, these irises can transform water gardens into serene escapes.
Louisiana Iris: Native to the southern U.S., these irises thrive in wet, swampy soils and provide a stunning array of colors. They are perfect for pond edges and water gardens.
Dwarf and Miniature Irises: These compact beauties are perfect for rock gardens, borders, and containers. Their small stature belies their vibrant colors and shapes.
With this diverse spectrum of irises available, consider your local climate, soil types, and personal preferences when choosing what to grow. This understanding will set the foundation for successful cultivation.
Choosing the Right Location
When it comes to planting irises, site selection is paramount. Most irises prefer:
Sunlight: Ensure a location that receives at least six hours of direct sunlight each day. Irises thrive in full sun, and the lack of adequate light can result in fewer blooms.
Drainage: Healthy soil drainage is crucial. While some iris types can handle moist soil conditions, standing water can lead to rot. Aim for a location with well-draining soil, particularly for bearded irises.
Air Circulation: Spaces that allow for good airflow can help prevent fungal diseases, which are an unfortunate threat to these elegant blooms. Avoid crowded planting to ensure each iris plant gets ample breathing room.
Creating the Ideal Microclimate
In addition to the broader site considerations, you might want to think about specific microclimate conditions within your garden. For instance:
Sheltered Spots: Shielding your irises from harsh winds can promote healthier growth. Consider planting near a fence or taller shrub to protect them from potential damage.
Consider Elevation: Raised beds can improve drainage and warmth in cooler climates, potentially enhancing your irises’ performance.
Before committing to a location, take the time to observe your garden. Understanding how sunlight, wind, and other elements interact can give you deeper insight into where your irises will flourish.
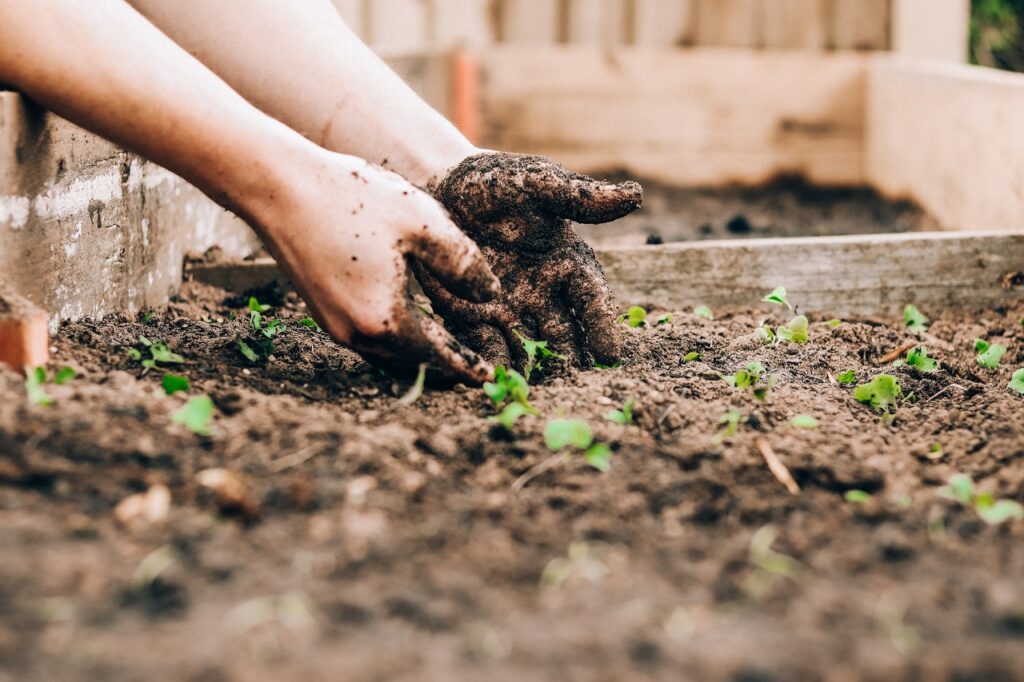
Preparing the Soil: The Foundation for Growth

Healthy soil is the lifeblood of your irises. To cultivate irises successfully, you’ll want to focus on several key aspects of soil preparation:
Testing Soil pH: Irises prefer slightly acidic to neutral soil (pH 6.0 to 7.0). You can test your soil with a home kit available at garden centers. If your soil is too acidic or alkaline, consider amending it with lime or sulfur as needed.
Enriching the Soil: Incorporate organic matter like aged compost or well-rotted manure. This will improve soil fertility and structure, enhancing drainage. Aim for an organic matter content of at least 5-10%.
Tilling and Aeration: Loosen the soil by tilling to a depth of at least 12 inches. This not only aids drainage but also allows roots to penetrate easily, establishing a stronger plant.
As you prepare the soil, consider the interplay of these factors as a nurturing foundation that supports your irises’ growth journey. This dedicated preparation pays dividends in the form of robust blooms.
Planting Irises: Timing and Techniques
Once you select the right types of iris and prepare the soil, it’s time for the exciting part: planting!
Timing Matters
The best time to plant iris bulbs—or more accurately, rhizomes—is in the early spring or late summer/early fall, depending on your climate zone:
Early Spring Planting: Ideal for areas with mild winters, this timing allows for rapid establishment before the heat of summer.
Late Summer/Fall Planting: In colder regions, planting during this period helps irises settle in before winter. Just ensure you plant a few weeks before the ground freezes.
Planting Technique
Spacing: Space the rhizomes of bearded irises about 12 to 18 inches apart to allow for ample air circulation and room for growth. For Siberian or Japanese irises, consider a spacing of 18 to 24 inches.
Depth: Plant rhizomes horizontally, ensuring the top is slightly exposed above soil level. For Siberian irises, plant deeper, as they prefer a bit more coverage with soil.
Watering: After planting, water thoroughly to help settle the soil around the roots. However, be cautious not to overwater, particularly if drainage is poor.
Mulching: Apply a light layer of mulch to retain soil moisture and suppress weeds, while keeping it away from the rhizomes to avoid rot.
As you plant, think of it as a nurturing act—a commitment to bringing a slice of natural beauty into your life. Anticipation of their bloom provides a heartfelt connection to your evolving garden tapestry.
Caring for Your Irises: Watering and Fertilizing

With your irises now in the ground, the focus shifts to care and maintenance. How you approach watering and fertilization can significantly impact your irises’ health and blooming potential.
Watering Wisely
In general, irises thrive on minimal water, particularly once established. However, some variables dictate your watering regimen:
Soil Moisture: Monitor your soil’s moisture level. The top inch should be dry between watering sessions. Be cautious about overwatering, as this can lead to root rot.
Weather and Seasonality: During early growth stages and hot, dry summer months, more frequent watering might be necessary. Conversely, during winter dormancy, water needs will drastically decrease.
Fertilizing for Blooming Marvels
Irises benefit from regular fertilization, particularly in the spring:
Balanced Fertilizers: Use a slow-release, balanced fertilizer with equal parts nitrogen, phosphorous, and potassium. An N-P-K ratio of 10-10-10 is a popular choice.
Timely Applications: Fertilize in early spring and again after blooming to promote continued growth and vigorous foliage.
Safe Practices: Avoid too much nitrogen, as it can encourage leaf growth at the expense of blooms. Also, steer clear of fertilizers high in ammonia, which can harm the delicate roots.
With dedicated water and nutrition, you establish a vibrant, thriving environment where irises can flourish. Growing these flowers transforms each care routine into a meditation practice, encouraging the connection between gardener and blooming beauty.
Pruning and Deadheading: Encouraging Flourishing Growth
While your irises may bloom beautifully, their continued health relies on timely maintenance. Pruning and deadheading are crucial practices that stimulate growth and enhance aesthetics.
Trimming for Health and Aesthetics
Foliage Management: After flowering, cut the spent blooms off but leave the foliage intact. This ensures the plant continues to absorb sunlight, fostering energy storage for next year’s growth.
Fall Cleanup: In the fall, remove any dead or yellowing leaves to prevent diseases from developing.
Selecting Tools: Use clean, sharp shears for the task to prevent injury to the plants and potential disease spread.
Deadheading in Action
Deadheading is an essential technique to promote further blooming in some iris varieties. By pinching or cutting the spent flower stalks, you redirect energy back to the plant instead of allowing it to expend energy on seed production.
The feedback loop of care leads to thriving blooms, creating an environment not just of beauty but of joy and satisfaction. As you tend these flowers, feel the rhythm and balance of nature resonating through your hands.
Troubleshooting Common Issues
While growing irises can seem like a dream, challenges can arise. Below we explore some common issues that may appear and how to combat them effectively.
Pest and Disease Control
Common Pests:
Iris Borer: This larvae can wreak havoc by burrowing into rhizomes. Monitor for signs of damage, such as wilting or yellowing leaves. Hand-picking or applying insecticides can help control this pest.
Aphids: These tiny pests suck sap from the leaves. A sharp spray of water will often dislodge them, or you can use insecticidal soap for a more potent solution.
Notable Diseases:
Iris Rust (Puccinia iridis): Characterized by orange-brown pustules on foliage, iris rust can spread rapidly. Remove infected leaves and apply a fungicide as needed.
Root Rot: Often a result of overwatering or poor drainage, root rot can cause wilting and discoloration. If detected, replant the bulbs and improve drainage.
Environmental Stress Factors
Be aware of environmental conditions that may hinder your irises:
Overcrowding: Irises produce more blooms when they have room to grow. If they become overcrowded, consider dividing your plants, particularly every 3-5 years.
Temperature Variance: Sudden temperature changes can cause stress. Understanding your climate zone aids in caring for your irises, allowing you to adjust planting times and care routines appropriately.
By investing attention and care in troubleshooting these issues, you embrace an empowered gardener’s role, ensuring the health and vibrancy of your iris garden.
Dividing Irises: Ensuring Vibrant Continuity

One of the hallmarks of successful iris cultivation is the practice of division. As irises mature, they may become overcrowded, impacting their performance. Here’s how to effectively divide irises for rejuvenation:
When to Divide
Timing: Early spring after the last frost is a preferable time to divide bearded irises. Alternatively, you can divide after blooming in late summer. For Siberian and Japanese varieties, consider dividing in the fall.
The Division Process
Preparation: Water the plants a day or two before dividing to facilitate easier removal from the soil.
Digging Up the Rhizomes: Carefully lift the rhizomes with a garden fork, being cautious not to damage the roots.
Dividing the Rhizomes: Use a sharp knife to break apart the rhizomes, ensuring that each section has healthy roots and at least one fan of leaves.
Replanting: Replant immediately, ensuring you follow the initial planting depth and spacing instructions.
By practicing division, not only do you maintain vigorous, healthy plants, but you also find opportunities to share these blooms with fellow garden enthusiasts, fostering connections based on shared passion.
The Aesthetic Appeal of Irises in Gardens
Growing irises is not merely about cultivating plants; it’s about igniting creativity and joy in our environments. The aesthetic appeal of irises can transform garden designs, creating stunning focal points and harmonious landscapes.
Color Palette Considerations
Cohesive Themes: Select color combinations that resonate with your personal style. Whether it’s vibrant reds and yellows for a bold statement or calming blues and whites for a serene feel, the options are endless.
Companion Planting: Pair irises with other flowering plants, such as daylilies, peonies, or ornamental grasses, to create a lush tapestry of textures and colors.
The Role of Irises in Garden Design
Borders and Edges: Irises make effective border plants, guiding visitors through your garden and adding structure.
Water Features: Japanese and Louisiana irises excel in water gardens, producing stunning reflections on still water.
Seasonal Decorating: Cut irises and arrange them in vases to bring a touch of nature indoors, making each bloom a cherished moment in your home.
Through careful consideration of design elements, growing irises can transcend mere gardening to craft a lifestyle marked by beauty and inspiration.
Harvesting Irises: Bringing Blooming Beauty Indoors
The splendor of growing irises reaches a new level when you invite their beauty into your home. Harvesting these flowers not only beautifies your spaces but also offers a chance for reflection on nature’s cycle.
When to Cut
Timing Matters: Cut irises when the bloom is just beginning to open. This will allow them to last longer in a vase, providing enjoyment for days.
Cutting Methodology
Using Sharp Shears: Clean, sharp garden scissors or shears are essential for a clean cut, minimizing damage.
Cut at an Angle: Make the cut at a 45-degree angle to help the stem absorb water more effectively.
Remove Lower Leaves: To extend the life of blooms in water, remove any lower leaves to avoid decay in the vase.
Use a Clean Vase: Fill the vase with fresh, clean water and change it often to prevent bacterial growth.
Arranging Your Blooms
Experiment with different arrangements, incorporating other flowers like greenery or filler blooms to complement the irises. The play of colors and textures can result in breathtaking displays that remind you of the beauty you’ve cultivated.
Conclusion: A Journey of Growth and Grace
In the journey of growing iris, we find an intersection of nature’s beauty, our dedication, and the timeless love of gardening. From their deep historical roots to the nurturing practices of care, the insights explored in this guide empower you to cultivate these remarkable flowers with confidence.