In this comprehensive guide, we will explore various methods of orchid propagation, delve into the details of each approach, and foster a deeper appreciation for these remarkable plants.
Understanding Orchids and Their Growth Habits
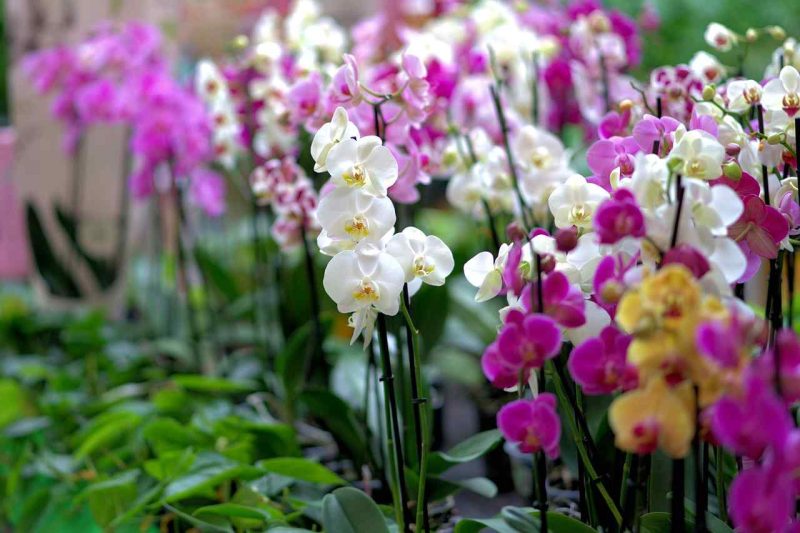
Before diving into propagation techniques, it’s essential to understand the unique growth habits of orchids. Unlike typical houseplants, orchids do not naturally grow in soil. Instead, they thrive as epiphytes in their native habitats, clinging to trees and rocks, absorbing moisture and nutrients from the air and rain. This characteristic drastically influences how we care for them and how we approach propagation.
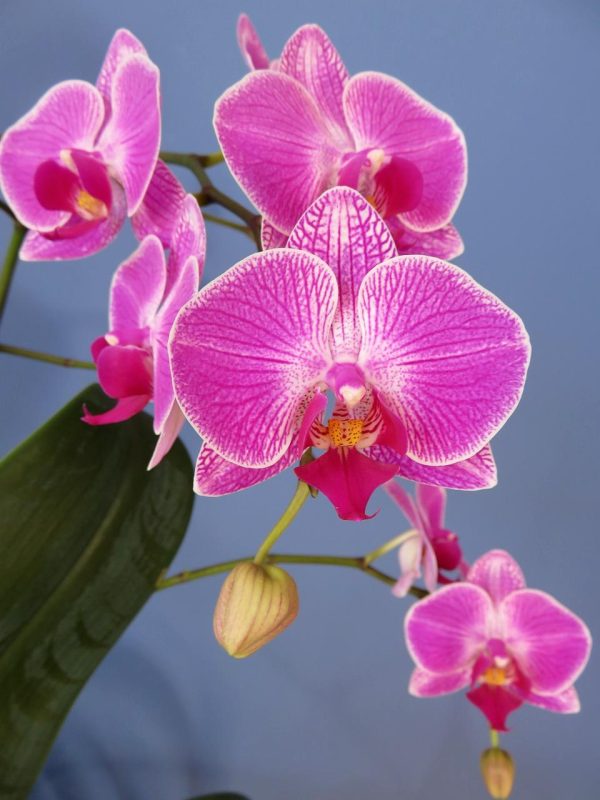
Orchids can generally be categorized into two primary growth forms: monopodial and sympodial. Monopodial orchids, like Phalaenopsis, feature a single, upright stem and will continue to grow taller over time. In contrast, sympodial orchids, such as Cattleya and Dendrobium, produce multiple stems and buds, often developing a more sprawling appearance. Understanding these growth patterns is critical, as they inform our propagation choices and methods.
The Importance of Timing
When it comes to propagating orchids, timing is everything. Most orchids prefer to be propagated during their active growth phase, which typically occurs in the spring or early summer. This period offers the ideal opportunity for orchids to take root and establish themselves, as the increased light and warmth stimulate growth. In contrast, attempting to propagate during dormancy may yield less favorable results.
Preparing for Propagation
Before embarking on the propagation journey, gather your tools and materials. Preparation is key to successful orchid propagation. Here’s what you’ll need:
Sterilized Tools: To prevent disease, ensure you have sterilized scissors or shears, a sharp knife, and pots.
Potting Medium: Choose an appropriate medium based on your orchid species. Common options include bark, sphagnum moss, and coconut husk.
Containers: Small pots or trays with good drainage will help the new orchids thrive.
Humidity Tray: For maintaining moisture levels, a humidity tray can be beneficial, especially for young plants.
Creating a Clean Environment
Before starting, it’s vital to create a clean working environment. Orchids, being particularly susceptible to rot and disease, require sterile conditions to thrive. Begin by disinfecting your workspace and tools using a solution of one part bleach to ten parts water or an alcohol-based sanitizer. Let the tools dry completely before use.
Different Propagation Methods

While various methods exist for propagating orchids, we will explore the most common approaches: division, keiki propagation, and tissue culture. Each method has its advantages and unique characteristics, making them suitable for different types of orchids and specific situations.
Propagation by Division
One of the most traditional and widely used methods for propagating orchids is division. This technique is particularly effective for sympodial orchids, which thrive through the regrowth of their bulbous pseudobulbs. Here’s how to go about it:
Step-by-Step Guide to Division
Selecting the Right Time: As mentioned earlier, spring is the optimal time for division, as it coincides with the plant’s active growth phase.
Preparing the Plant: Water the orchid a day or two before you plan to divide it. This helps hydrate the plant and makes handling it easier.
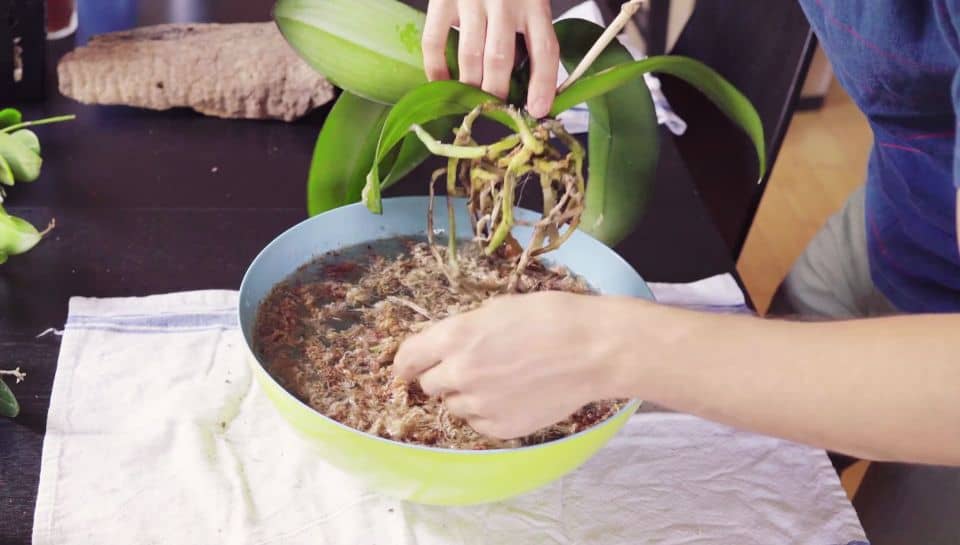
Removing from the Pot: Carefully take the orchid out of its pot, gently shaking off the potting medium. Be cautious not to damage the roots.
Inspecting and Identifying Bulbs: Examine the root system and look for natural divisions within the plant. Each division should ideally have at least three pseudobulbs and a healthy root system.
Cutting and Dividing: Using sterilized scissors or a knife, divide the plant into sections. Ensure each section has roots and at least one healthy green growth.
Re-potting: Re-pot the divisions in fresh potting medium. For epiphytic orchids, a well-draining mix is critical. Water lightly to settle the medium but avoid saturating it.
Post-Division Care: Place the newly potted orchids in a warm, humid environment with indirect sunlight. To maintain humidity, you can cover them with a plastic bag or use a humidity dome.
Keiki Propagation
Keiki propagation is a fascinating and somewhat whimsical method unique to certain orchid species, particularly Dendrobium and Phalaenopsis. Keikis, meaning “baby” in Hawaiian, are small plantlets that grow on the flowering stem of the parent orchid. This method allows for a natural and straightforward way to propagate orchids.
The Process of Keiki Propagation
Identifying Keikis: Monitor your orchid during its blooming phase. When a keiki develops, it typically forms a small cluster of roots and leaves along the stem.
Encouraging Growth: To promote the development of keikis, you can use a solution of a growth hormone (such as Kinetin) applied to the stem below where the keiki is growing. This can stimulate more robust growth.
Severing the Keiki: Once the keiki has developed several roots—ideally around 2-3 inches long—you can gently cut it from the mother plant using sterilized scissors.
Planting: Place the keiki in a small pot with a suitable potting medium. Apply gentle watering to settle the medium around the roots.
Nurturing the New Plant: Like divisions, keikis require a warm, humid environment for the first few weeks as they acclimate to their new pot.
Propagation by Tissue Culture
Tissue culture is a more advanced method of orchid propagation that has gained popularity in commercial operations due to its efficiency in producing a large number of identical plants from a single parent. This technique, while complex, can be incredibly rewarding and allows for breeding unique hybrids.
Understanding Tissue Culture
Tissue culture involves extracting small pieces of the plant—often meristematic tissue—and placing them in a sterile, nutrient-rich medium under controlled conditions. This process encourages the cells to multiply, forming a callus or a mass of undifferentiated cells that can later develop into individual plants.
Preparing the Culture Medium: Specific formulations of agar, vitamins, and hormones are required for optimal growth. The type of orchid dictates the exact nutrient mix.
Sterilizing Plant Material: The extraction area must be kept sterile. Commonly, you’ll need to disinfect the plant material using bleach or alcohol.
Inoculation: Once the tissue is clean, it’s placed onto the culture medium in sterile containers. This step requires precision and attention to detail, as contamination can doom the entire batch.
Culturing Conditions: Maintain specific temperature, humidity, and light conditions to foster growth. Typically, a growth chamber with controlled settings is ideal for this stage.
Acclimatization: Once the seedlings develop roots and leaves, they must be gradually acclimated to normal light and humidity levels.
Choosing the Right Method
The method you choose for propagating your orchids will depend on several factors, including the type of orchid, your experience level, and the resources available. For hobbyists, division and keiki propagation are generally more accessible, while tissue culture may be suited for those looking to experiment with hybridization or commercial production.
Caring for New Orchids Post-Propagation
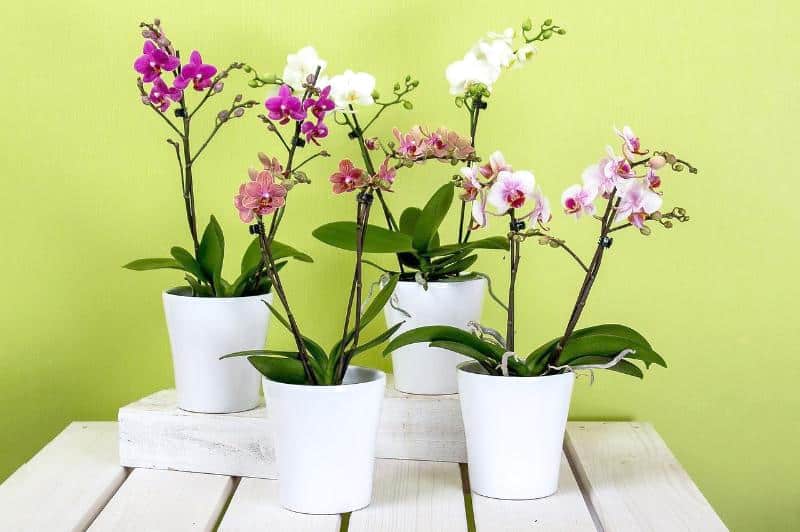
Once your orchids are propagated, they require specific care to thrive and flourish in their new pots.
Light Requirements
Orchids need bright, indirect light, particularly during their initial growth phase post-propagation. Finding the right balance can be tricky; too much direct sunlight can scorch tender leaves, while too little can stunt growth. Placing the new orchids near a window with filtered sunlight or using a grow light can help provide an optimal balance.
Watering Practices
Newly propagated orchids are sensitive to over-watering, which can lead to root rot. Initially, watering should be done sparingly. Allow the top layer of the potting medium to dry out slightly before re-watering. Over time, as the roots establish and the orchids grow more vigorously, the watering schedule can be adjusted according to their needs.
Humidity and Temperature
The majority of orchids thrive in humid conditions, typically between 50-70% humidity. Mist the plants regularly or use humidity trays to maintain adequate moisture levels. Similarly, orchids prefer temperatures between 70°F to 80°F during the day and slightly cooler at night.
Fertilization
Fertilization will play a crucial role in the success of your newly propagated orchids. Starting about a month after propagation, apply a balanced orchid fertilizer at a diluted strength every 2-4 weeks, increasing the concentration gradually as the plant matures.
Troubleshooting Common Issues

Propagation is not without its challenges. Understanding potential pitfalls and remedies can help orchid enthusiasts navigate the process more successfully.
Root Rot
One of the most common issues faced by newly propagated orchids is root rot, primarily arising from over-watering. If yellowing leaves or a squishy root system is observed, it’s important to revise watering habits. Remove affected roots promptly and re-pot the orchid in fresh, dry medium.
Pest infestations
Pests such as aphids, mealybugs, and spider mites can pose serious threats to propagated orchids. Regular inspection is key; treat infestations with insecticidal soap or neem oil as needed.
Stunted Growth
If your propagated orchid seems to be struggling, consider checking environmental factors such as light, humidity, and temperature. Adjustments can often produce remarkable changes.
The Joy of Sharing Your Orchids
One of the most rewarding aspects of propagating orchids is the opportunity to share them with others. Orchids make thoughtful and cherished gifts for friends, family, or even community groups. Sharing your passion for orchids can cultivate a sense of community and help spread awareness about the joys and wonders of this exceptional plant family.
Hosting Orchid Days
Consider organizing an informal gathering or “Orchid Day” in your local community or among friends. Share your plants, exchange tips, and celebrate the beauty of orchids together. This kind of gathering fosters learning, community, and joy—enchanting elements that come hand-in-hand with caring for these stunning flowers.
Joining Orchid Societies
Engaging with orchid societies can provide substantial enrichment for your orchid journey. These groups often host events, workshops, and competitions, fostering camaraderie among organizations passionate about orchids. Plus, they offer opportunities to connect with experienced growers who can provide guidance and share their own propagation experiences.
Conclusion
Propagating orchids is not merely a horticultural task; it’s an enriching experience that brings excitement, patience, and joy. Whether you choose division, keiki propagation, or venture into the intricate realm of tissue culture, each method is a pathway to deeper engagement with these magnificent plants. As you embark on your propagation journey, remember the unique beauty of each orchid and the personal stories they can embody.