This guide covers the art and science of pruning orchids, ensuring that your plants flourish long after your gardening gloves come off.
The Fascination with Orchids
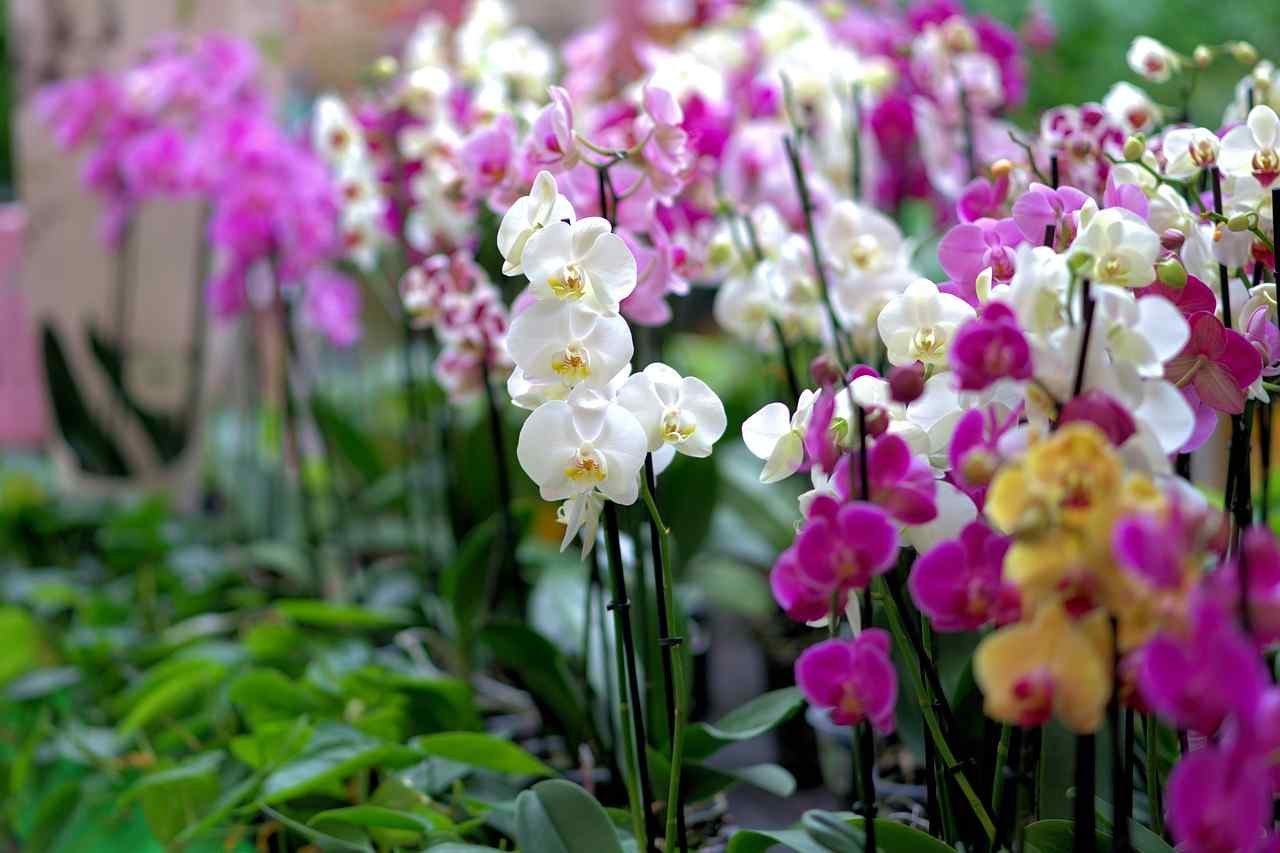
Before immersing ourselves in the nuances of pruning, it’s important to reflect on the allure of orchids. These flowers symbolize love, beauty, and strength across various cultures. Perhaps you first fell for their charm during a stroll through a tropical garden, entranced by the vibrant colors and shapes of these exotic blooms. Many people find nurturing orchids to be a fulfilling pastime that not only beautifies their spaces but also connects them to nature in profound ways.
Understanding Orchid Growth Cycles
To effectively prune your orchids, you must first grasp their unique growth cycles. Orchids typically have a predictable pattern of growth that involves periods of active growth, rest, and flowering. This understanding is pivotal when determining the right time for pruning.
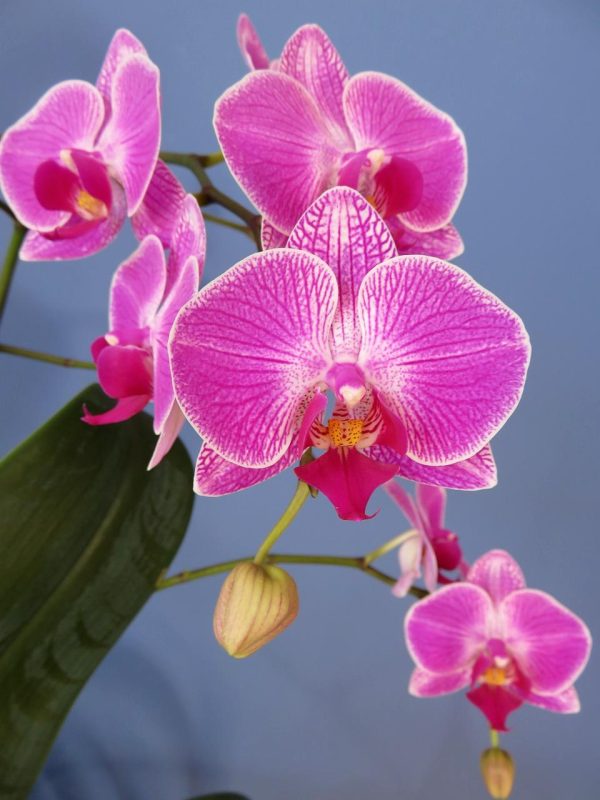
Most orchids undergo a flowering cycle lasting several months, followed by a dormancy period where they might appear to be inactive. For instance, Phalaenopsis orchids, often referred to as moth orchids, bloom once or twice a year and may require different pruning approaches than Cattleya or Dendrobium orchids.
Tools of the Trade
Just as a painter needs the right brushes, a careful pruner must be equipped with the right tools. The primary tools you will need for pruning orchids include:
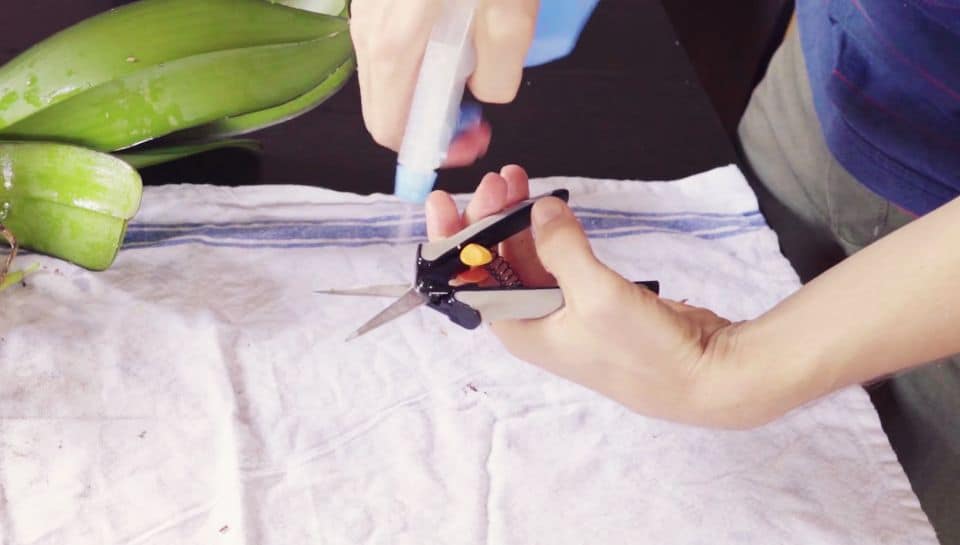
Sterile pruning shears: A sharp pair of shears ensures clean cuts, preventing damage to the plant. Sterilizing them minimizes the chances of introducing pests or diseases.
Gloves: While not strictly necessary, gloves can protect your hands from any sap or irritants found in certain orchid species.
Cleaning supplies: Rubbing alcohol can be used to disinfect tools before and after use, ensuring that your beautiful orchids remain protected from any infections.
The Best Time to Prune Orchids

Timing is everything. When considering how to prune orchids, remember that the best time to do so depends on the specific variety and the flowering season. For most orchids, pruning is ideally done after the flowering period, as this encourages new growth and blooms.
However, caution is required. If your orchid is still in bloom or producing new flower spikes, refrain from cutting until the flowering has concluded. During the winter months, many orchids enter a resting phase, making this an excellent time to inspect their overall health and make necessary cuts.
Identifying Areas to Prune
Recognizing which parts of your orchids to prune is crucial for their health. Here are the specific elements to look out for:
Flower spikes: If the spike has turned brown and is no longer producing blooms, it can be cut back to the node, which helps encourage new growth.
Leaves: Yellow or brown leaves typically signal health issues or aging. If a leaf appears severely damaged or diseased, it can be removed to promote airflow and reduce the risk of disease.
Roots: Healthy roots are firm and white, while unhealthy roots may be soft or blackened. Root pruning, although more complex, involves trimming back dead or decaying roots to promote healthy growth.
A Step-by-Step Pruning Guide
Now that you understand the ideal time and areas to prune, let’s dive into a step-by-step guide:
Assessment: Begin by examining your orchid thoroughly. Look for any signs of distress, such as yellowing leaves or wilted blooms. This assessment will inform your pruning strategy.
Preparation: Ensure your tools are clean and your workspace is comfortable. Keeping the environment calm and uncluttered contributes to a more effective pruning experience.
Pruning Flower Spikes: If you’re pruning a Phalaenopsis orchid, cut the flower spike about an inch above the node where the last bloom fell off. For other types, review specific pruning techniques that align with their species’ growth patterns.
Leaf Pruning: For any yellowing or damaged leaves, trace the leaf down to the base and cut it off cleanly. If only part of the leaf is unhealthy, you can trim it instead of removing the entire leaf.
Root Pruning: If you uncover unhealthy roots during repotting, use your sterilized shears to trim away the rotting sections. Aim to cut to a healthy white or green area, allowing for optimal regeneration.
Care After Pruning: After pruning, give your orchids time to recover. Withhold fertilizer for a few weeks, allowing them to focus their energy on healing.
Common Mistakes to Avoid
When learning how to prune orchids, remember that even seasoned gardeners can make mistakes. Here are some common pitfalls to avoid:
Pruning at the Wrong Time: Cutting during active blooming can stress plants unnecessarily and result in poor flowering in the future.
Excessive Pruning: It’s easy to get carried away. Only prune what is necessary to maintain health. An extremely bare plant can struggle to thrive.
Neglecting Sterilization: Forgetting to clean tools can lead to potential disease transfer. Always prioritize hygiene in your gardening practices.
Special Considerations for Different Orchid Types

Every type of orchid requires a different approach to pruning. Here are three examples:
Phalaenopsis (Moth Orchid): These are recognizable for their flat, wide blooms and long-lasting flowers. After blooming, prune the flower spike back to a node or down to the base if the entire spike has died.
Cattleya: Known for their spectacular, aromatic flowers, Cattleyas require pruning of spent blooms and an occasional leaf. When trimming, focus on removing dead or damaged components while preserving the plant’s structure.
Dendrobium: These orchids can bloom multiple times a year and respond well to pruning right after a bloom cycle. Cut back flower spikes that have finished blooming to encourage new growth.
Post-Pruning Care
Post-pruning care is just as important as the act itself. Allow your orchids to recover properly, adhering to the following practices:
Watering: Refrain from overwatering post-pruning, as stress can lead to root rot. Water moderately, ensuring the medium dries out between sessions but never becomes completely dry.
Fertilization: Begin reintroducing fertilizer about a month after pruning, using a balanced orchid mix. Fertilize at half strength initially, gradually increasing as the plant shows signs of new growth.
Light and Humidity: Ensure your orchids receive adequate yet indirect sunlight. Maintaining humidity levels in the range of 50-70% will heighten their chance of recovery post-pruning.
Personal Experiences: The Joy of Pruning Orchids
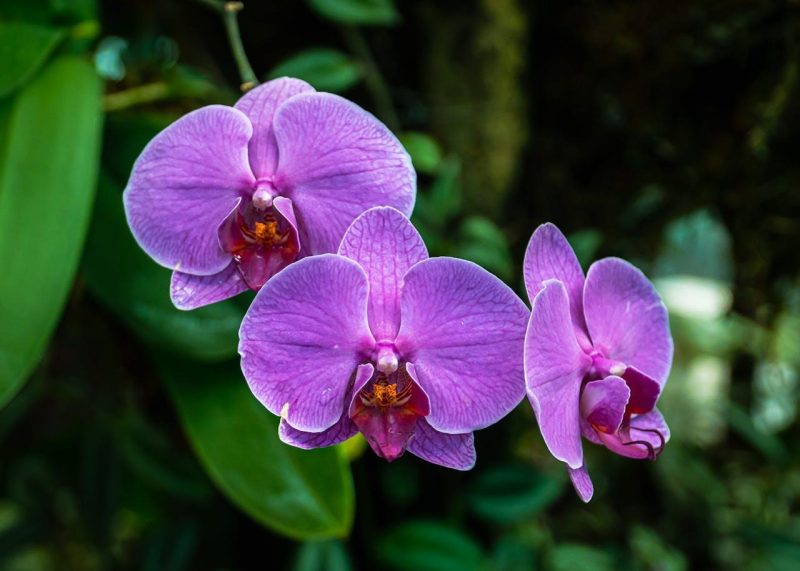
During my journey as an orchid enthusiast, I have encountered a plethora of challenges, with pruning being one of the most rewarding experiences. I recall a particularly stubborn Phalaenopsis that seemed disinterested in blooming. After diligent research and careful pruning, I cut back its withered flower spike and trimmed its yellowing leaves. To my delight, within months, it blossomed anew in a spectacular array of purple hues. Such moments reaffirm the connection between care and the natural beauty that unfolds.
Conclusion: A Masterclass in Orchid Pruning
Pruning orchids is more than just a horticultural practice; it is an art that blends technique and empathy. Understanding when and how to prune, recognizing the unique needs of different orchid types, and providing compassionate care afterward cultivates a bountiful relationship with these extraordinary plants.